tcpetes BBS restoration DONE! TEASER PICS 6/10
 03-11-2009, 07:59 PM
#1
Senior Member
SL Member
Thread Starter

Join Date: Nov 2005
Location: WORLD WIDE Flossin
Posts: 13,376
PAGE 1: 3/10/09 - BEGIN DISASSEMBLY
PAGE 2: 3/11/09 - BEGIN STRIPPING CLEAR CLOAT AND PREP 4 POLISHING
PAGE 3: 3/14/09 - PREP WORK AREA AND BEGIN 400 GRIT WET SANDING
PAGE 4: 3/18/09 - 800 & 1000 GRIT SANDING COMPLETE AND QUICK 1500 GRIT
TEST BUFF MADE *PICS UP SOON*
PAGE 5: 3/19/09 - PICS OF 800 & 1000 GRIT SANDING COMPLETE AND 1500 GRIT
ON HALF THE WHEEL
PAGE 5: 3/21/09 - PICS OF 2000 grit & STAGE 1 POLISHING FINALLY SOME AWESOMENESS!
PAGE 6: 3/22/09 - PICS OF STAGE 1 & STAGE 2 POLISHING AND PRE ASSEMBLY
PAGE 12: 3/28/09 - PICS OF RIM 1 FULLY ASSEMBLED woot!
PAGE 14: 4/18/09 - VID update on rim 3 on youtube
PAGE 15: 4/18/09 - 400 and 800 grit comparison + extra pics 3rd wheel
PAGE 17: 4/24/09 - test shot by tcridinclean with rim placed on the side of the car
PAGE 19: 6/01/09 - PICS OF ALL 4 WHEELS DONE!!!! OH SNAP
PAGE 22: 6/01/09 - PICS OF ALL 4 MOUNTED ON CAR TEASER SHOTS
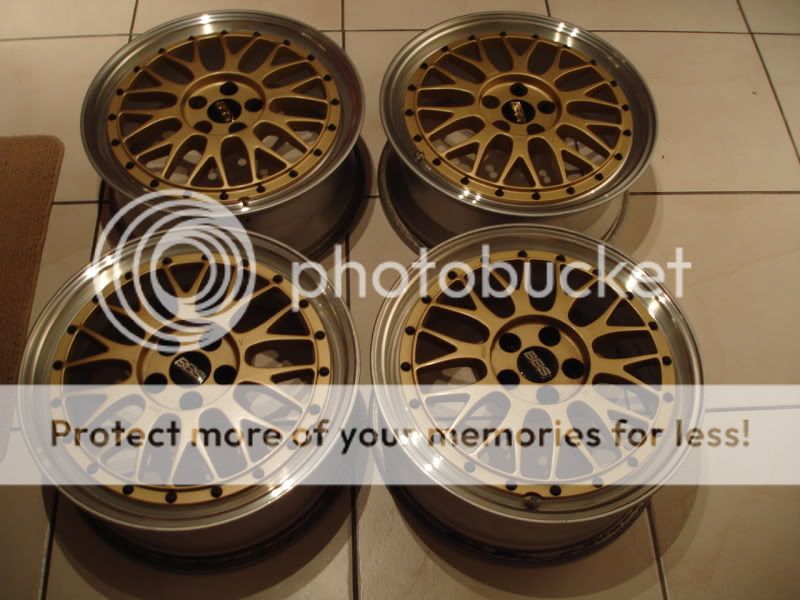
so many have already seen and known... i got me some BBS LM's... this is actually the 2nd set. i had some beat up ones i was restoring and got for cheap but was offered a price from someone i know for the silver set i couldnt refuse. so i picked up this set and thought to my self hmm what can i do to make them my own other then being first on LMs... so with out further delay..
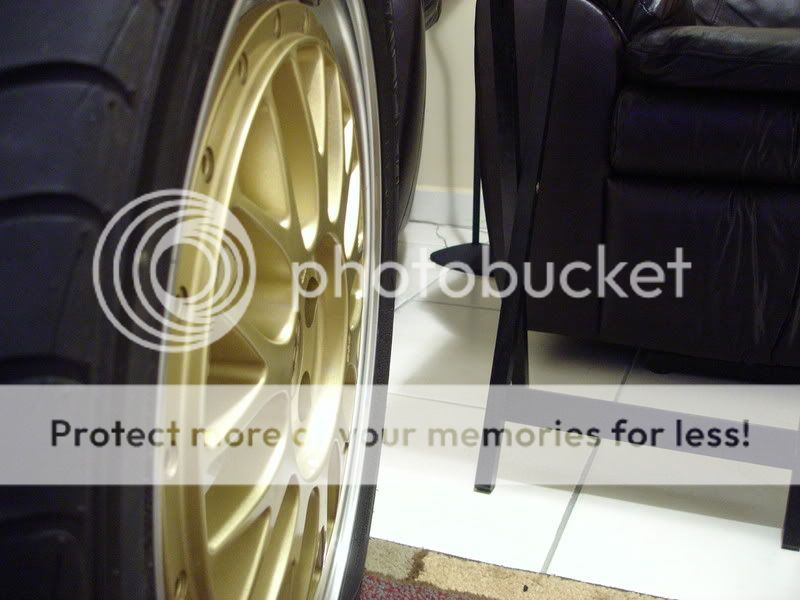
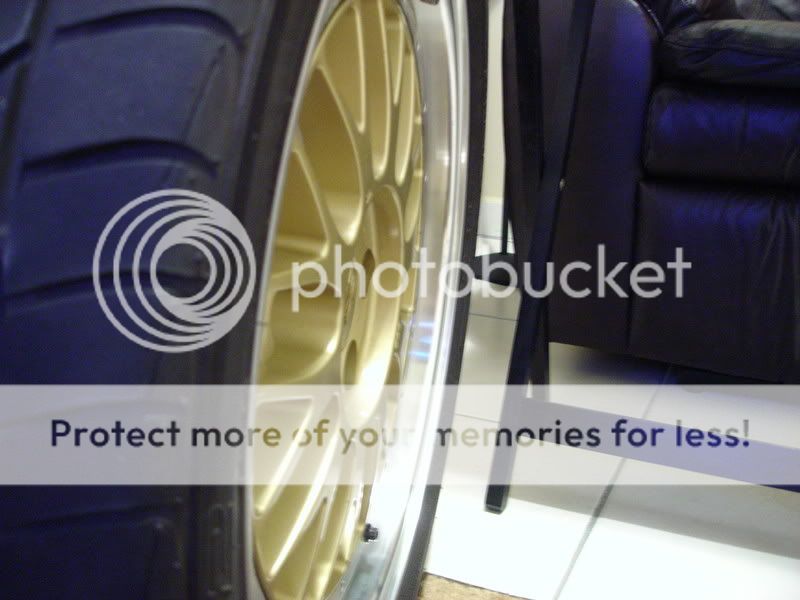
STAGE 1: pics of rims when i got them and mounted on the car.
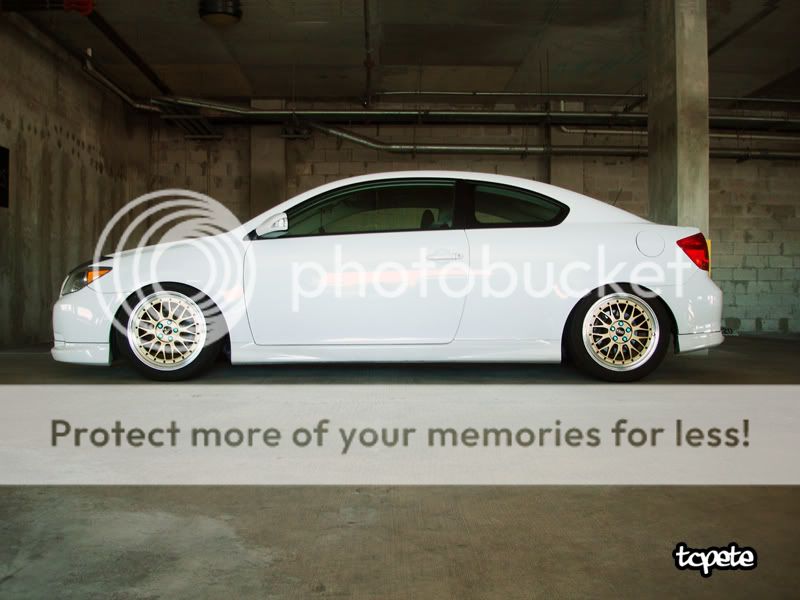
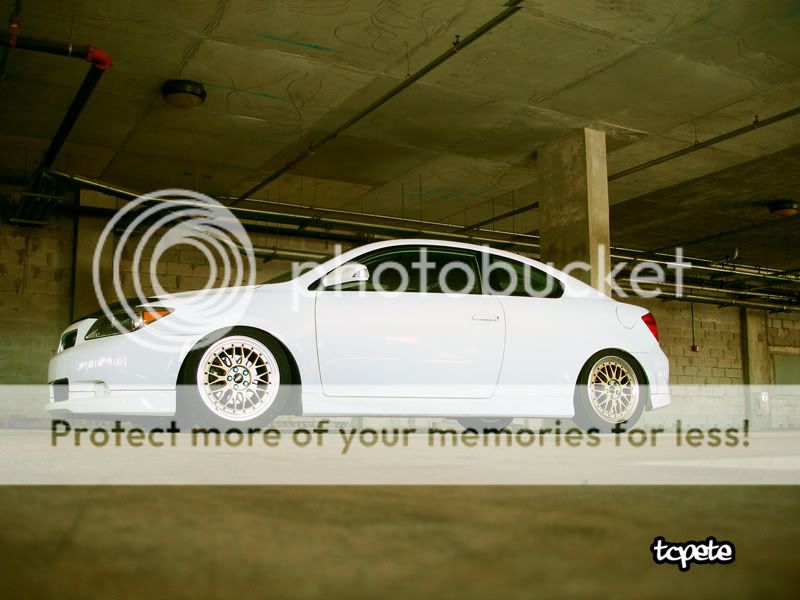
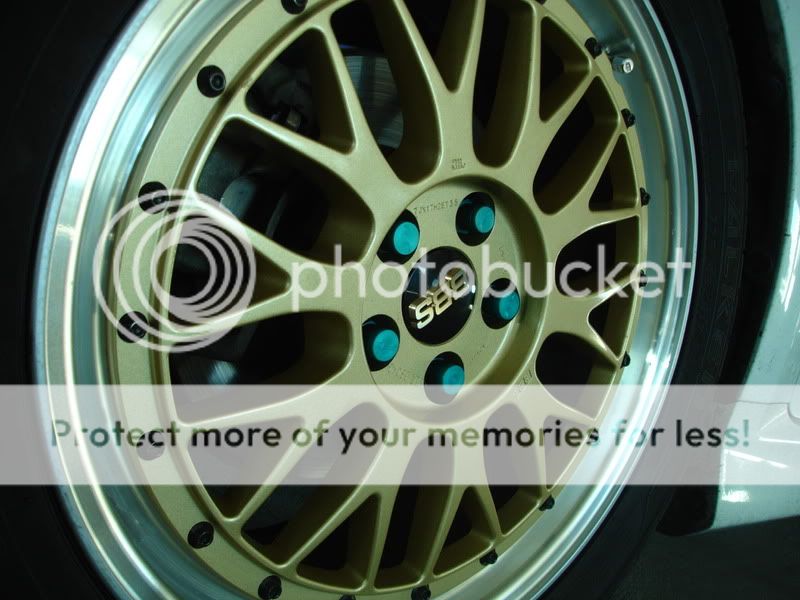
heres a fitment shot on the +35
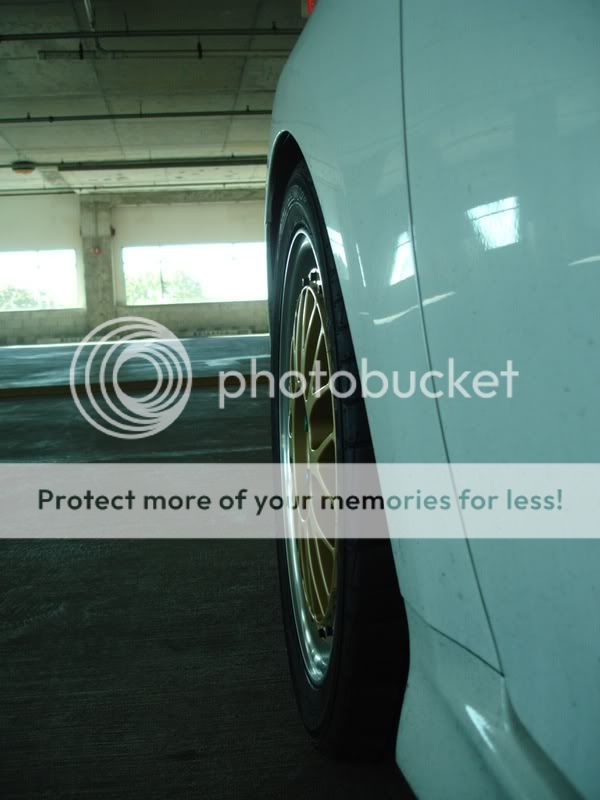
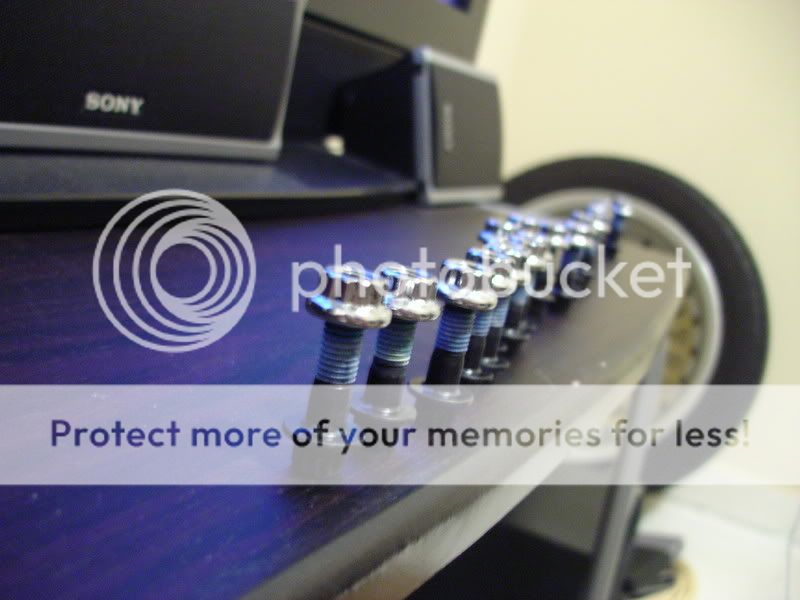
look nice but i wasnt happy yet... so im switching over to black lug nuts and that should help solve 1 issue i was having...2nd issue: my current tires were 225/45/17 and on the 7" wide rim they looked suppppper chunky sooo ill be going down to a 215/45/17 and some - camber so i can tuck the rim better and have it look nicer and not so chunky... i had to slam it down for it to look nice but now my tires rub on the fenders hence why im going to add some neg camber and smaller width tire... should solve that problem..
but i wasnt happy still soooooo..... after a long thoughtfull night of no sleep...i came up with the conclusion.. i has a weak **** lip!! i need lip!.... soooo another night of no sleep and some online research i came up with a small light bulb...
INVERT THE LIP!... that will give me a nice lip on the rim, change the look, and also give me another 5mm of travel to the outside.. which will leave me at a nice +30 offset.
STAGE: 2 off to begin the work.
heres how it started out
then came this/ oh chet i poped my face off!
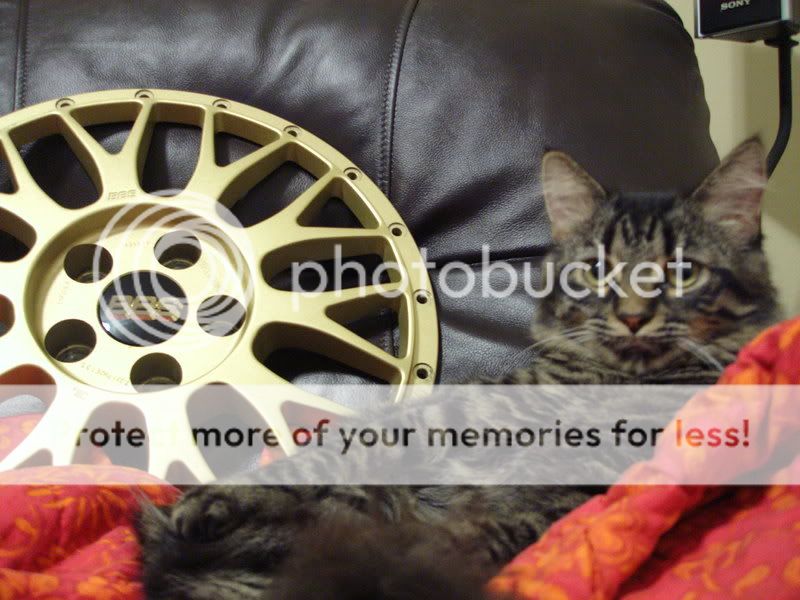
got one of my partners in crime inspecting my work
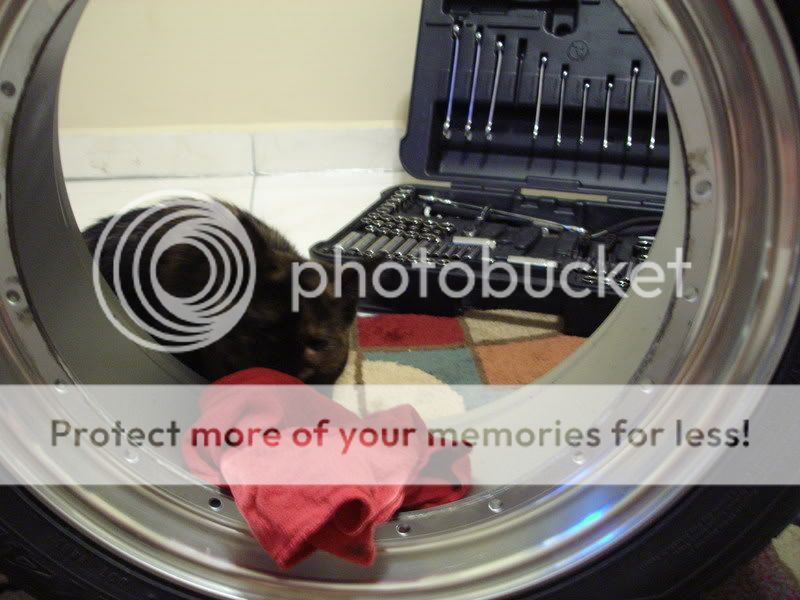
and the other partner in crime protecting the goods!
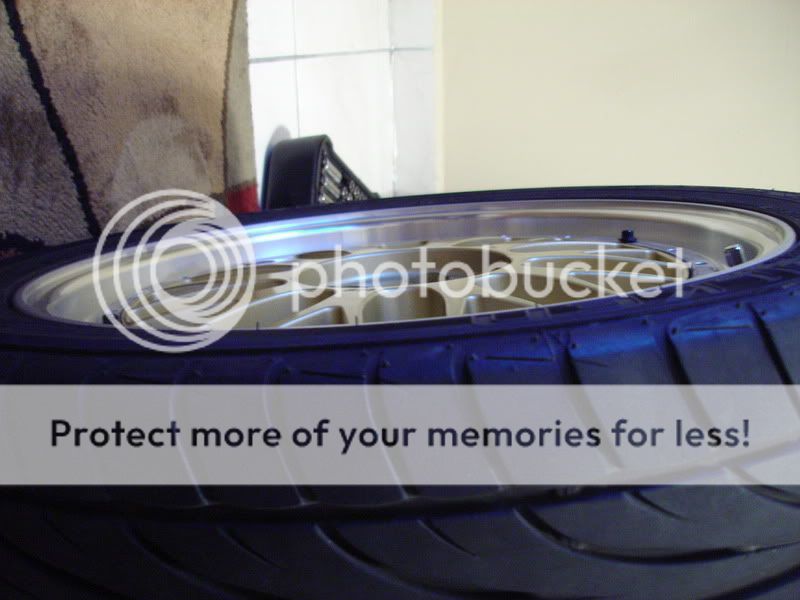
here is how the lip and face of the wheel look PRE inversion
here is how it will look after the inversion... look ma'aa i has deh lip nowz!
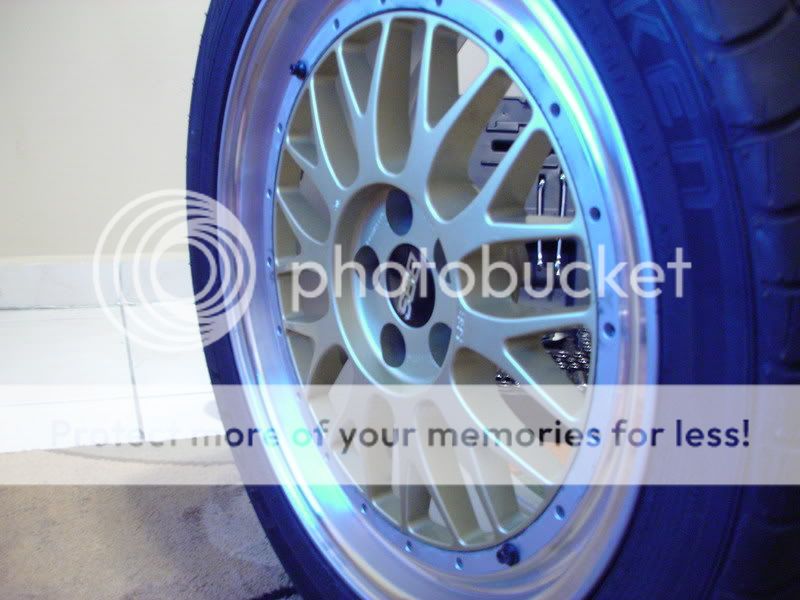
what a huge difference! excuse my blue screen i was switching DVD's lol...
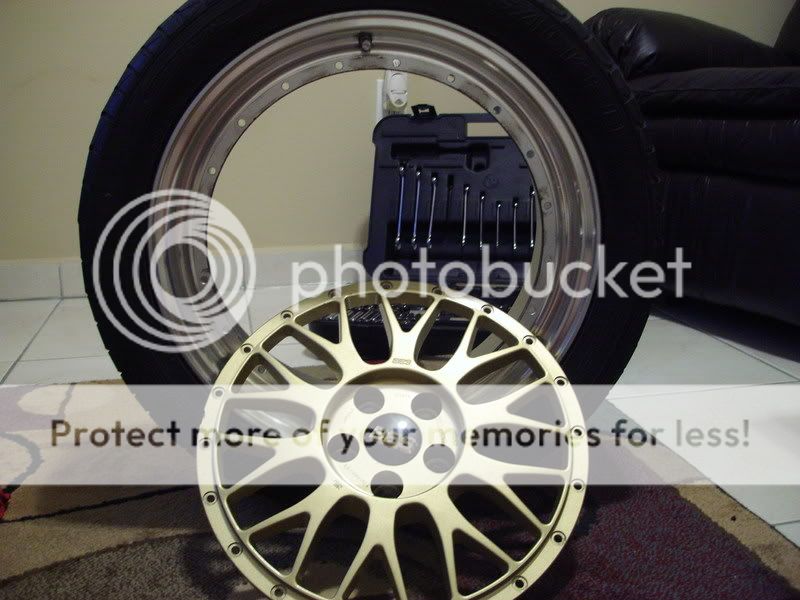
and here is a preview for now of the final outcome
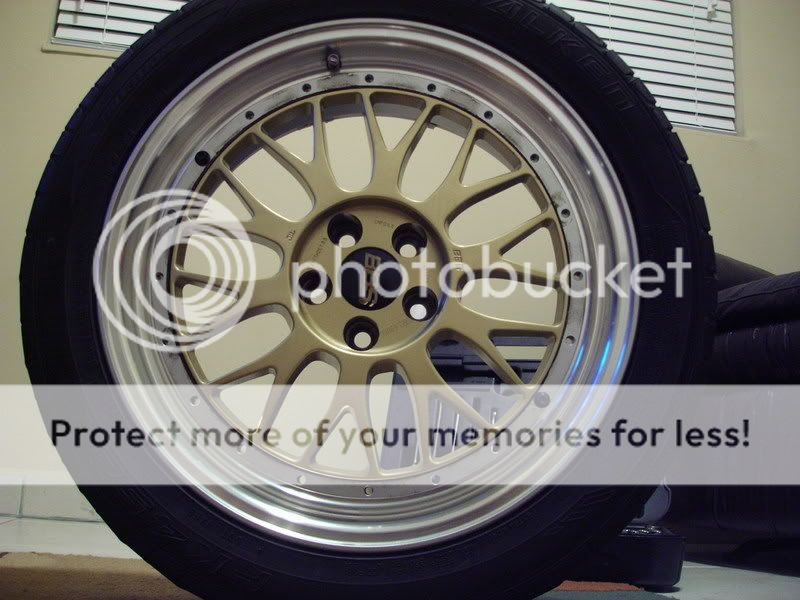
NOW im happy!! what a huge change form the original face location and design... changes it completely and give it a new look of its own. i like it alot better now! and looks like a 3pc design but really 2pc.
next step will be stripping the rims of clear cloat and polishing the entire lip
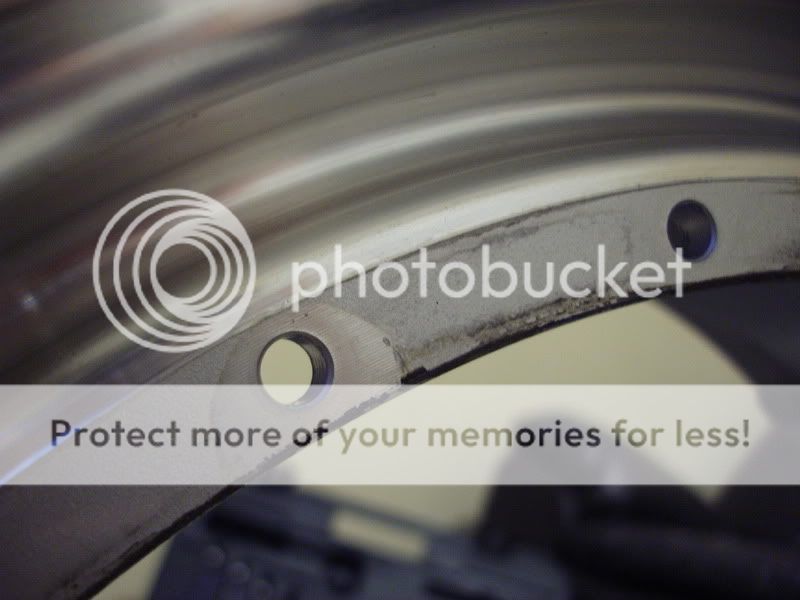
as u can see i have a lot of work to do on the mounting surface.
ill update this thread as i make progress.
PAGE 2: 3/11/09 - BEGIN STRIPPING CLEAR CLOAT AND PREP 4 POLISHING
PAGE 3: 3/14/09 - PREP WORK AREA AND BEGIN 400 GRIT WET SANDING
PAGE 4: 3/18/09 - 800 & 1000 GRIT SANDING COMPLETE AND QUICK 1500 GRIT
TEST BUFF MADE *PICS UP SOON*
PAGE 5: 3/19/09 - PICS OF 800 & 1000 GRIT SANDING COMPLETE AND 1500 GRIT
ON HALF THE WHEEL
PAGE 5: 3/21/09 - PICS OF 2000 grit & STAGE 1 POLISHING FINALLY SOME AWESOMENESS!
PAGE 6: 3/22/09 - PICS OF STAGE 1 & STAGE 2 POLISHING AND PRE ASSEMBLY
PAGE 12: 3/28/09 - PICS OF RIM 1 FULLY ASSEMBLED woot!
PAGE 14: 4/18/09 - VID update on rim 3 on youtube
PAGE 15: 4/18/09 - 400 and 800 grit comparison + extra pics 3rd wheel
PAGE 17: 4/24/09 - test shot by tcridinclean with rim placed on the side of the car
PAGE 19: 6/01/09 - PICS OF ALL 4 WHEELS DONE!!!! OH SNAP
PAGE 22: 6/01/09 - PICS OF ALL 4 MOUNTED ON CAR TEASER SHOTS
so many have already seen and known... i got me some BBS LM's... this is actually the 2nd set. i had some beat up ones i was restoring and got for cheap but was offered a price from someone i know for the silver set i couldnt refuse. so i picked up this set and thought to my self hmm what can i do to make them my own other then being first on LMs... so with out further delay..
STAGE 1: pics of rims when i got them and mounted on the car.
heres a fitment shot on the +35
look nice but i wasnt happy yet... so im switching over to black lug nuts and that should help solve 1 issue i was having...2nd issue: my current tires were 225/45/17 and on the 7" wide rim they looked suppppper chunky sooo ill be going down to a 215/45/17 and some - camber so i can tuck the rim better and have it look nicer and not so chunky... i had to slam it down for it to look nice but now my tires rub on the fenders hence why im going to add some neg camber and smaller width tire... should solve that problem..
but i wasnt happy still soooooo..... after a long thoughtfull night of no sleep...i came up with the conclusion.. i has a weak **** lip!! i need lip!.... soooo another night of no sleep and some online research i came up with a small light bulb...
INVERT THE LIP!... that will give me a nice lip on the rim, change the look, and also give me another 5mm of travel to the outside.. which will leave me at a nice +30 offset.
STAGE: 2 off to begin the work.
heres how it started out
then came this/ oh chet i poped my face off!
got one of my partners in crime inspecting my work
and the other partner in crime protecting the goods!
here is how the lip and face of the wheel look PRE inversion
here is how it will look after the inversion... look ma'aa i has deh lip nowz!
what a huge difference! excuse my blue screen i was switching DVD's lol...
and here is a preview for now of the final outcome
NOW im happy!! what a huge change form the original face location and design... changes it completely and give it a new look of its own. i like it alot better now! and looks like a 3pc design but really 2pc.
next step will be stripping the rims of clear cloat and polishing the entire lip
as u can see i have a lot of work to do on the mounting surface.
ill update this thread as i make progress.


 03-11-2009, 08:23 PM
#8
Senior Member
SL Member
Thread Starter
Join Date: Nov 2005
Location: WORLD WIDE Flossin
Posts: 13,376
on most rims its in that area where it is located now. on the 2nd step of the rim. on some rims its located on the inside barrel and pokes out through the face. but most rims have it on that 2nd step of a lip. its just noticeable on this rim because its all silver and the stem is very long.
i will be replacing the valve cap with somehing else other the the BBS cap to keep it funky but thats a secret no one knows yet lol
i will be replacing the valve cap with somehing else other the the BBS cap to keep it funky but thats a secret no one knows yet lol