Painting headlight housings black?
#2
Darren, I don't own a Lex but I've done it on my Accord Headlight. I did the "oven technique" and used Krylon BBQ high temp paint in black for the housing.
I see you're going JDM eh. Good luck.
I see you're going JDM eh. Good luck.
#4
Here's the DIY I followed when I did my black housing:
To seperate the headlights, I preheated an oven to 300 degrees and placed the headlight on a baking sheet with some aluminum foil. (Don't want to upset mom for using her baking sheets for car plastic, now do we?) After about 5 minutes you could pry the housing apart using a flat head screwdriver. Some parts of the housing are a little fragile so don't be too rough. There is a reinforced area on the bottom, about 2 inches in from the inside corner that I could torque on pretty hard and not crack anything.
Now comes the taping off. You'll probably need to rig up something from what you have laying around the house. I had one of those lint rollers that is basically a wide strip of masking tape. I rolled it on my shirt to pick up some lint and make it a little less sticky. I tried using stronger tape and where it touched the side, it ended up pulling off the chrome. Luckily it was an area I was going to paint, but be careful when you do this. I masked off all the areas that I figured were involved in focusing the light. I also masked off the top since nobody will see that it's unpainted. So basically the bottom, front, sides, and the low beam cap got painted. You can see this in the photos above.
To reassemble the headlights you can optionally run a thin bead of silicone sealant to make sure you have a good seal. I skipped that and pushed the housings together as thight as I could. Put them in the oven, same as before, and after five minutes you could push them together and they'll be properly seated. Snap the 4 little metal clips you took off before to help hold the housing together while it cools. Then just reassemble everything in the reverse of how you took it off. I suggest leaving off the two button/screw fasteners under each headlight off, in case you want to take the bumper off again in the future.
The paint I used was black BBQ paint. $3.99 from the local AutoZone. It can withstand temps up to 1000 degrees, and drys quickly to a beautiful satin black finish.
Link for the full write up:
http://cryogen97.net/howto/blackhousing.html
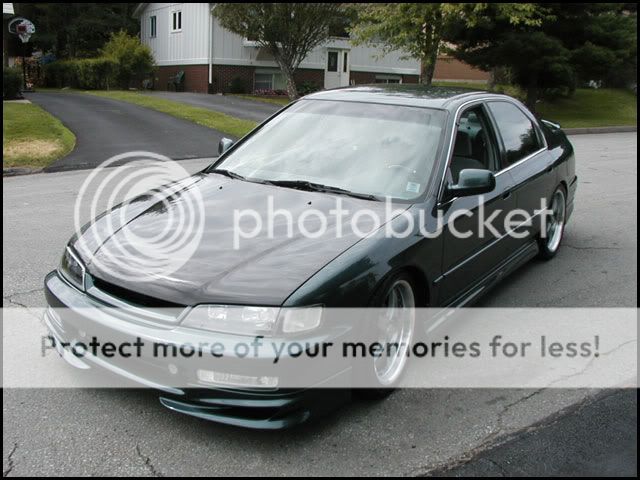
Here's an old pic of the headlights:


Thread
Thread Starter
Forum
Replies
Last Post
S7ephavs
Scion tC 1G Owners Lounge
4
03-22-2015 01:09 PM
umnitza
Exclusive Sponsored Sales
3
12-01-2014 07:26 PM
scioninla
Scion xB 1st-Gen Aero & Exterior
31
01-10-2004 01:56 AM
happies713
Scion xB 1st-Gen Aero & Exterior
10
12-22-2003 01:27 AM


