
This is waht i have been up to....*Pictures*


 06-17-2008, 04:32 AM
#85
Senior Member
SL Member
Thread Starter

Join Date: Aug 2005
Location: Gladstone
Posts: 2,041
alright got everything measured out and cut and the drivers side seat bracket welded up, tomorrow night i should have them both finished and in the car, here are pictures of the drivers bracket so far, not bad for my first welds ever....lol
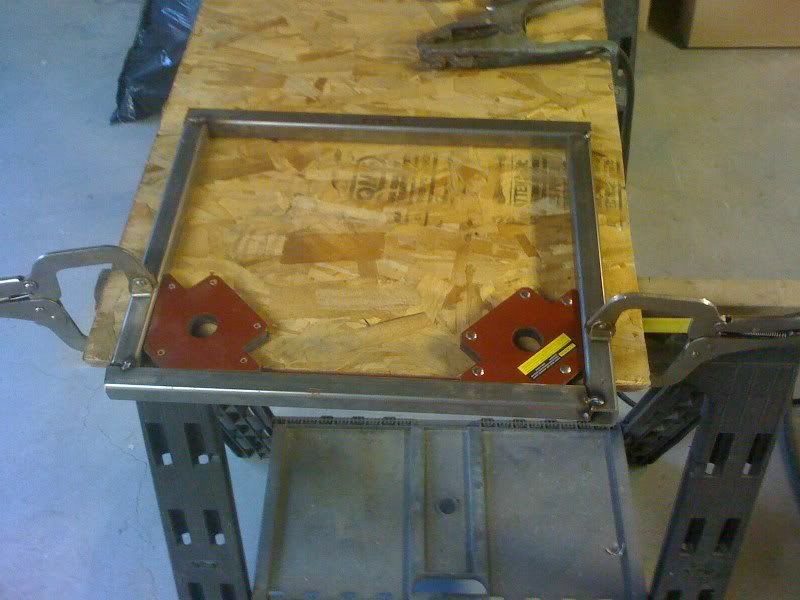
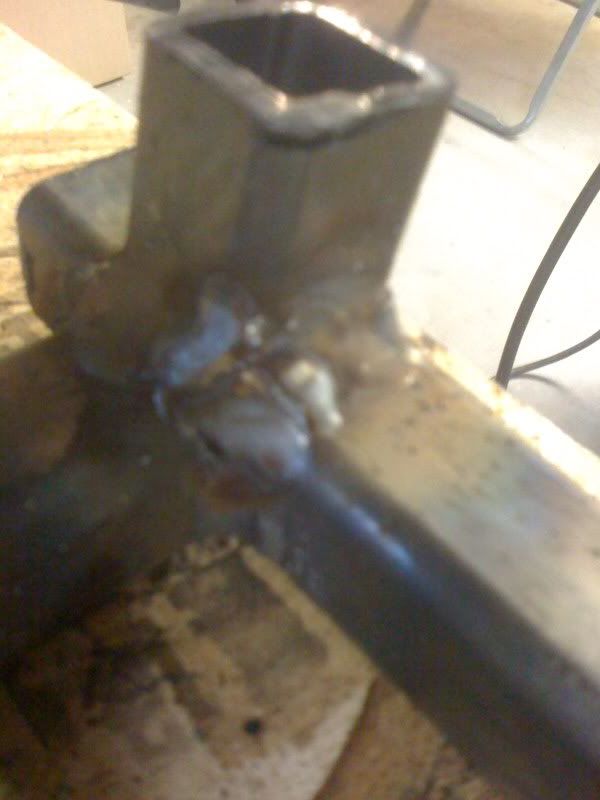
those two things sticking off are just spacers so my seat sits level in the car. i need to get some 1/4 or 1/8 inch flat bar so i can weld the mounting points on.
those two things sticking off are just spacers so my seat sits level in the car. i need to get some 1/4 or 1/8 inch flat bar so i can weld the mounting points on.
 06-19-2008, 06:04 PM
#87
Senior Member
SL Member

Join Date: May 2006
Location: portland, or
Posts: 1,006
nick... i have to say this. be very careful making your own seat brackets. keep in mind that those keep the seat (which you are strapped into) in place both under normal driving (25-70 mph) and during competition (50 -150+ mph). make sure that they are of very capable construction. and make sure you use very strong grade bolts when you install them. also it might be a good idea to re-enforce the mounting points if you are using ones that are other than stock.
 06-19-2008, 07:29 PM
#89


Originally Posted by DownhillSpec
nick... i have to say this. be very careful making your own seat brackets. keep in mind that those keep the seat (which you are strapped into) in place both under normal driving (25-70 mph) and during competition (50 -150+ mph). make sure that they are of very capable construction. and make sure you use very strong grade bolts when you install them. also it might be a good idea to re-enforce the mounting points if you are using ones that are other than stock.
06-19-2008, 07:29 PM
#90
Originally Posted by DownhillSpec
nick... i have to say this. be very careful making your own seat brackets. keep in mind that those keep the seat (which you are strapped into) in place both under normal driving (25-70 mph) and during competition (50 -150+ mph). make sure that they are of very capable construction. and make sure you use very strong grade bolts when you install them. also it might be a good idea to re-enforce the mounting points if you are using ones that are other than stock.
 06-20-2008, 04:55 AM
#92
Senior Member
SL Member
Thread Starter
Join Date: Aug 2005
Location: Gladstone
Posts: 2,041
Originally Posted by DownhillSpec
nick... i have to say this. be very careful making your own seat brackets. keep in mind that those keep the seat (which you are strapped into) in place both under normal driving (25-70 mph) and during competition (50 -150+ mph). make sure that they are of very capable construction. and make sure you use very strong grade bolts when you install them. also it might be a good idea to re-enforce the mounting points if you are using ones that are other than stock.
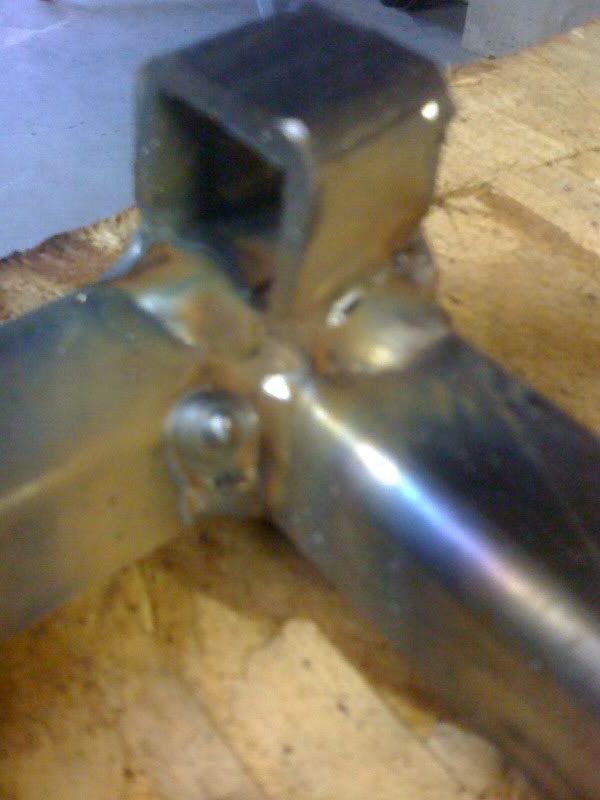
the smaller piece on there is just a spacer so it sits on the floor instead of being elavated. keeps stress off my brackets. but thats what they look like.
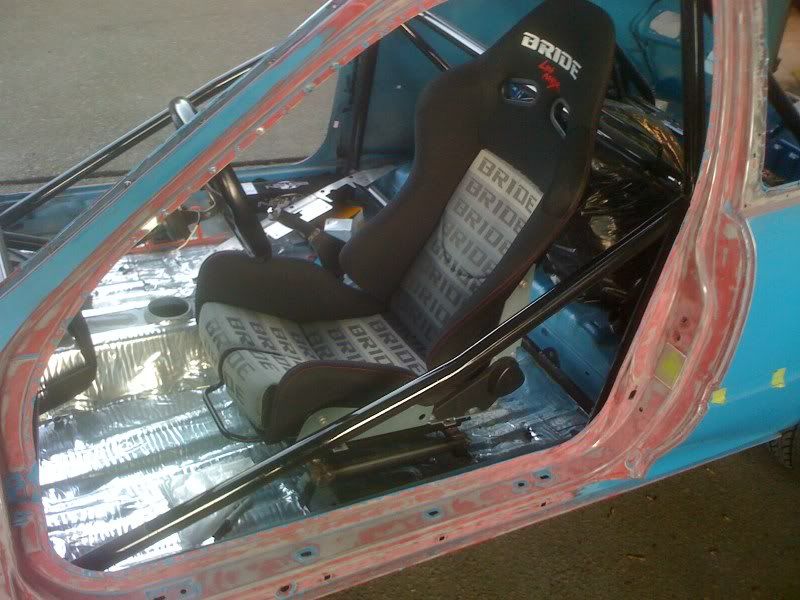

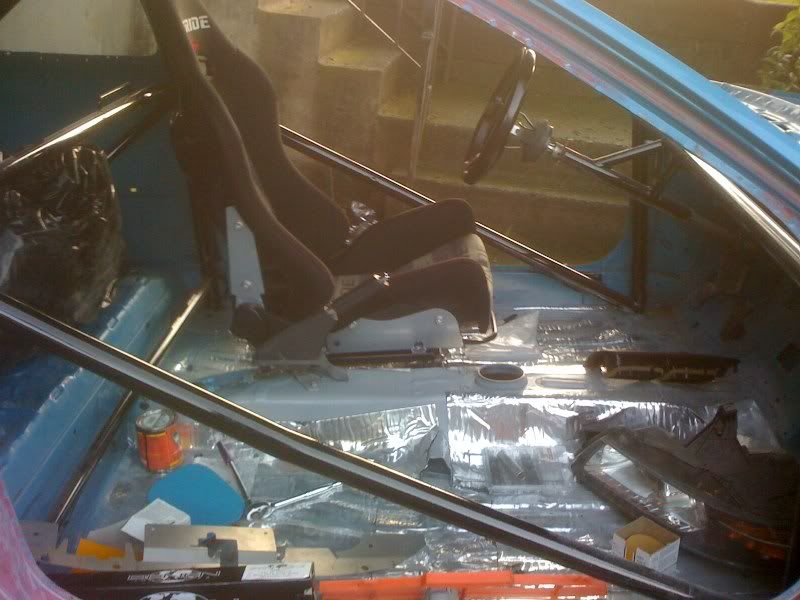
got my drivers side mounted and the passengers side is about ready, just need to pick up a few more nuts from the store cuz they didnt have enough the first time.

 06-21-2008, 06:04 PM
#96
Senior Member
SL Member
Thread Starter
Join Date: Aug 2005
Location: Gladstone
Posts: 2,041
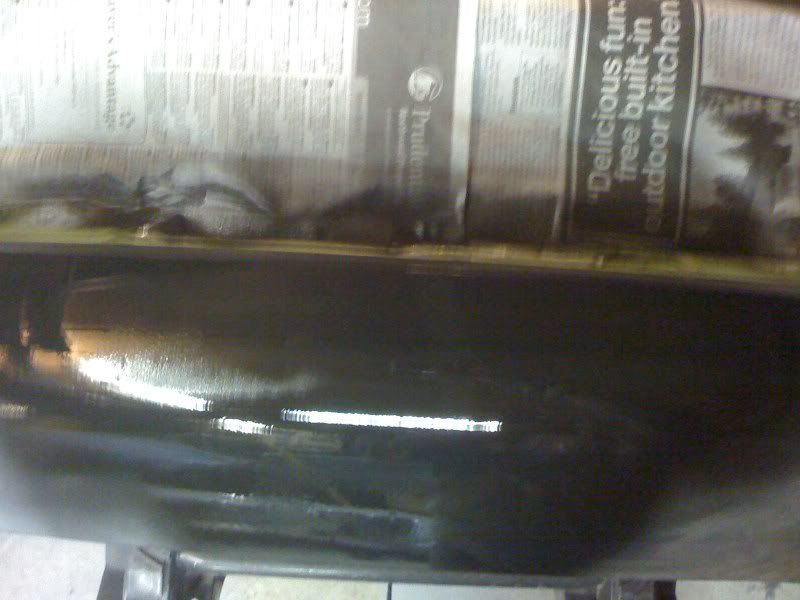
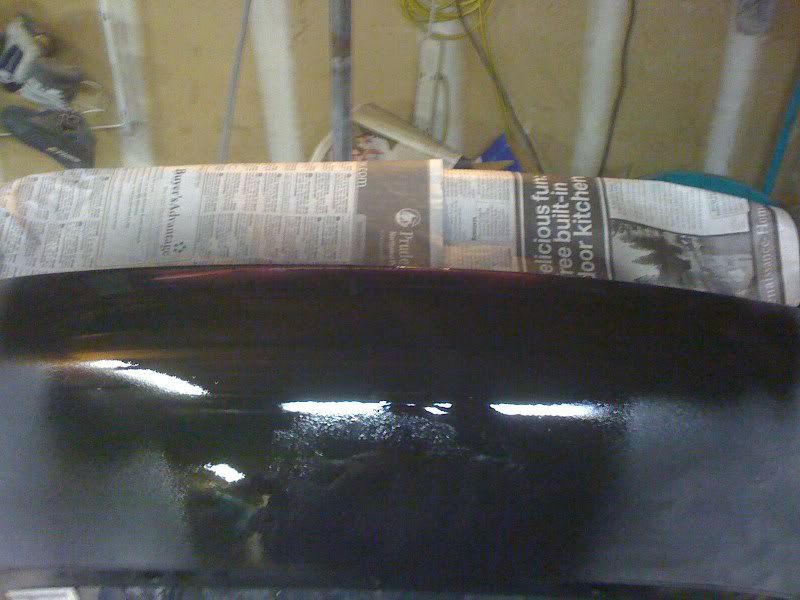
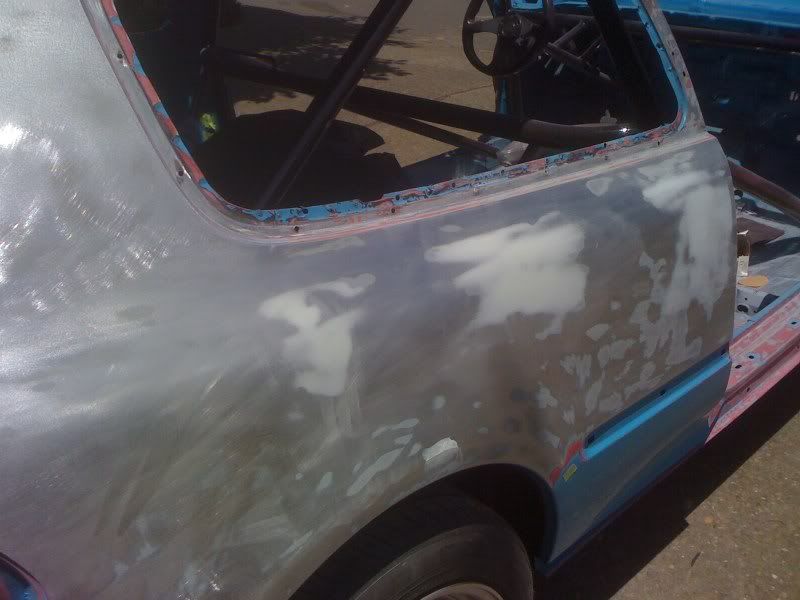
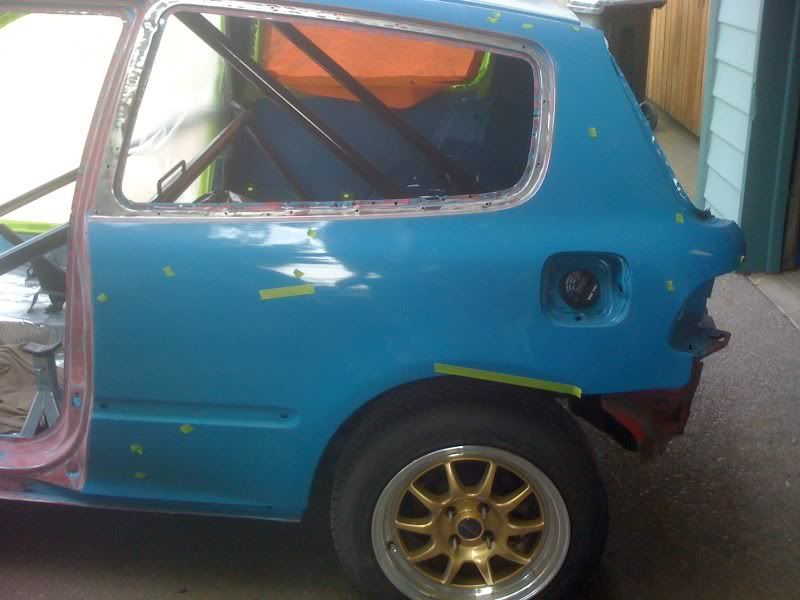
\yesterday i got the passengers side all stripped down the the bare metalness...eeek my car is half naked!!!
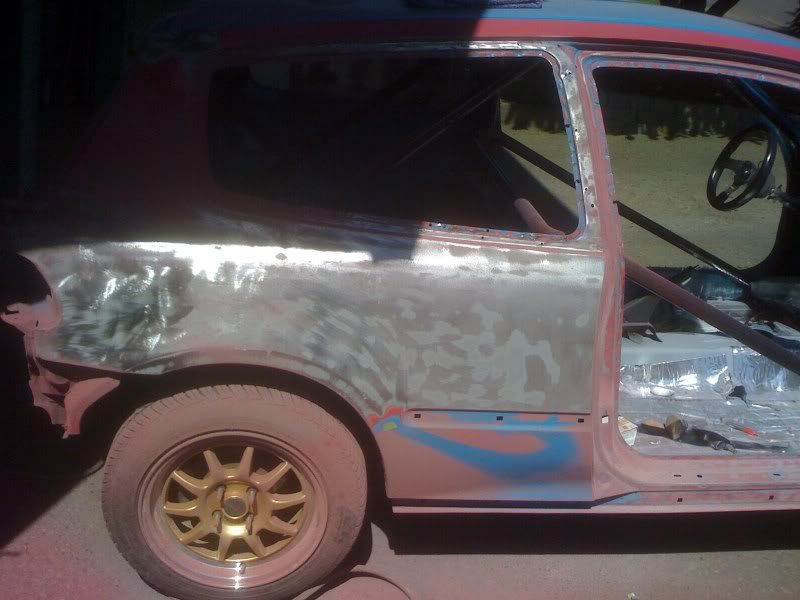
then i got my first whipe of bondo on the few little dings and dets.
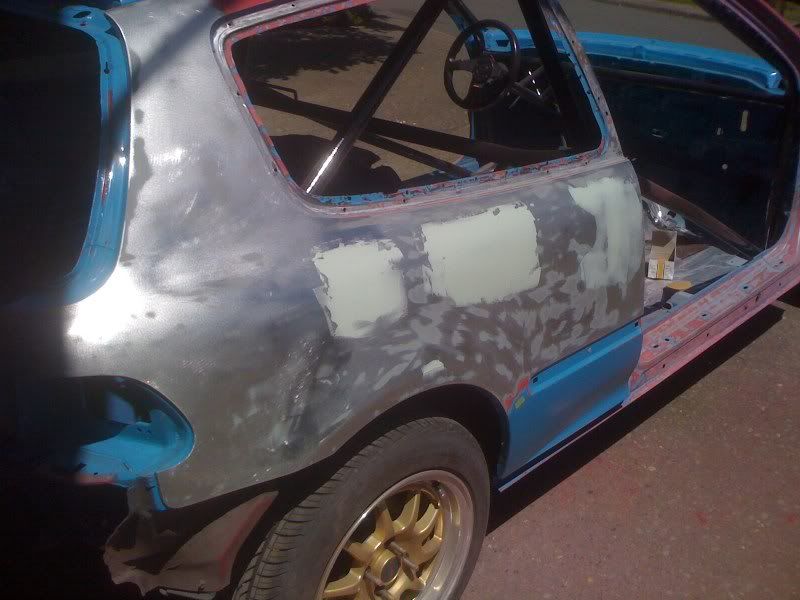
and then my first block done pretty straight, probably just a skin coat of icing and im ready for primer on this side.!
then i got my first whipe of bondo on the few little dings and dets.
and then my first block done pretty straight, probably just a skin coat of icing and im ready for primer on this side.!
06-21-2008, 06:10 PM
#97
Senior Member
SL Member

Join Date: Feb 2008
Location: Bay Area
Posts: 103
Originally Posted by honey0bucket
Originally Posted by Runawayrogue
Now you can sit down and enjoy the fruits of your labor... IN the fruits of your labor!

side note on the hatch...yesterday i got the passengers side all stripped down the the bare metalness...eeek my car is half naked!!!
then i got my first whipe of bondo on the few little dings and dets.
and then my first block done pretty straight, probably just a skin coat of icing and im ready for primer on this side.!
 06-24-2008, 01:32 AM
#99
Senior Member
SL Member
Thread Starter
Join Date: Aug 2005
Location: Gladstone
Posts: 2,041
Originally Posted by nickahhh
Originally Posted by honey0bucket
Originally Posted by Runawayrogue
Now you can sit down and enjoy the fruits of your labor... IN the fruits of your labor!
side note on the hatch...yesterday i got the passengers side all stripped down the the bare metalness...eeek my car is half naked!!!
then i got my first whipe of bondo on the few little dings and dets.
and then my first block done pretty straight, probably just a skin coat of icing and im ready for primer on this side.!
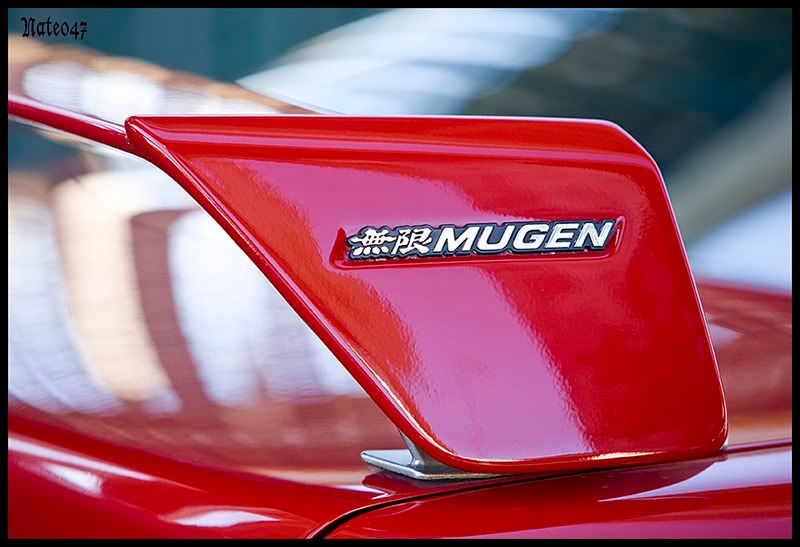
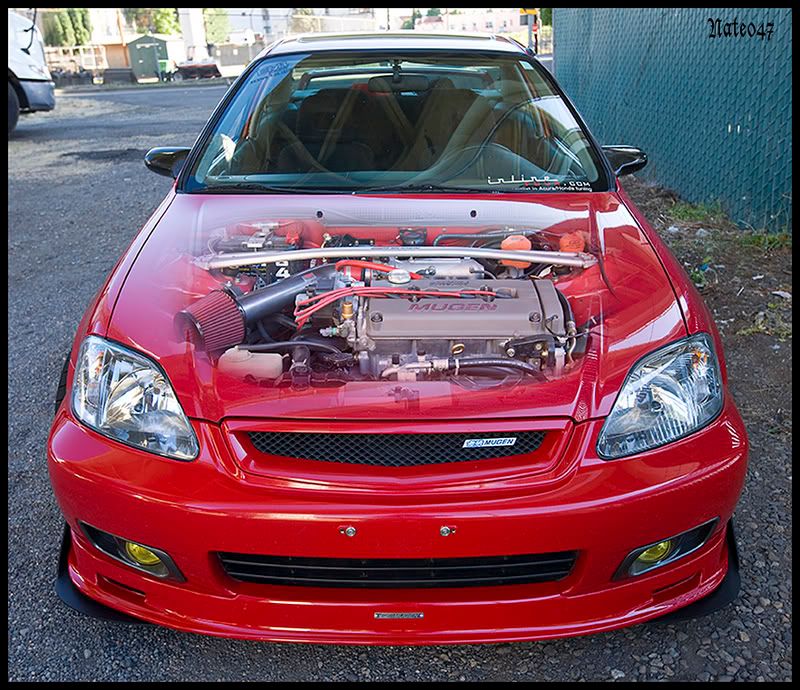


yeah thats her car, here is a quick run down on it.
Mugen front lip
Mugen front strut tower bar
Mugen steering wheel
Mugen wing
Mugen sway bar
Mugen Valve cover
Mugen shift ****
Mugen gauge cluster
Mugen license plate bolts
Mugen header
Mugen exhaust
Mugen pedals
Spoon CF mirrors
ARC magic winglets
JDM fogs
CTR headlights
ITR seats
5-lug conversion
CTR cams
Benin fuel rail
ARC sub frame
Blox lower control arms
NRG short hub
NRG quick release
im sure im missing a bunch of things but yeah, i dotn know EVERYTHING on her car off the top of my head lol
06-24-2008, 01:36 AM
#100
Senior Member
SL Member
Thread Starter
Join Date: Aug 2005
Location: Gladstone
Posts: 2,041
so i marked where all the dents/outie dents were before i started stripping...picture speaks for its self....
sooooo remember my rant last page about ____ty body work and blah blah blah...check out what i found on the drivers side...


look how effing deep it is...

and what was under the mess of bondo...
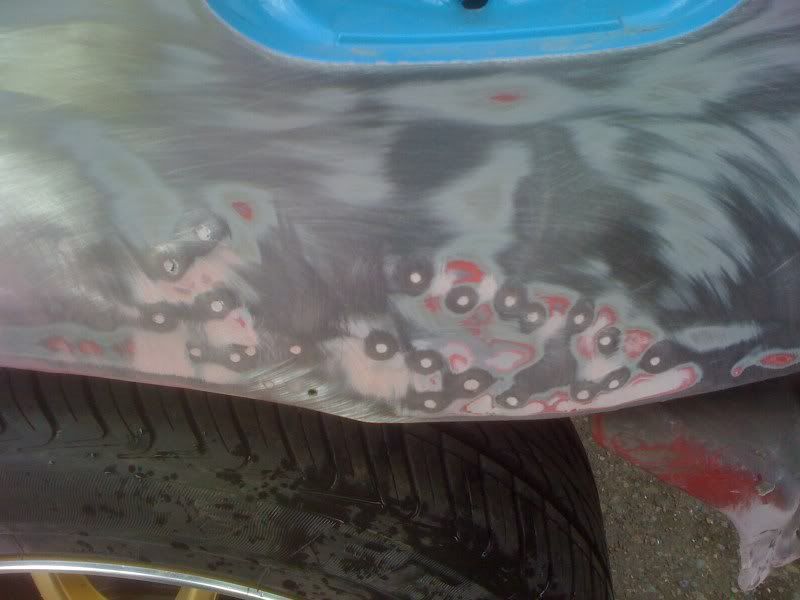
and yeah i got the rest of the side stripped...time to start straightening and bondo work...yay....
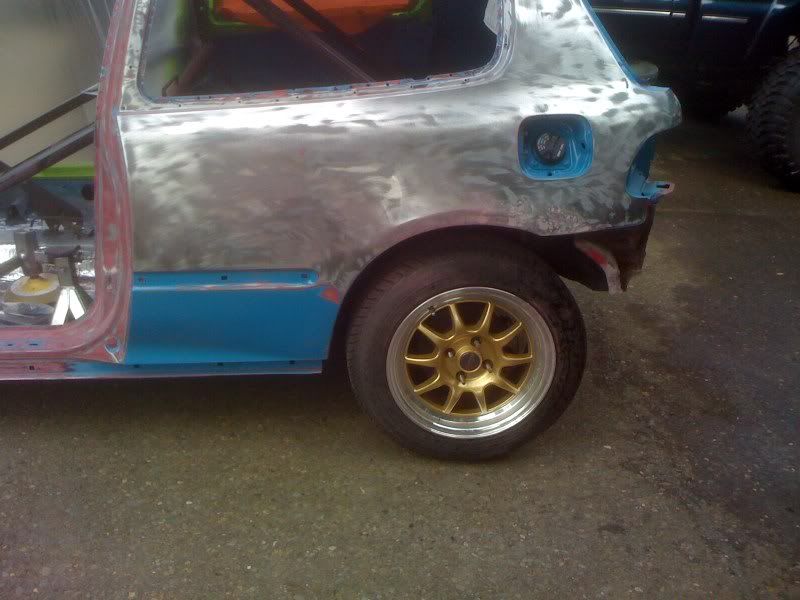
im a little annoyed right now so forgive the lack of explanation and care in this post!
sooooo remember my rant last page about ____ty body work and blah blah blah...check out what i found on the drivers side...
look how effing deep it is...
and what was under the mess of bondo...
and yeah i got the rest of the side stripped...time to start straightening and bondo work...yay....
im a little annoyed right now so forgive the lack of explanation and care in this post!