
Customized JLevi Headlights_customized_with cut-off fix also
 02-13-2007, 05:16 AM
#1
Member
SL Member
Thread Starter

Join Date: Aug 2006
Location: Omaha, NE
Posts: 54
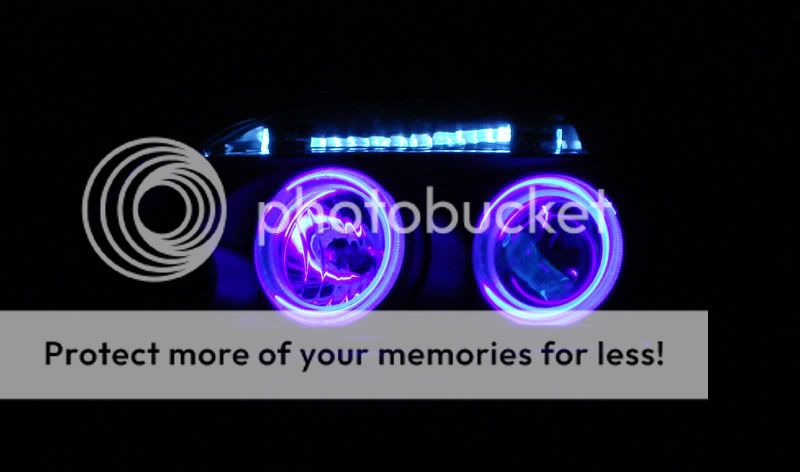
I didnt quite agree with the fashionings of the JLevi headlights, so I modified them a little bit.

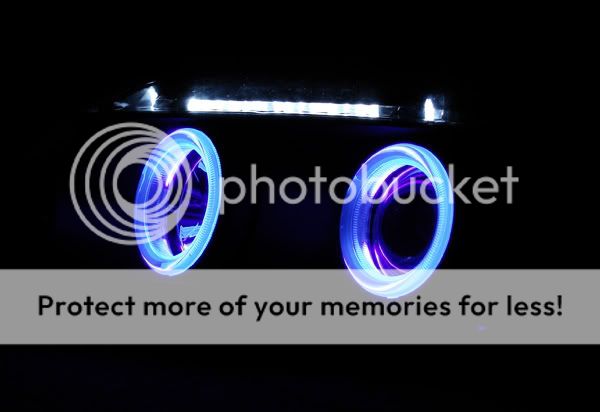
Any comments?
Havent had time to install them on my car yet, its been cold as hell and I just dont have the time at the moment. I'll get pics up when i install them, hopefully within the month.
Any comments?
Havent had time to install them on my car yet, its been cold as hell and I just dont have the time at the moment. I'll get pics up when i install them, hopefully within the month.


 02-13-2007, 09:36 PM
#6
Member
SL Member
Thread Starter
Join Date: Aug 2006
Location: Omaha, NE
Posts: 54
Good observation Squall, I did use UV CCFL tubes. I just bought the 80mm round CCFL tubes that are normally used for 'pimping out' ones computer. It costs like $6-10 a piece. As for the eyebrow, i used the old halo trick with the LEDs, but I kept the mini-blind rods straight instead of bending them. It was a pretty easy project if you dont mind baking.
Dakine,
I was hoping that i could get away with it with the cops, since the color is technically purple and not 'cop blue'. And it doesnt look as blue as the picture shows, its a bit more on the purplish side.
Dakine,
I was hoping that i could get away with it with the cops, since the color is technically purple and not 'cop blue'. And it doesnt look as blue as the picture shows, its a bit more on the purplish side.
02-16-2007, 12:36 AM
#7
Member
SL Member
Thread Starter
Join Date: Aug 2006
Location: Omaha, NE
Posts: 54
For those of you interested, here is a write-up of how i did it, kinda.
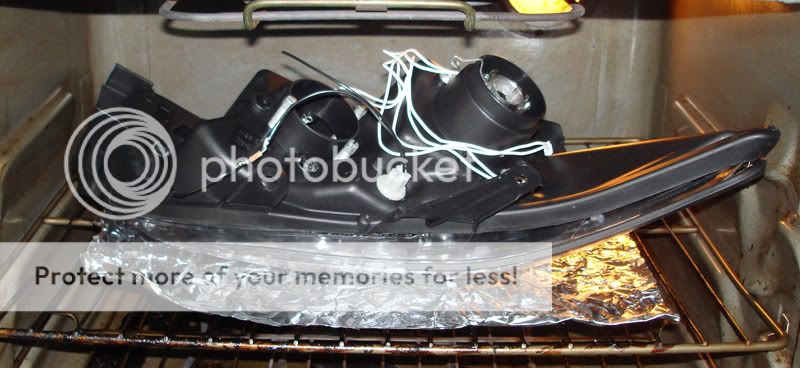
First off, remove all the screws, there about 5 of them and bake it up at 250 degrees for about 15 minutes
Open it up
unscrew some more screws and remove the inner housing.
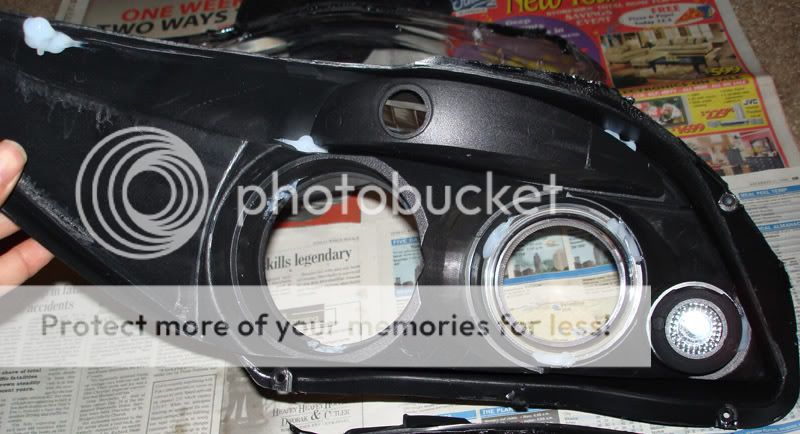
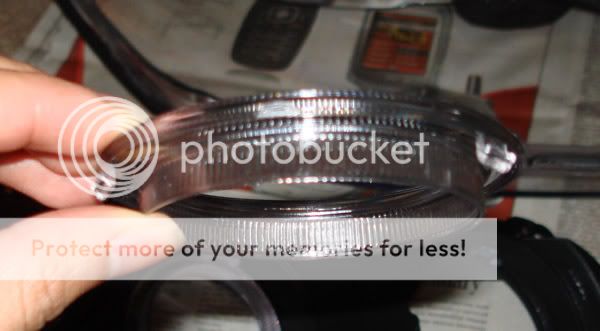
Here is what the halo ring they use looks like
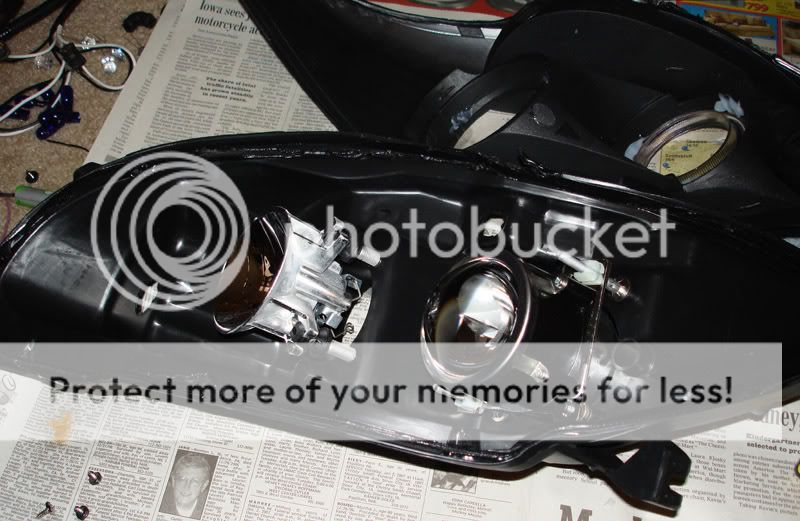
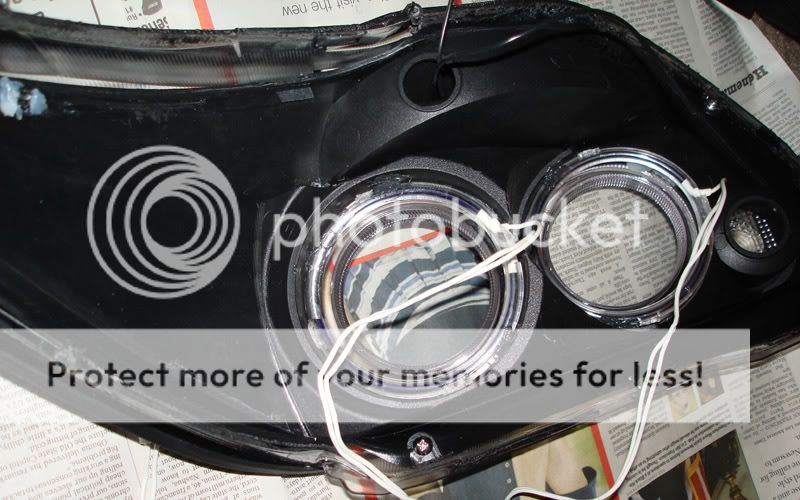
file down the side of the inner housing a little bit so that the CCFL fits a bit better
For the CCFL rings, I left the plastic covering on them and cut off the tabs where they would normally get screwed onto the fan (since the CCFL rings i got are the ones normally used to pimp out computers). I put the rings into the housing there, almost a perfect fit, and glued it down using RTF, cuz thats what i had laying around.
now onto the eyebrow. I modified the old halo DIY trick to get the eyebrows. If you dont know that trick, heres the URL:
http://www.geocities.com/jvxdriver/eagle_eyes.htm
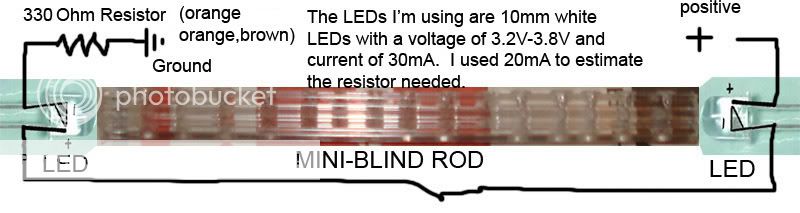
So i bought some mini-blind rods and used a solder gun to make the light refractor 'cuts' into the mini-blind rods.

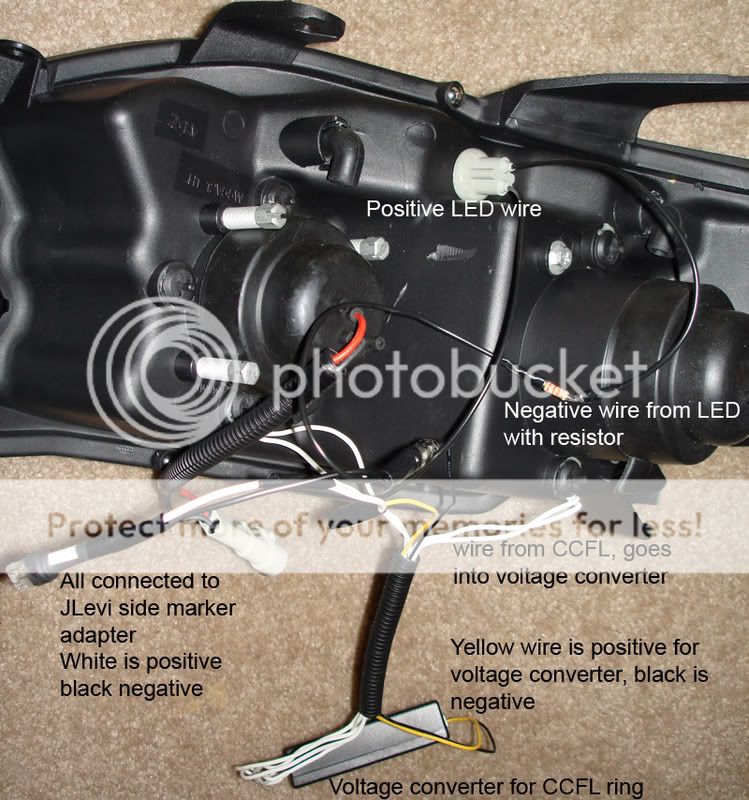
Here is how i hooked up he LEDs, i used 10mm white LEDs.
Test it before putting it back together.
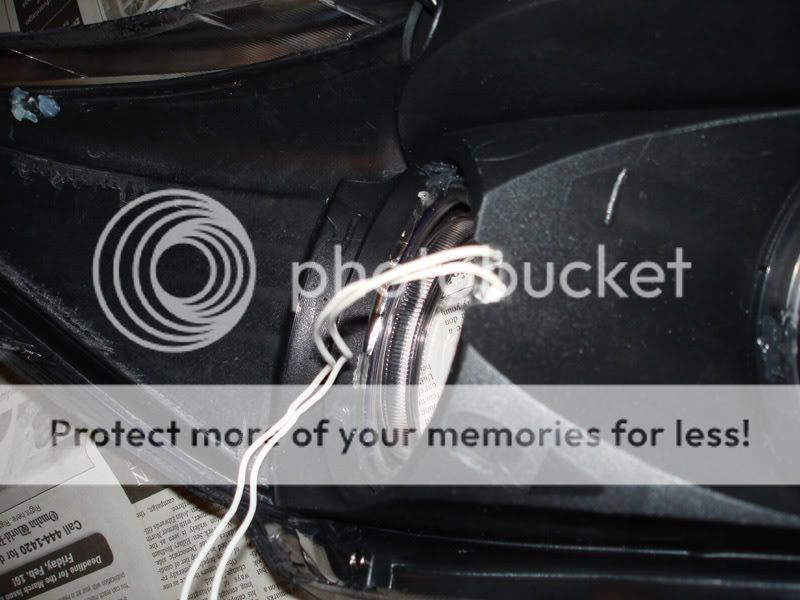
Route the wires through the holes under the projectors where the light bulbs went to light up the halo.
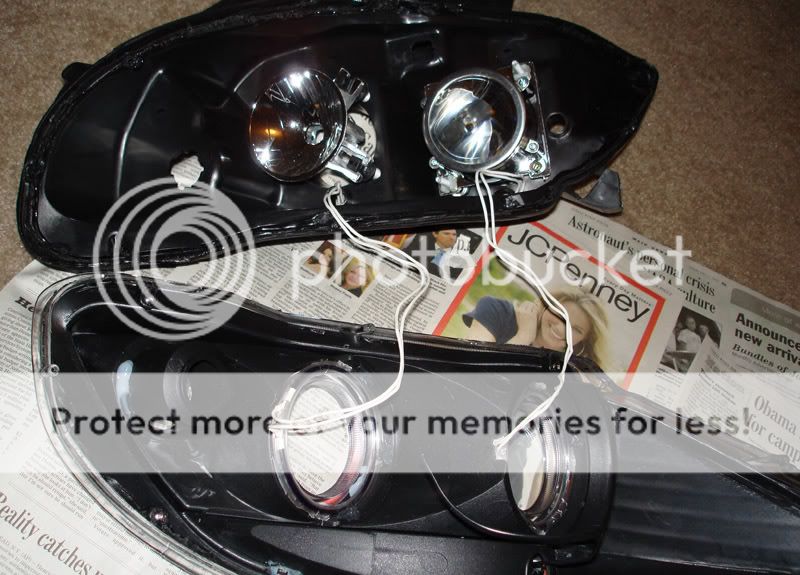
put everything back together and bake. dont forget to pull the wires through fist, so they dont wrap around the projectors.
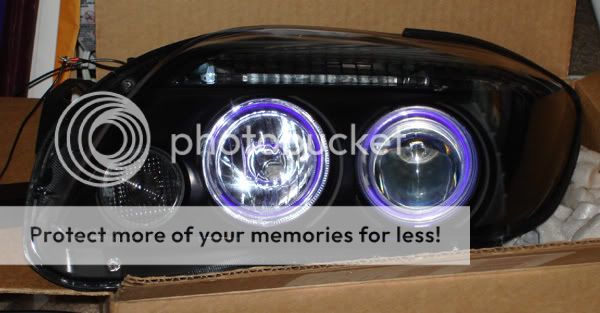
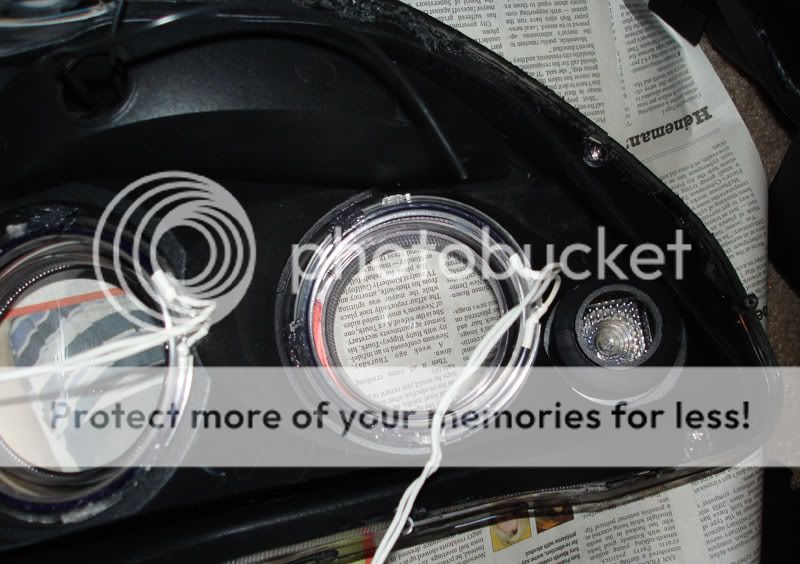
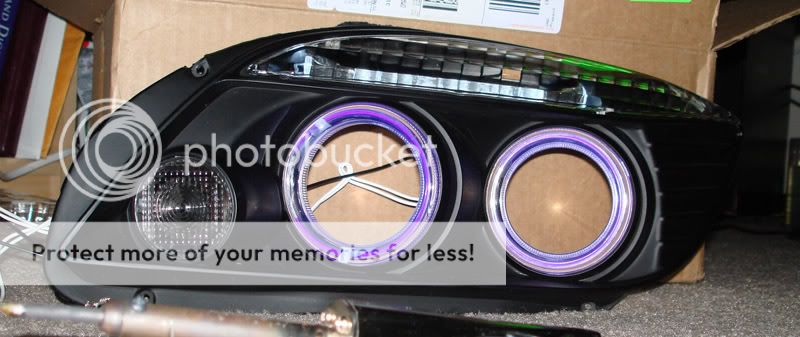
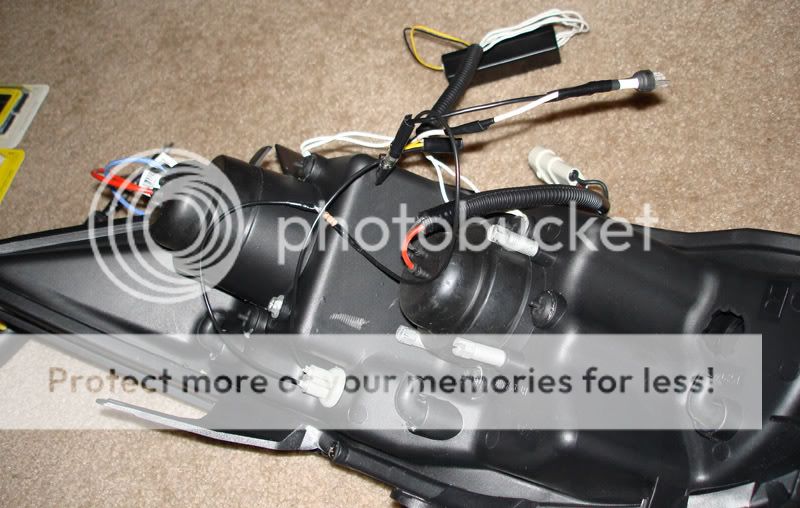
here it is after its back together, all wired up.
If you have questions, just ask .
.
First off, remove all the screws, there about 5 of them and bake it up at 250 degrees for about 15 minutes
Open it up
unscrew some more screws and remove the inner housing.
Here is what the halo ring they use looks like
file down the side of the inner housing a little bit so that the CCFL fits a bit better
For the CCFL rings, I left the plastic covering on them and cut off the tabs where they would normally get screwed onto the fan (since the CCFL rings i got are the ones normally used to pimp out computers). I put the rings into the housing there, almost a perfect fit, and glued it down using RTF, cuz thats what i had laying around.
now onto the eyebrow. I modified the old halo DIY trick to get the eyebrows. If you dont know that trick, heres the URL:
http://www.geocities.com/jvxdriver/eagle_eyes.htm
So i bought some mini-blind rods and used a solder gun to make the light refractor 'cuts' into the mini-blind rods.
Here is how i hooked up he LEDs, i used 10mm white LEDs.
Test it before putting it back together.
Route the wires through the holes under the projectors where the light bulbs went to light up the halo.
put everything back together and bake. dont forget to pull the wires through fist, so they dont wrap around the projectors.
here it is after its back together, all wired up.
If you have questions, just ask
.


 02-16-2007, 03:15 AM
#11
Member
SL Member
Thread Starter
Join Date: Aug 2006
Location: Omaha, NE
Posts: 54
i did not do anything special to reseal them Tom0613, and i wouldnt know what to use. baking softens the glue that keeps it together, so it should reseal.
I have not installed it on my car yet, I did this project during the winter time and its cold as hell outside. I will get pics up after i get them installed though.
I have not installed it on my car yet, I did this project during the winter time and its cold as hell outside. I will get pics up after i get them installed though.
 02-17-2007, 06:30 AM
#14
Member
SL Member
Thread Starter
Join Date: Aug 2006
Location: Omaha, NE
Posts: 54
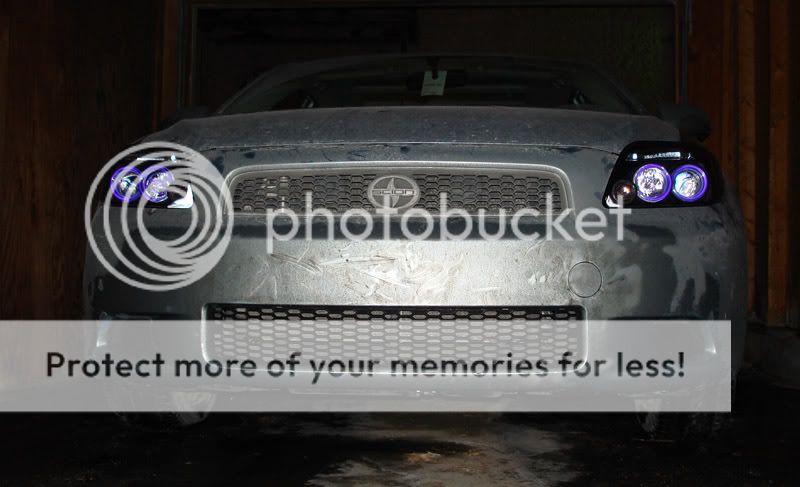
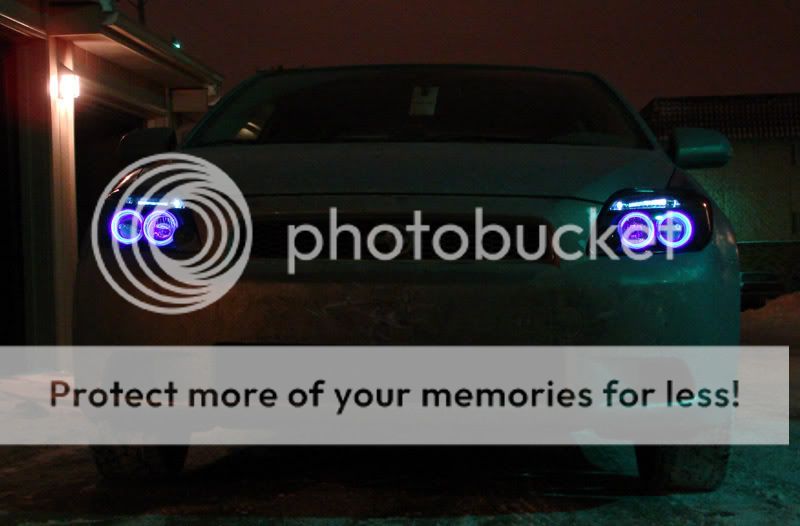
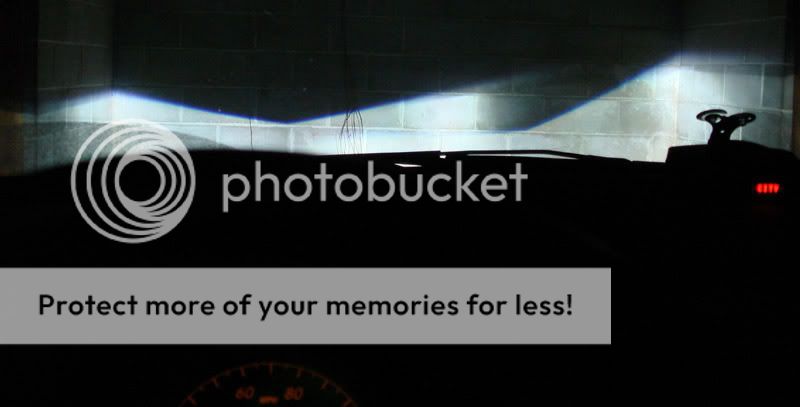
Well, since everyone wanted to see pics of it installed, i took some time and installed them. the cutoff seems like its gonna blind ppl driving to the right and in front of me...not very good at all. Dont mind the VERY DIRTY car...hehe. but here are th pics:
in my garage with flash
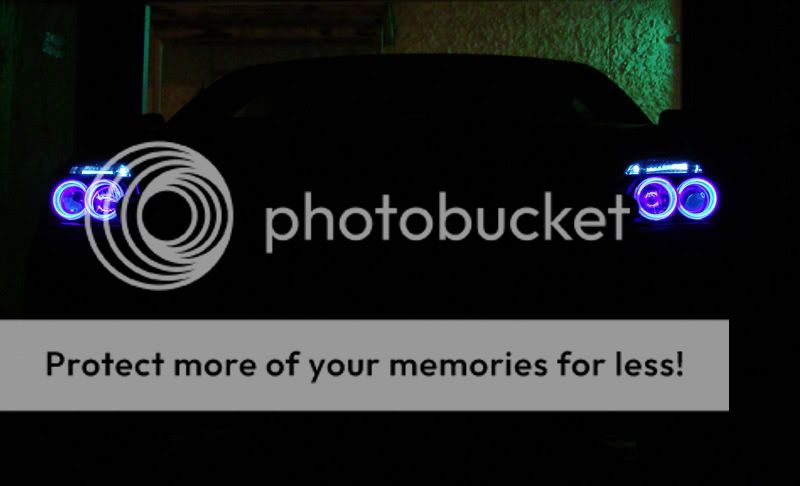
no flash
close up or drivers side
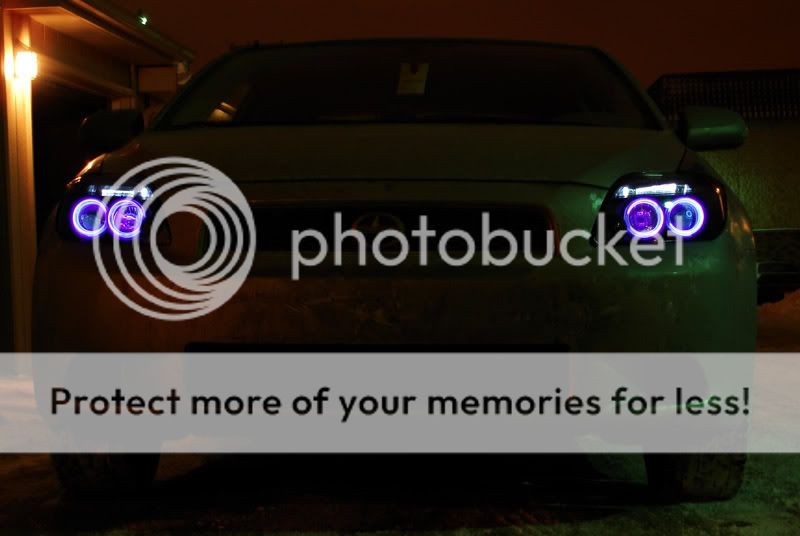
outside
lights on (HID 6K)
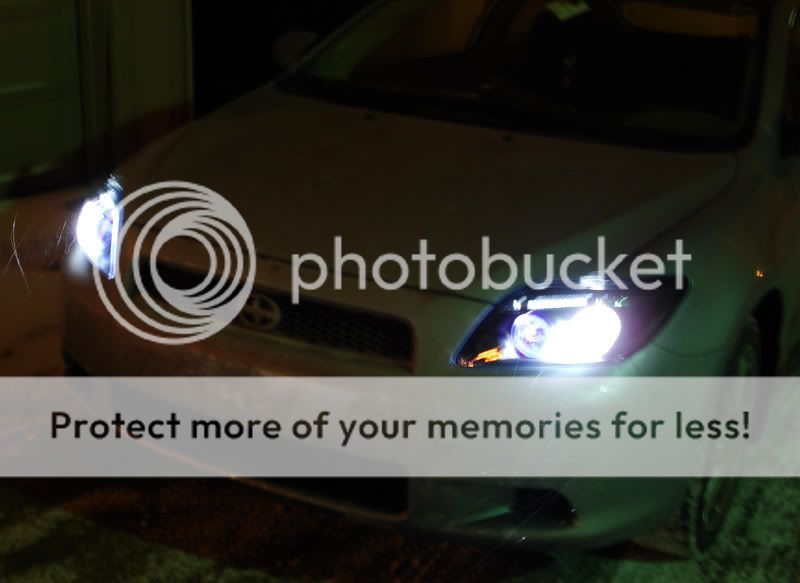
gonna be blinding ppl on driving on the right side...notice the glare already starting
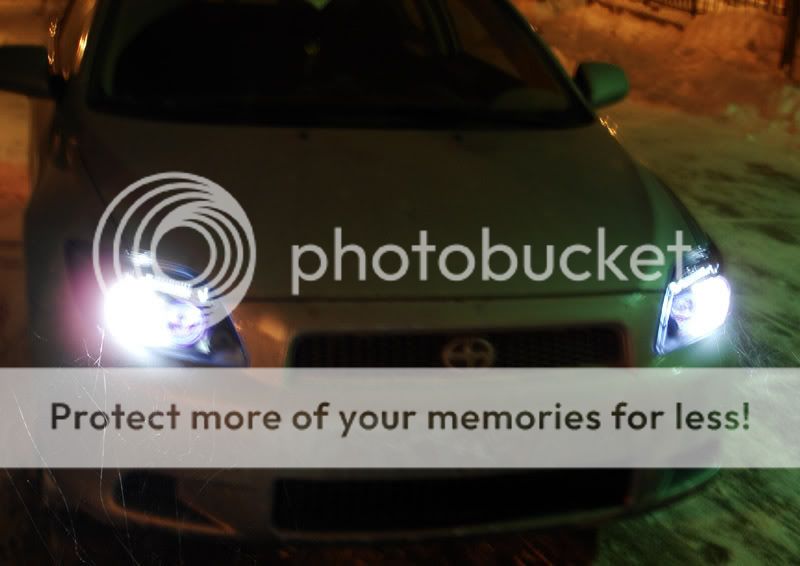
the cut-off, its ok, but im very concerned about the passenger side...looks like i'll be blinding ppl.
Hope you all like it.
I did run into a few problems during the install though. Nothing too serious, just had to rebake the one headlight and redo the eyebrow...bleh. I'm sure i will eventually remove the headlights and rebake them to fix that cut-off...but we'll see.
in my garage with flash
no flash
close up or drivers side
outside
lights on (HID 6K)
gonna be blinding ppl on driving on the right side...notice the glare already starting
the cut-off, its ok, but im very concerned about the passenger side...looks like i'll be blinding ppl.
Hope you all like it
.I did run into a few problems during the install though. Nothing too serious, just had to rebake the one headlight and redo the eyebrow...bleh. I'm sure i will eventually remove the headlights and rebake them to fix that cut-off...but we'll see
.


