
DIY How to mold a lip kit
 03-17-2008, 08:16 PM
#1
Senior Member
SL Member
Thread Starter

Join Date: Apr 2006
Location: Central PA
Posts: 419
Aight guys as promised im gonna attempt to do this write up on how to mold a lip kit, of course it will vary from kit to kit but atleast you will have the basics of how to do it.
List of items need:
Your bumper and lip kit of course
Wax and grease remover
Body filler spreaders
Fusor 114 Plastic finishing adhesive
Fusor 142 Extreme bumper repair adhesive
Fusor 602EZ Plastic surface modifier
Fusor dispensing gun and mixing tips
80, 180, and 320 grit sandpaper
DA sander (helps but not necessary)
A friend
Some cold beverages and LOTS of patience.
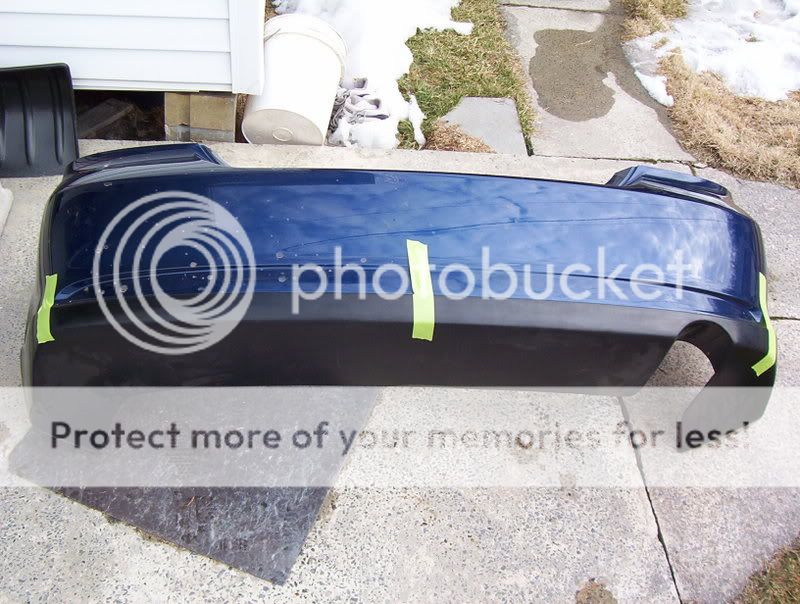
Start by test fitting the bumper and lip kit to make sure it fits. If it doesnt do nesessary trimming to get it there. Make sure you take a screw driver or anything sharp and mark a line across the bumper so you know where the kit will be on the bumper. As you can see the Five Axis kit fits flawlessly so that is gonna save a bunch of time later on.

Next wash the bumper and kit with hot soapy water and then wipe down with wax and grease remover so you dont sand any wax or anything down into the plastic.
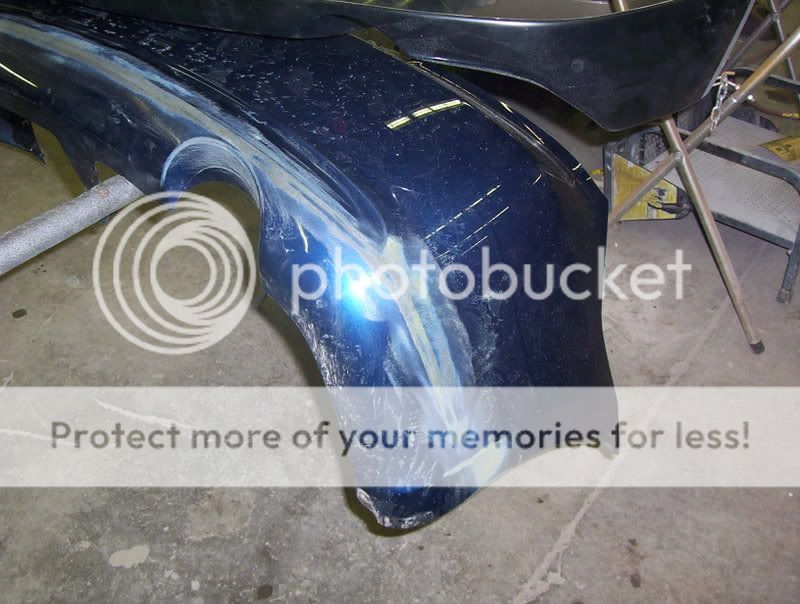
Then take your 80 grit paper and scuff the surface of the lip kit where it meets the bumper. Now on your bumper you want to sand about a inch or so below the line you made earlier and about 2-3 inches above it. You want to get all the paint off and get the plastic to almost a "fuzzy" texture so the fusor will stick.
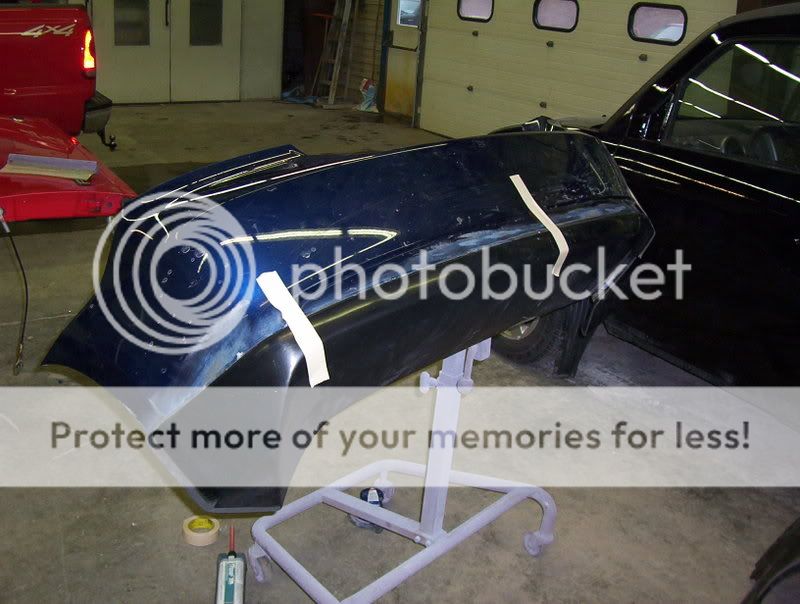
Now take the fusor 602ez and spray a very light coat on the bumper and the kit. Make sure not to put it on to heavy you only need a little. Then let that sit for 10-15 min.
Now this is where the friend comes in handy because the fusor 142 sets up in 1.5 min(there is slower stuff available). Now take the 142 and lay a nice bead on both the kit and the bumper and quickly have a friend help you position the kit on the bumper and tape into postion. Its important to not take the kit of once set in place just slide it into position if you lift it of you have to start over again because there will be air bubbles in the fusor.
After about 30 min take your 80 grit and sand about 2 inches above and below the seam, Hit it with a light coat of the 602 EZ and wait 10 minutes. Now get your buddy back up and have him run the fusor gun for you. Have him take the 142 and lay a nice bead of it in the seam as you go along behind smoothing it out. After about 30-40 min sand it with 80 down to the basic shape. If its close to what you want then skip to the next step if not repeat this step again.
Once you get the 142 to where you need it you want to put a skim coat of the 114 over the whole thing. Its important to keep the 114 as thin as possible because it gets pretty hard and could crack on you later on. 114 goes on the same way as 142 except you have to actually squeeze this out on a mixing board and mix it yourself then but it on. But you have to work quick because it only has a working time of around 2 min @ 70 degrees. after it is set up roughly 30 min start sanding with 180 into your final shape. If your happy with it move on if not just repeat the skim coat.
Now you gonna want to take your 320 and go over everything to knock down the 80-180 scratches and then your ready to shoot it with some primer.
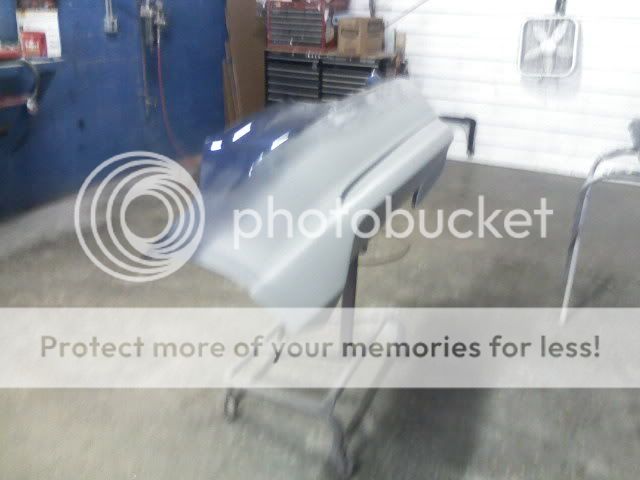
Then it will be ready to prep and paint. After painting you can reinstall and step back and enjoy all your hard work.

For more pics of the final result click here.
I hope this helps people some. If not feel free to ask any questions and ill help you out because im sure this is confusing. Sorry for the lack of pictures i was in a hurry to get it done and back on the car.
Some important fusor tips:
When using a new tube make sure you squeeze out some before installing a mixing tip to make sure they are coming out even.
Once the mixing tip is installed squeeze out a mixing tube length to make sure it is mixed up properly.
Before putting any coats of fusor make sure all shiny spots are gone because fusor doesnt bond chemically it is a mechanical bond.
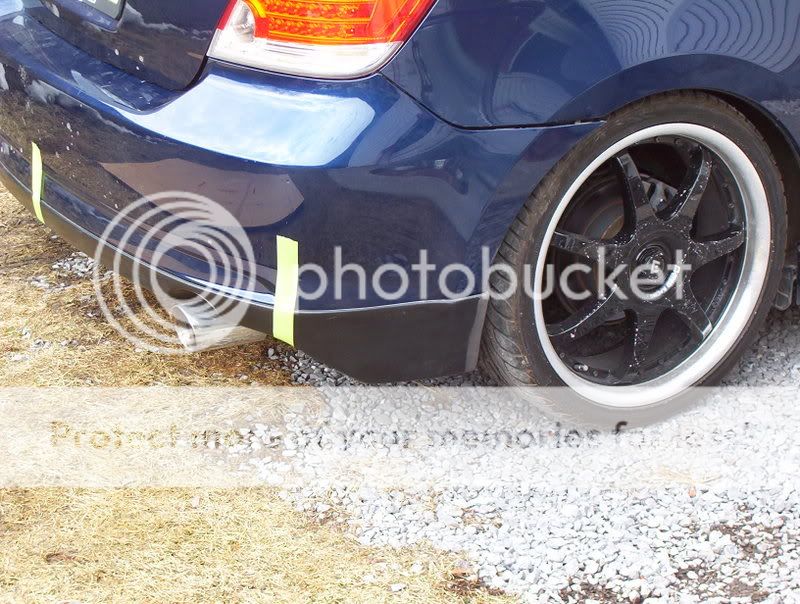
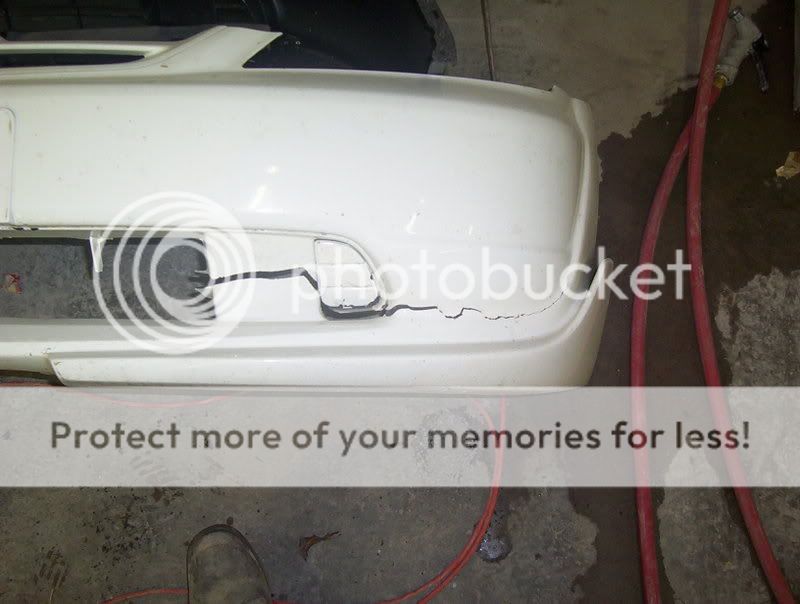
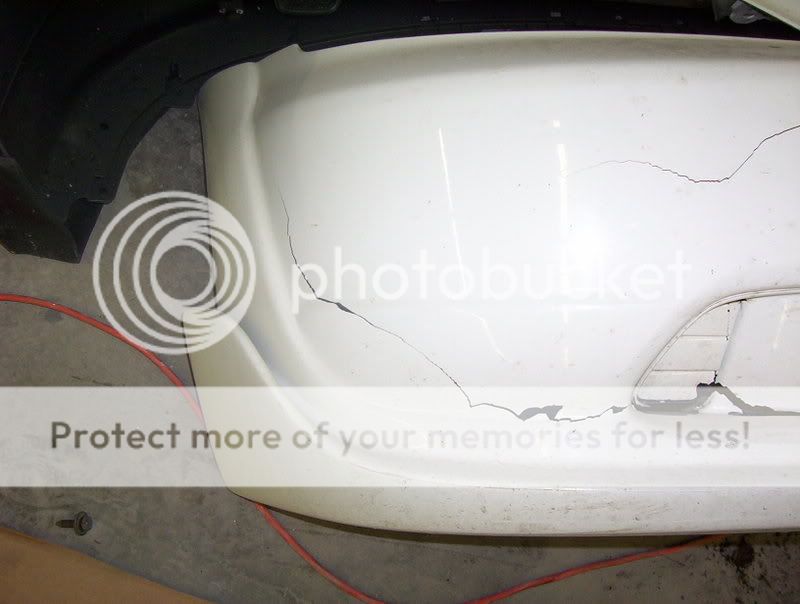
If done right fusor will actually tear the bumper before breaking the bond. Here is a civic bumper i did about a year ago. He just brought it back a month ago. He slid on ice and went up over a curb and you can see it tore the bumper but the fusor bond never broke.
--Keith
List of items need:
Your bumper and lip kit of course
Wax and grease remover
Body filler spreaders
Fusor 114 Plastic finishing adhesive
Fusor 142 Extreme bumper repair adhesive
Fusor 602EZ Plastic surface modifier
Fusor dispensing gun and mixing tips
80, 180, and 320 grit sandpaper
DA sander (helps but not necessary)
A friend
Some cold beverages and LOTS of patience.
Start by test fitting the bumper and lip kit to make sure it fits. If it doesnt do nesessary trimming to get it there. Make sure you take a screw driver or anything sharp and mark a line across the bumper so you know where the kit will be on the bumper. As you can see the Five Axis kit fits flawlessly so that is gonna save a bunch of time later on.
Next wash the bumper and kit with hot soapy water and then wipe down with wax and grease remover so you dont sand any wax or anything down into the plastic.
Then take your 80 grit paper and scuff the surface of the lip kit where it meets the bumper. Now on your bumper you want to sand about a inch or so below the line you made earlier and about 2-3 inches above it. You want to get all the paint off and get the plastic to almost a "fuzzy" texture so the fusor will stick.
Now take the fusor 602ez and spray a very light coat on the bumper and the kit. Make sure not to put it on to heavy you only need a little. Then let that sit for 10-15 min.
Now this is where the friend comes in handy because the fusor 142 sets up in 1.5 min(there is slower stuff available). Now take the 142 and lay a nice bead on both the kit and the bumper and quickly have a friend help you position the kit on the bumper and tape into postion. Its important to not take the kit of once set in place just slide it into position if you lift it of you have to start over again because there will be air bubbles in the fusor.
After about 30 min take your 80 grit and sand about 2 inches above and below the seam, Hit it with a light coat of the 602 EZ and wait 10 minutes. Now get your buddy back up and have him run the fusor gun for you. Have him take the 142 and lay a nice bead of it in the seam as you go along behind smoothing it out. After about 30-40 min sand it with 80 down to the basic shape. If its close to what you want then skip to the next step if not repeat this step again.
Once you get the 142 to where you need it you want to put a skim coat of the 114 over the whole thing. Its important to keep the 114 as thin as possible because it gets pretty hard and could crack on you later on. 114 goes on the same way as 142 except you have to actually squeeze this out on a mixing board and mix it yourself then but it on. But you have to work quick because it only has a working time of around 2 min @ 70 degrees. after it is set up roughly 30 min start sanding with 180 into your final shape. If your happy with it move on if not just repeat the skim coat.
Now you gonna want to take your 320 and go over everything to knock down the 80-180 scratches and then your ready to shoot it with some primer.
Then it will be ready to prep and paint. After painting you can reinstall and step back and enjoy all your hard work.
For more pics of the final result click here.
I hope this helps people some. If not feel free to ask any questions and ill help you out because im sure this is confusing. Sorry for the lack of pictures i was in a hurry to get it done and back on the car.
Some important fusor tips:
When using a new tube make sure you squeeze out some before installing a mixing tip to make sure they are coming out even.
Once the mixing tip is installed squeeze out a mixing tube length to make sure it is mixed up properly.
Before putting any coats of fusor make sure all shiny spots are gone because fusor doesnt bond chemically it is a mechanical bond.
If done right fusor will actually tear the bumper before breaking the bond. Here is a civic bumper i did about a year ago. He just brought it back a month ago. He slid on ice and went up over a curb and you can see it tore the bumper but the fusor bond never broke.
--Keith


 03-17-2008, 09:34 PM
#6

A video of this kind of process would always be better, but the pics helped quite a bit, i'll save this just in case though, pictures of diys always go down by the time i need to use them...


 07-13-2009, 03:25 AM
#17
Senior Member
SL Member
Join Date: Apr 2006
Location: LaVale, MD
Posts: 197
FUSOR is an awesome product. Ive never done it with urethane kits. I wonder if it has ever cracked? We need an update from this guy... Ive molded 8 piece custom bodykits from fiberglass and it is rock solid.
09-26-2010, 02:42 PM
#18
Junior Member

Join Date: Sep 2010
Posts: 1
I'm bringing this thread back from the dead as I want to attempt this process with my new lip. However, it is a fiberglass lip and the bumper is urethane. Will these products and procedures work just as well with fiberglass on urethane?
thanks!
thanks!
07-15-2015, 10:33 PM
#19
Member

Join Date: Sep 2014
Posts: 35
Bump for op update and more pics? The more pics link is broken

Thread
Thread Starter
Forum
Replies
Last Post
viciouzgamer
Scion tC 2G Owners Lounge
15
03-27-2015 12:16 AM
TheTripleC
PPC: Vehicles
1
01-04-2015 06:46 PM