Post Pics of Your Tail Lights!
#567
Joined: Oct 2007
Posts: 965
From: Eastern Illinois University
Originally Posted by krazyqban352
dang those look so so clean!!! can I get like a side pic please? or a different angle?


I plan on getting the oznium red tbl next to match.
Originally Posted by Dam262a
whats that on the top of the rear window?
#570
Joined: Oct 2007
Posts: 965
From: Eastern Illinois University
Fitment is a bit off on these, but they are both the same. Must be the angle.
Buy yeah the bottom of the tail hangs over the bumper slightly, especially towards the center.
It's barely off though, i think the whole tail could go up a little. I think im gonna play with the bolts in the back a lil and see if I can't make them fit perfectly.
They are aftermarket so I guess a slight fitment problems are to be expected.
#571
Originally Posted by cavalierkid888
Fitment is a bit off on these, but they are both the same. Must be the angle.
Buy yeah the bottom of the tail hangs over the bumper slightly, especially towards the center.
It's barely off though, i think the whole tail could go up a little. I think im gonna play with the bolts in the back a lil and see if I can't make them fit perfectly.
They are aftermarket so I guess a slight fitment problems are to be expected.
Buy yeah the bottom of the tail hangs over the bumper slightly, especially towards the center.
It's barely off though, i think the whole tail could go up a little. I think im gonna play with the bolts in the back a lil and see if I can't make them fit perfectly.
They are aftermarket so I guess a slight fitment problems are to be expected.
#572
Joined: Oct 2007
Posts: 965
From: Eastern Illinois University
Yeah when I plugged them right In and stepped on the brake I blew a fuse. They (like other ebay tails) have the wiring in there plug wrong. Simple fix but you would think by now these companies would get it right.
#576
Joined: Oct 2007
Posts: 965
From: Eastern Illinois University
Ok guys here's is how to rewire these tails so they work.

This is your oem plug; black is ground, green is your brake light, and red is your parking lights. The colored wires on the plug given with the tails MUST match up to the correct spots on the oem plug.
Now how to switch around the wires on the plug given with the tail? Simple, you can see that the wires are held into the plug with hot glue. Simply pull on the wires and they will come out with the hardened glue. Toss the hardened glue away and orient the wires in the holes in the plug properly so they line up with the oem plug. Then put a gob of hot glue back into the plug to keep the wires in place nicely and then plug them in.
Make sure the plug is oriented correctly and not flipped upside down. Hope this clears up alot of confusion. Any more question to clarify just ask.
#579
Joined: Oct 2007
Posts: 965
From: Eastern Illinois University
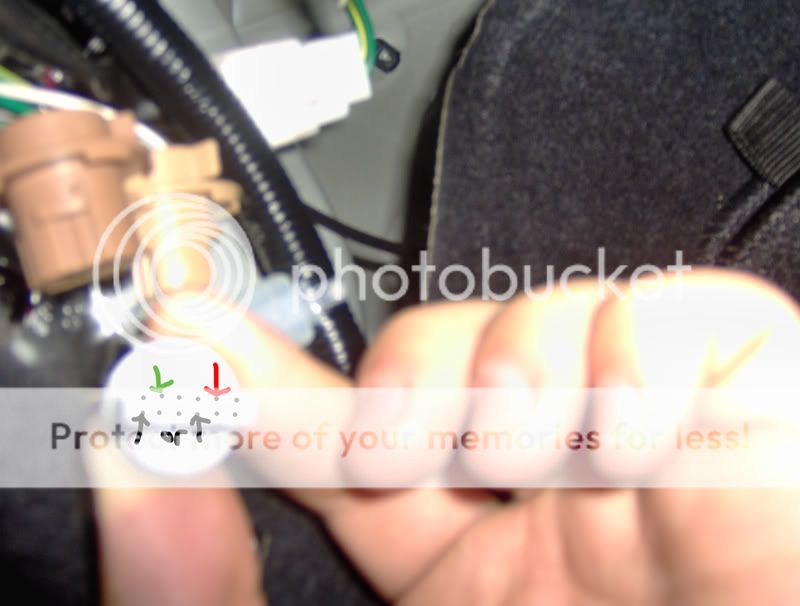
Well I couldn't really get a good pic, it's dark out and storming...
but here's the plug and I added the holes in the plug and where the colored wires go so they match up with the oem plug. This really isn't that difficult.

Notice there is only 1 grounding wire with the tails and 2 spots on the oem plug for ground, so either one can be used.
but here's the plug and I added the holes in the plug and where the colored wires go so they match up with the oem plug. This really isn't that difficult.

Notice there is only 1 grounding wire with the tails and 2 spots on the oem plug for ground, so either one can be used.


