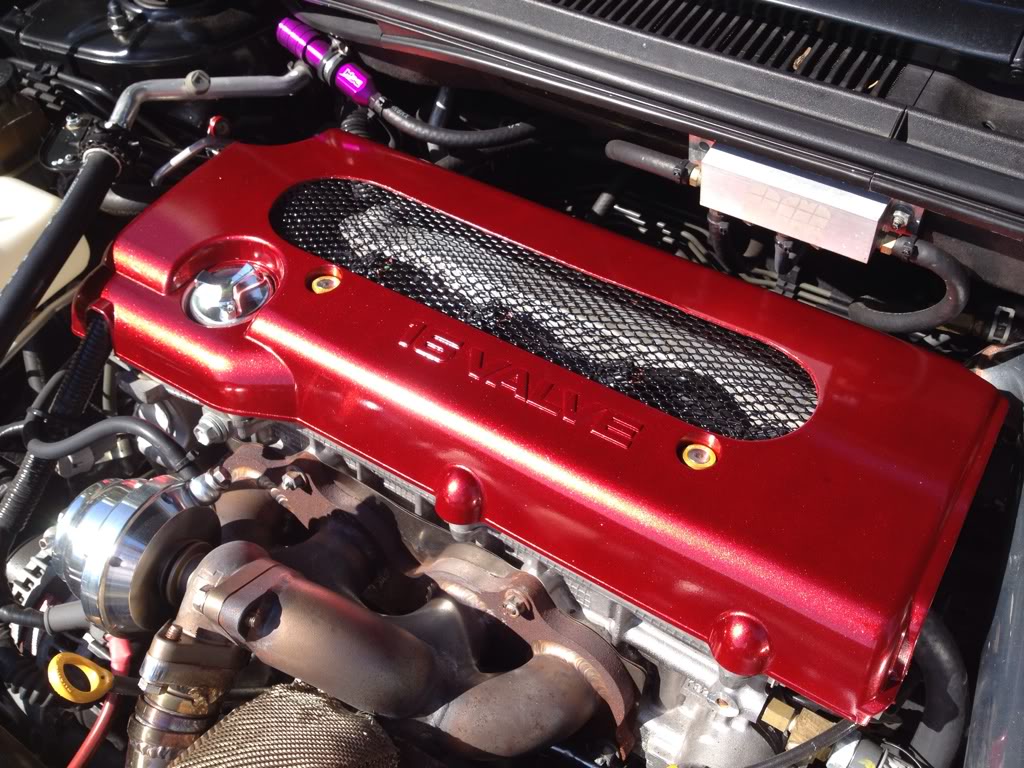
Vented Engine Cover Project... Rice or Nice?
#1
Recently while perusing the classifieds, I came across an engine cover for sale by Cisco_TeamShogun. The price was good so I decided to pick it up and make a project out of it; a vented engine cover. I am not sure if something like this has been done before as I've never seen it done on a tC, so I wasnt sure if it would come out looking cool or just plain ricey. I figured it would be a fun project no matter what so below are pictures of my process:
This is really the only picture I have of the cover before I started doing work on it. As you can see, it looks like it was damaged during shipping as there was a long crack along the top of it
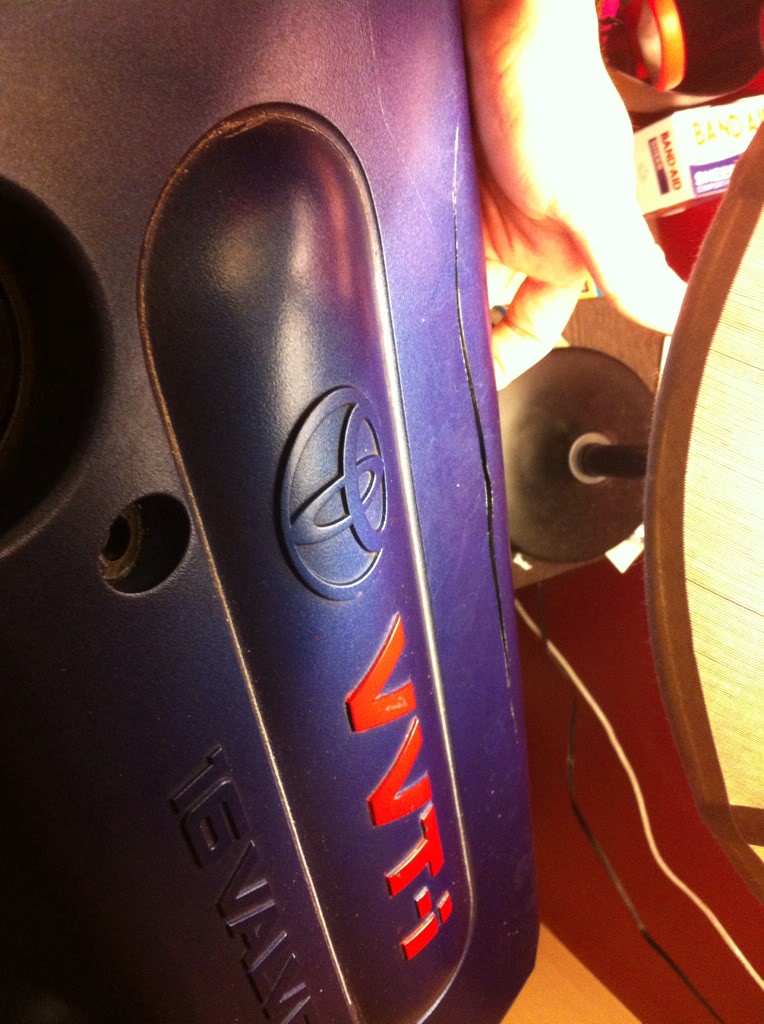
Didn't really matter to me since I was planning on doing modification but still a bit of a pain :/
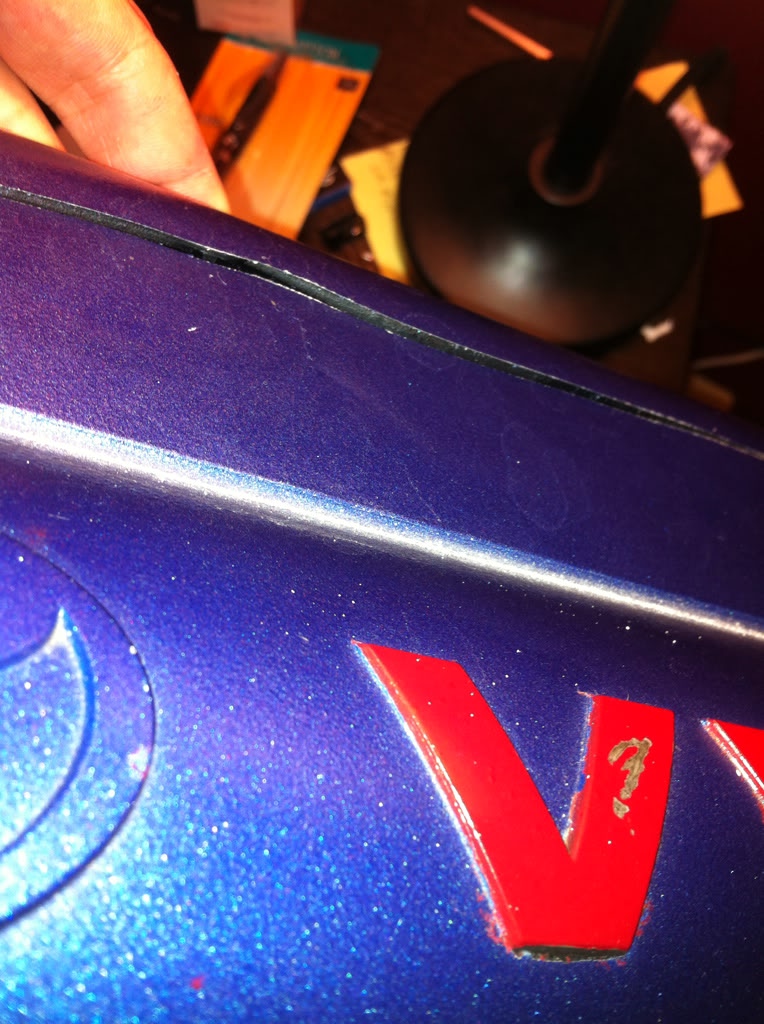
close up of crack:
Using a dremel (and sometimes a power drill with a dremel bit :p ) I began cutting out the raised oval on the cover:
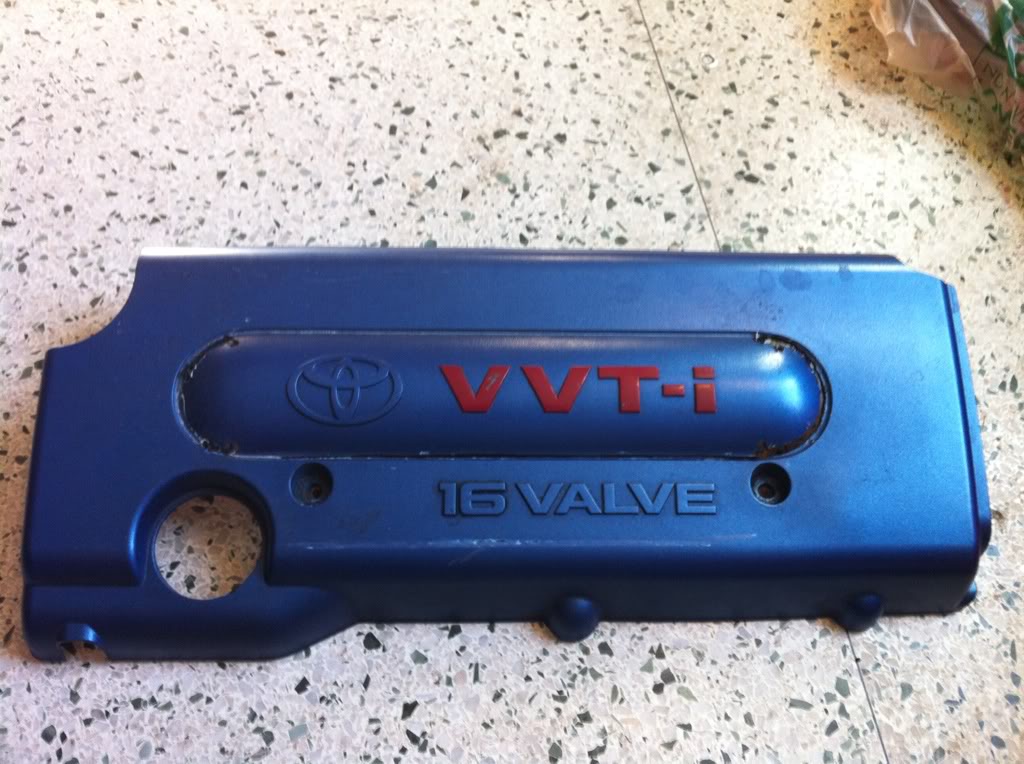
I finally finished the cut out but still had to spend a lot of time smoothing out the edge with sanding bits and loose sand paper
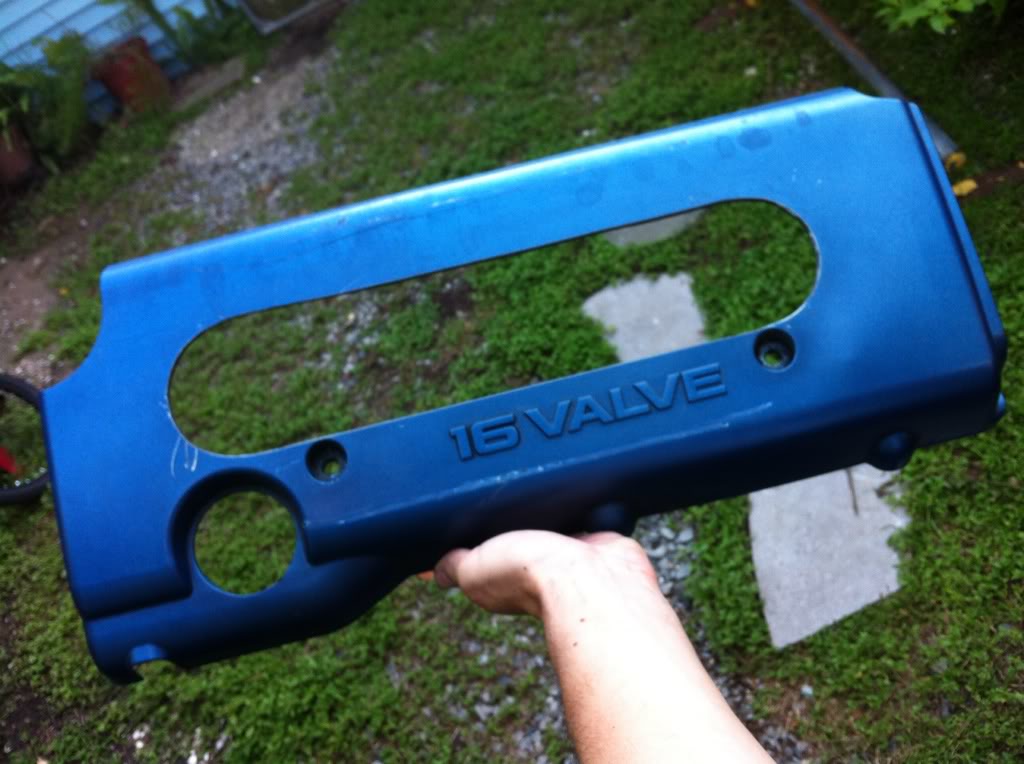
As you can see, I accidentally let the dremel skip a few times, marking up the surface .
.
I guess I didnt take a pic, but I used plastic weld epoxy on the backside to fuse the crack together.
I then did about 4 rounds of filler primer and sanding to fill the remaining hairline crack and other imperfections
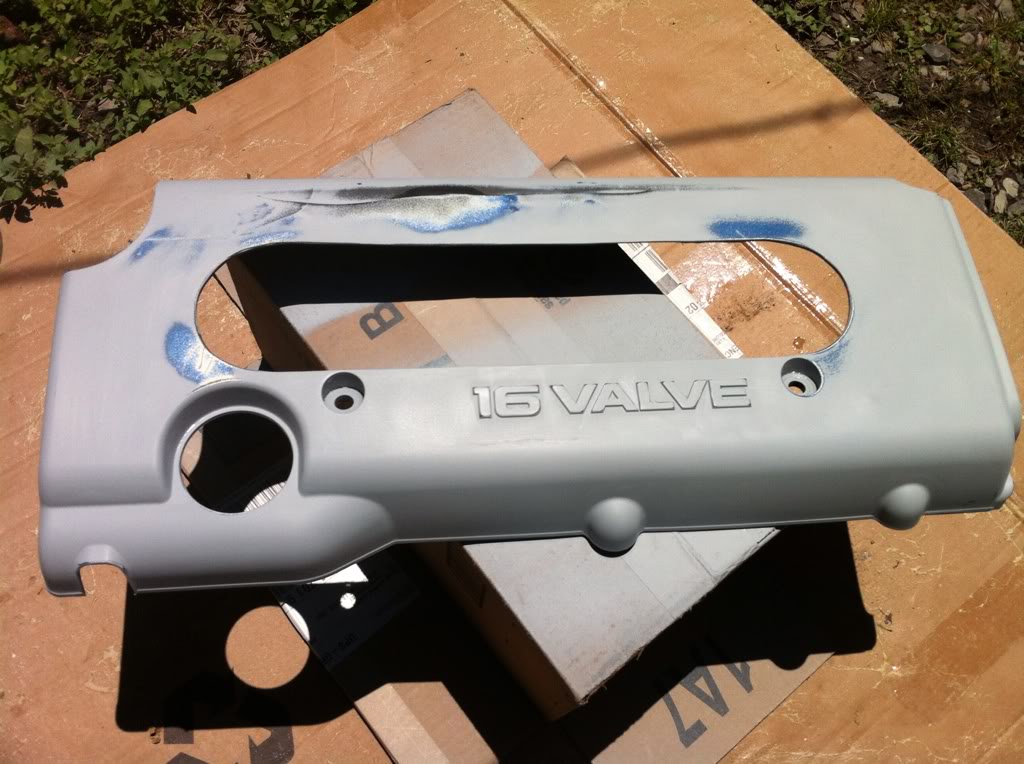
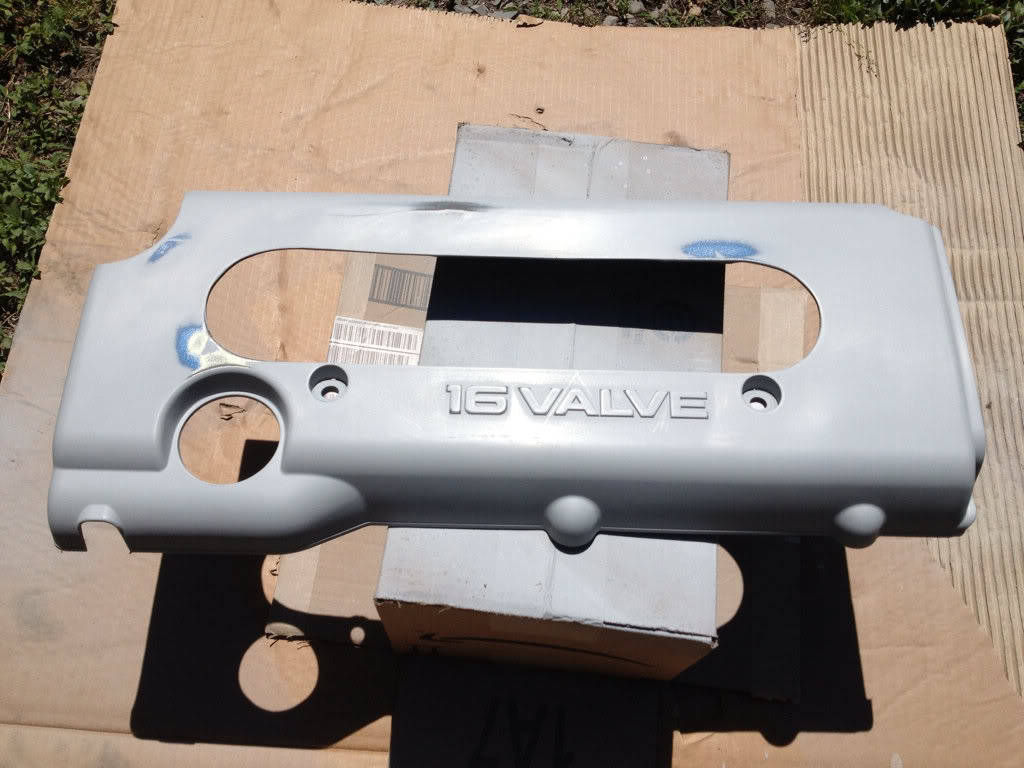
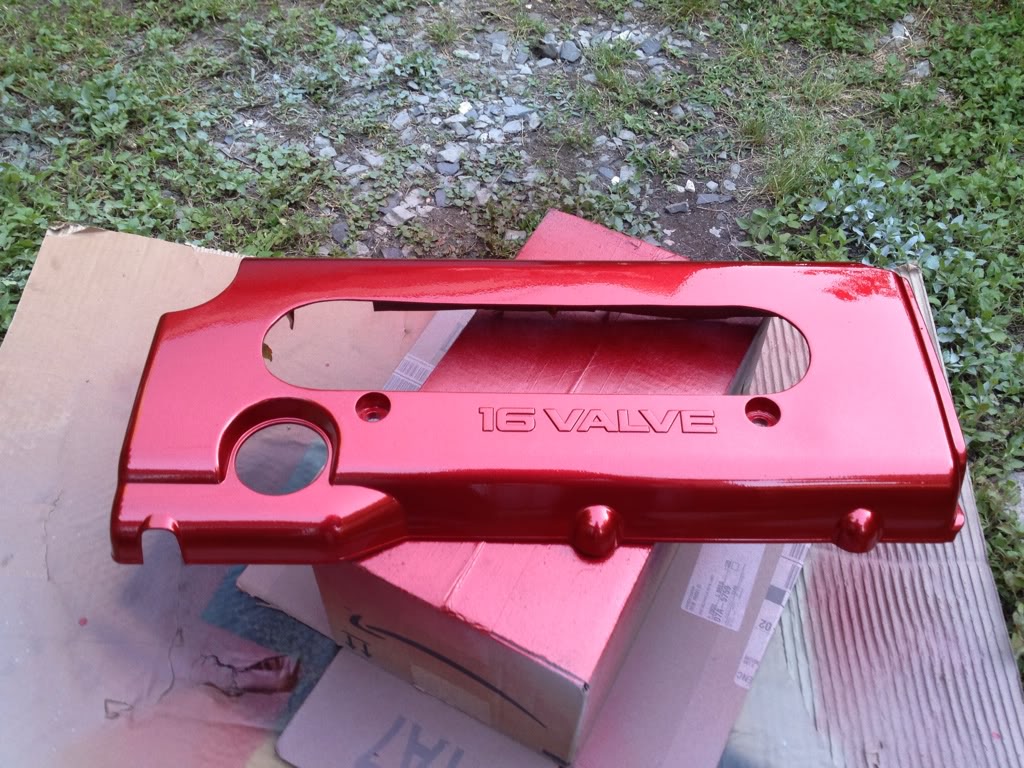
Eventually, I was satisfied with the smoothness of the primer and sprayed some color
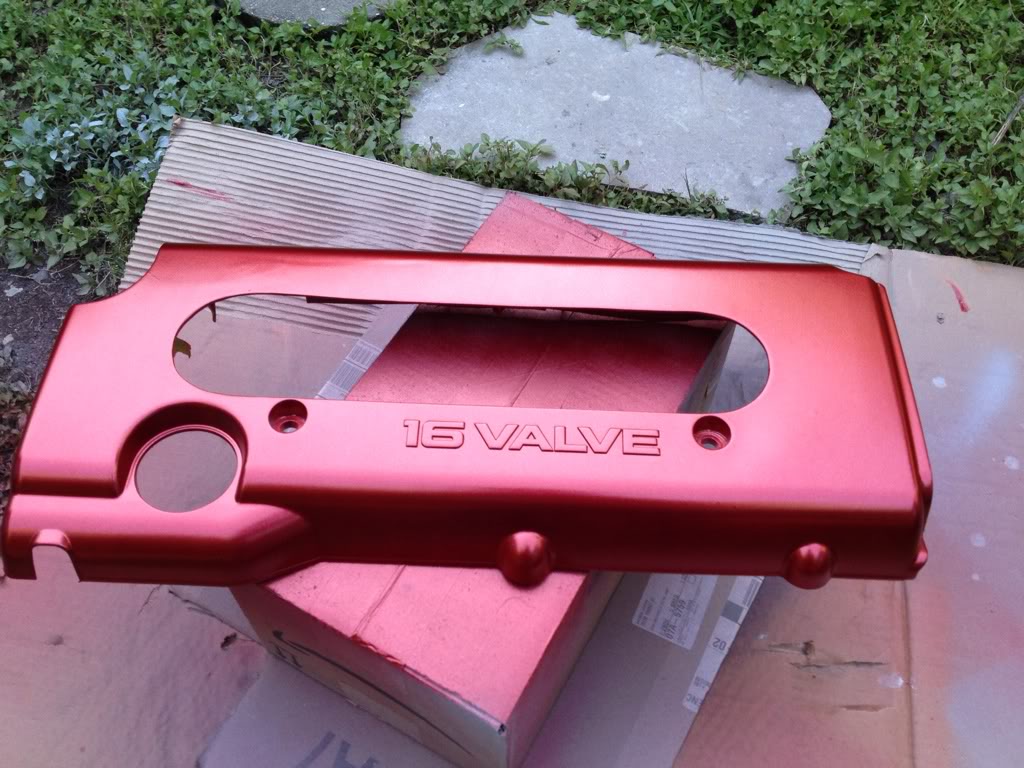
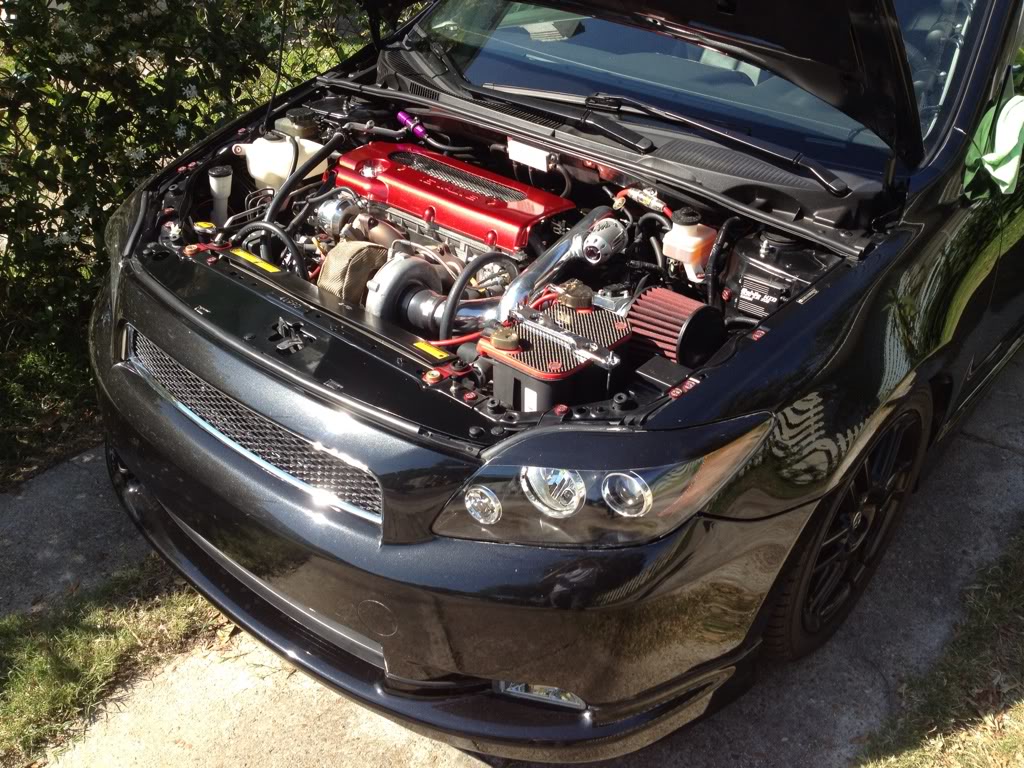
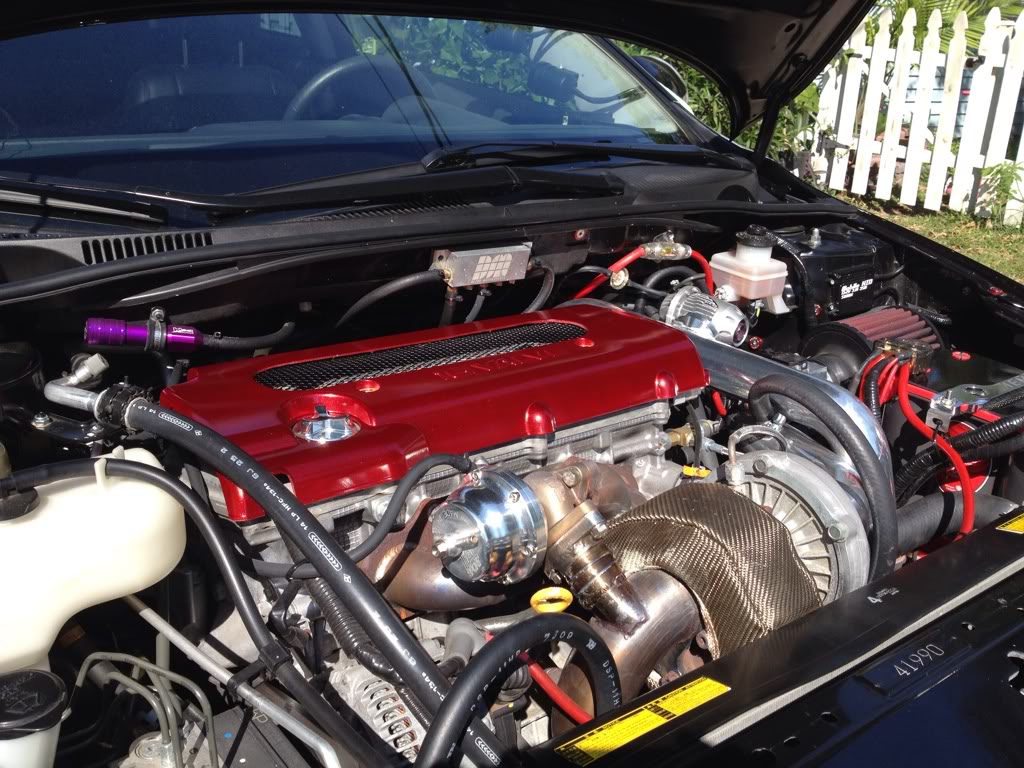
I went with the same red that I used on the engine cover that I currently have on. Duplicolor Metal Specs, still love it!
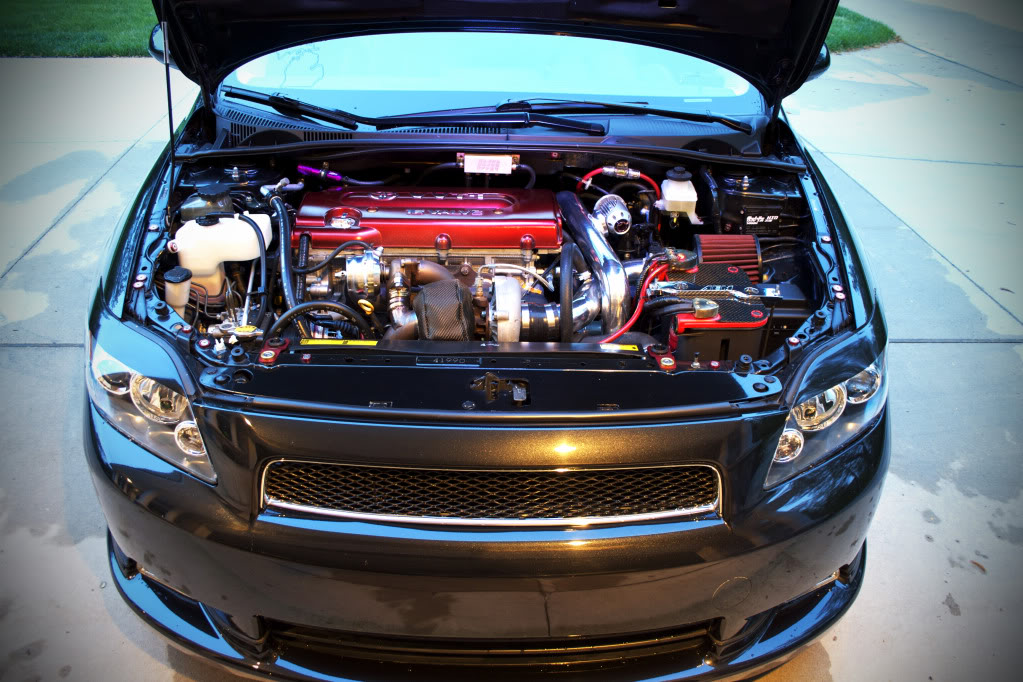
However on my current cover, I just used normal Duplicolor clear coat. This was fine for a while but now that I've put quite a few miles on the turbo set up, the heat from the manifold is starting to burn the paint off. Theres one spot where the clear is completely gone and the color is starting to go. I'll try and get a pic tomorrow.
The point is, for this engine cover I'm trying clear engine enamel. In the past, all the enamels I've tried cloud up really bad, but I think I finally found one that has a nice gloss and doesn't cloud.
3 coats of clear:
This is what I used:
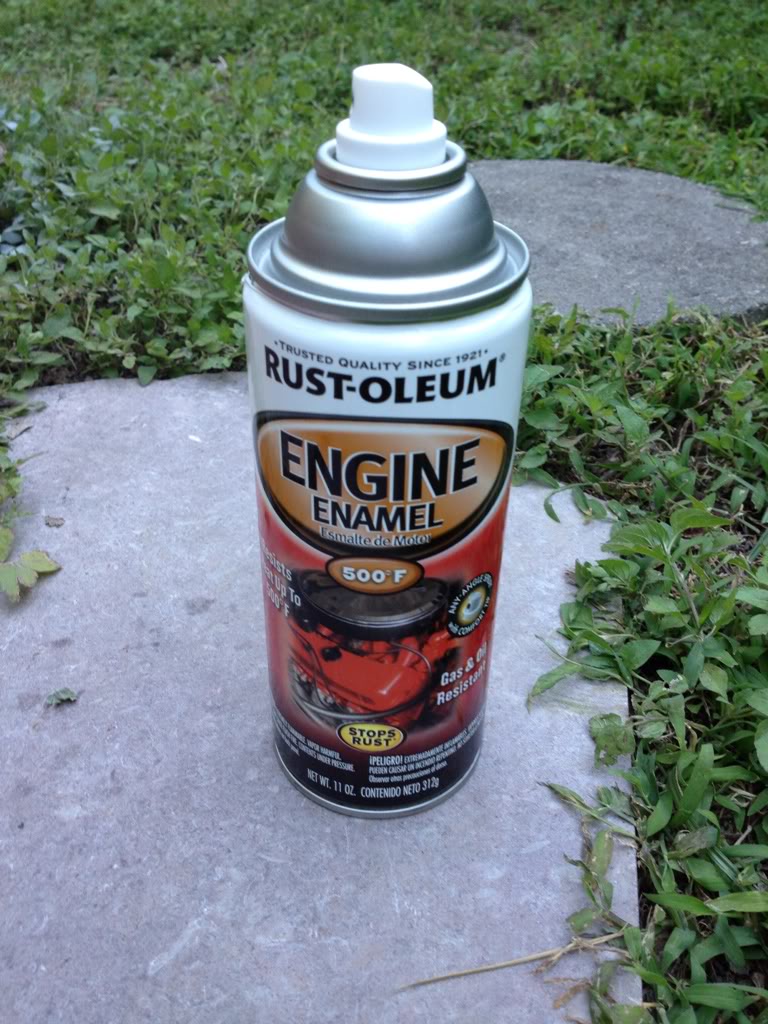
based my short term experience I highly recommend it, but I will update once it has been subjected to some long term heat. I really hope it holds up
Before I sprayed the color, I epoxyed some small short bolts to the underside, to hold a mesh grille behind the opening.
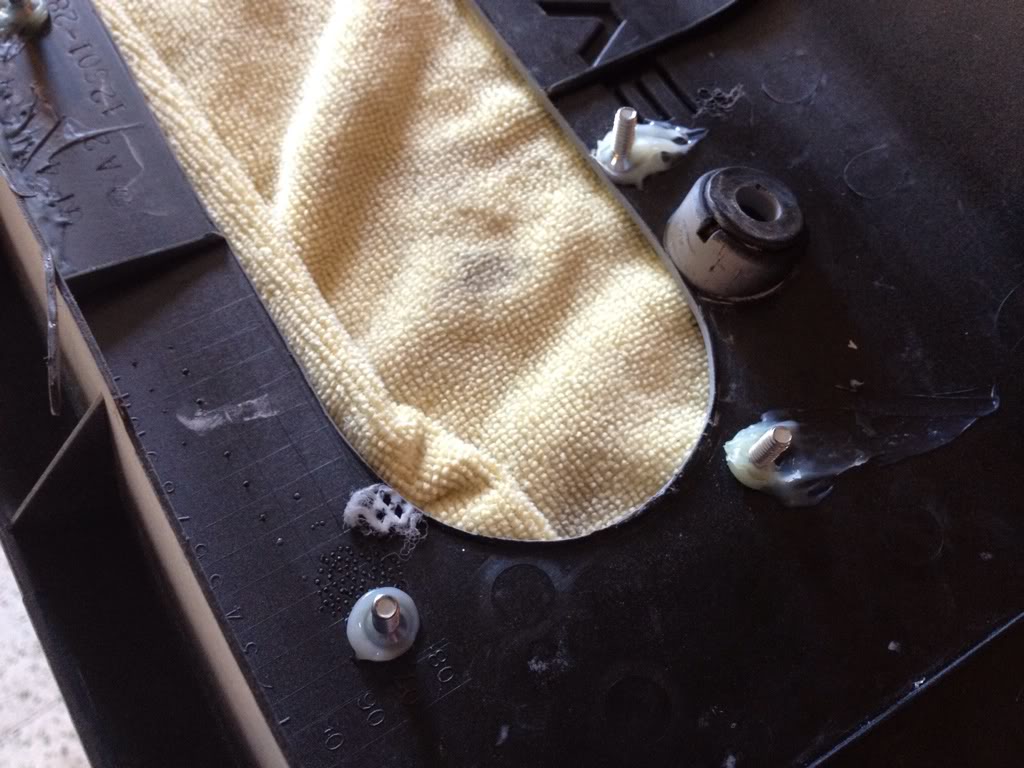
I picked up some gutter guard from Home Depot, and cut it to size:
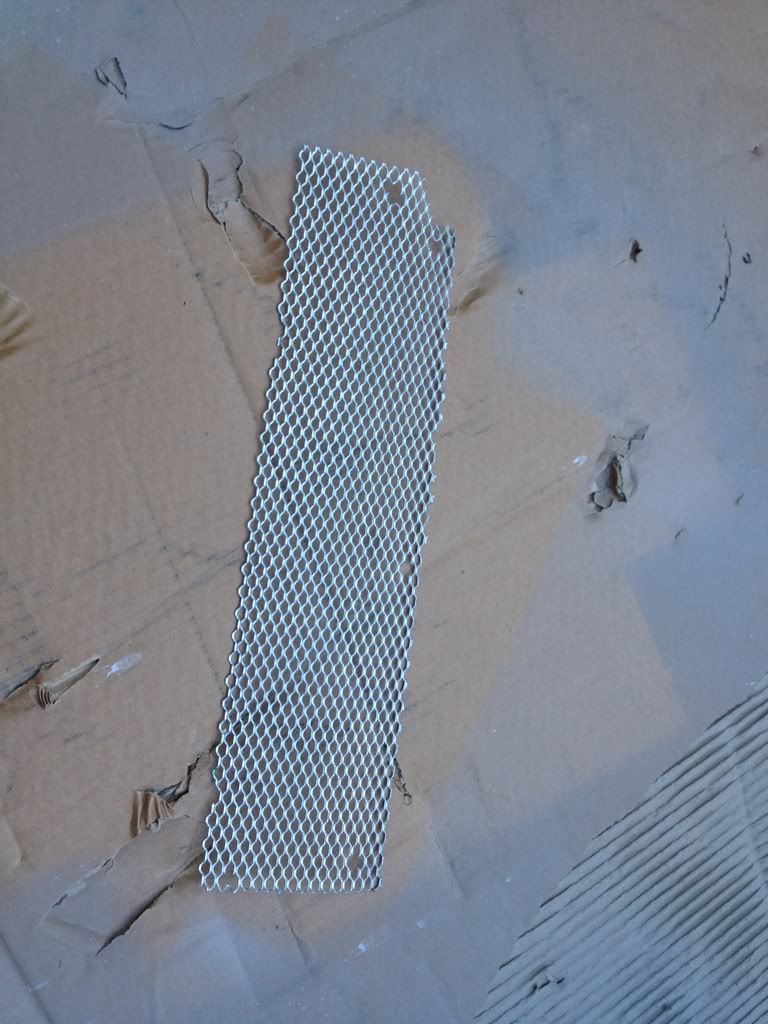
Sprayed it black:
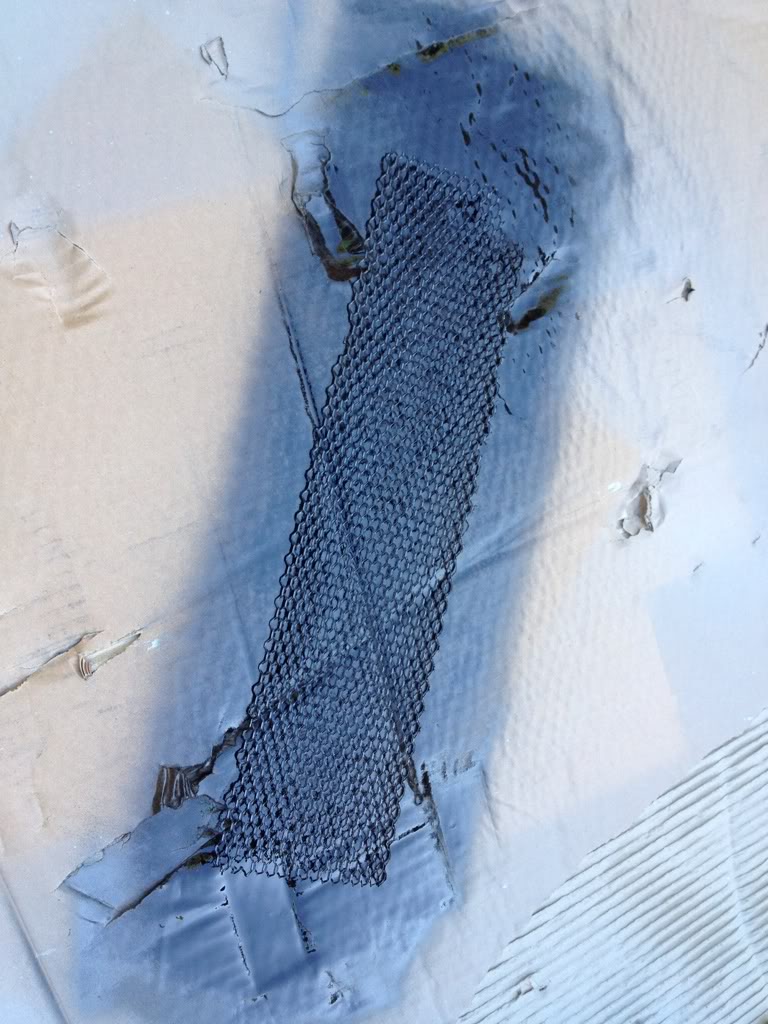
and attached it to the back side:
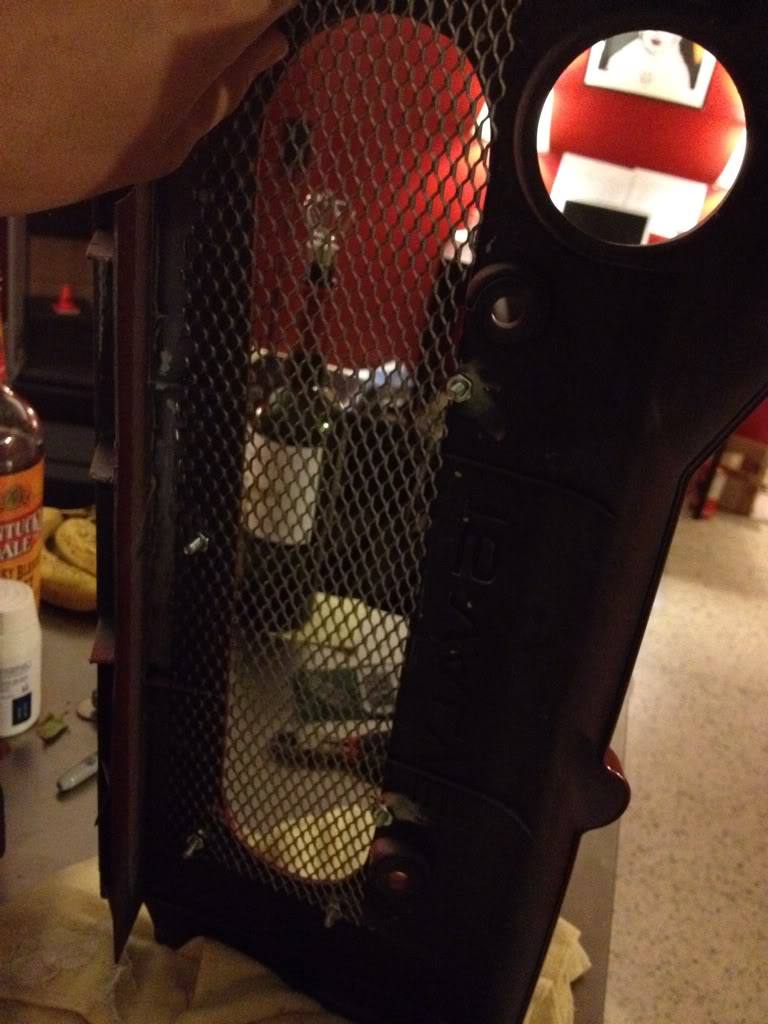
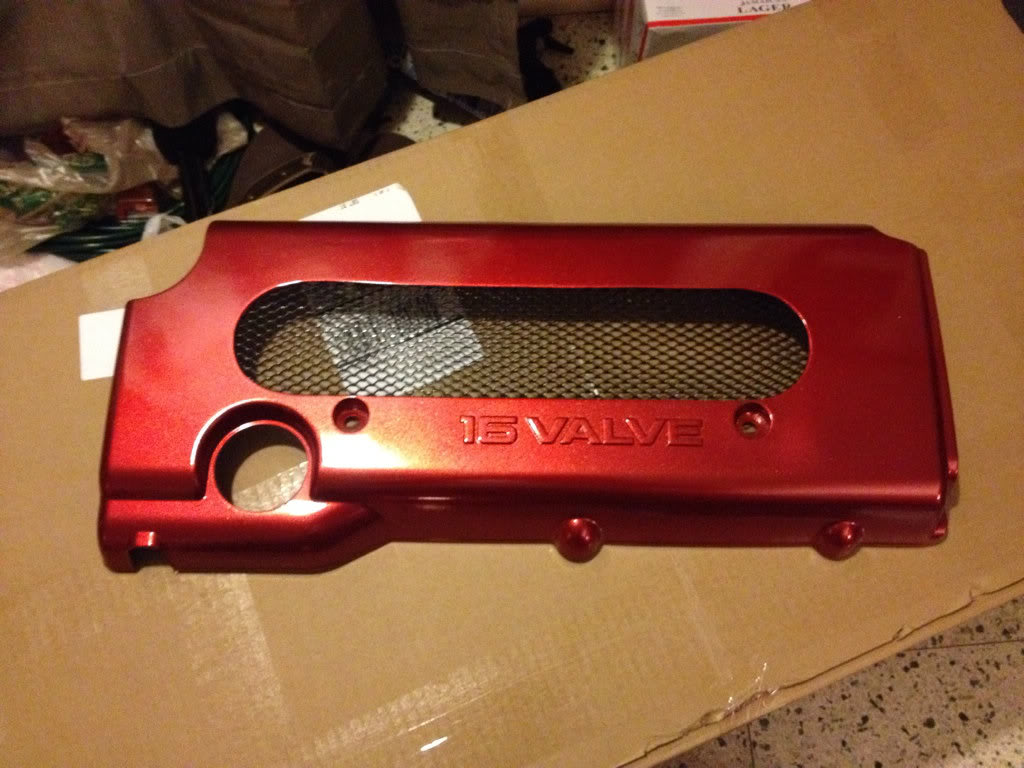
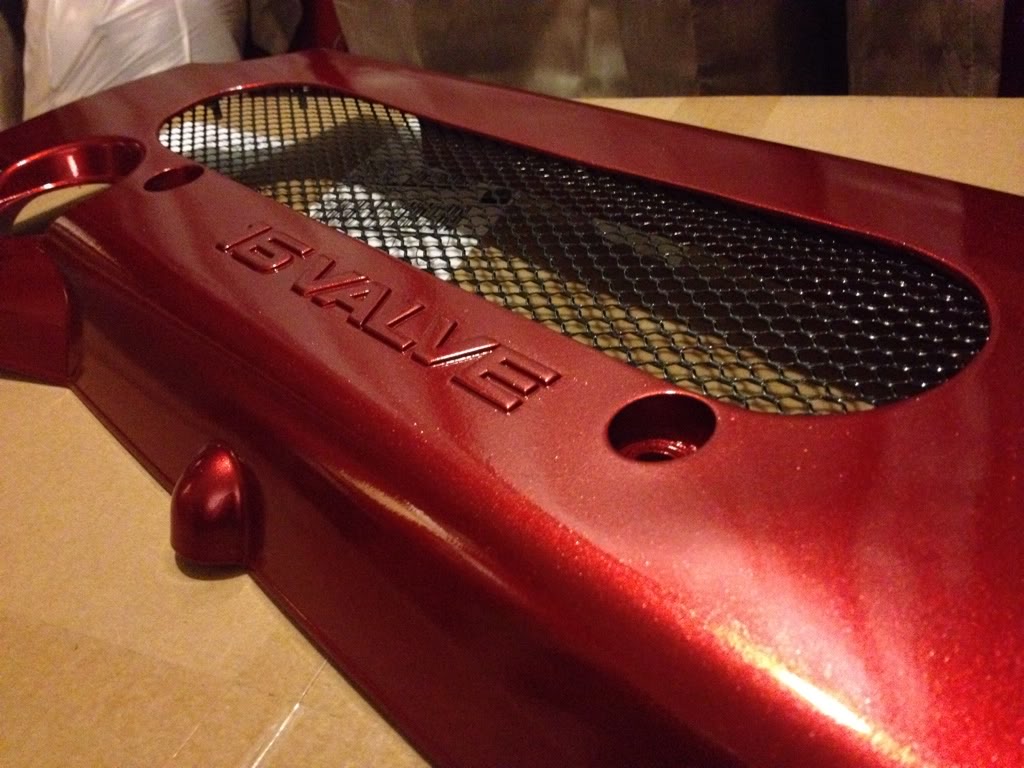
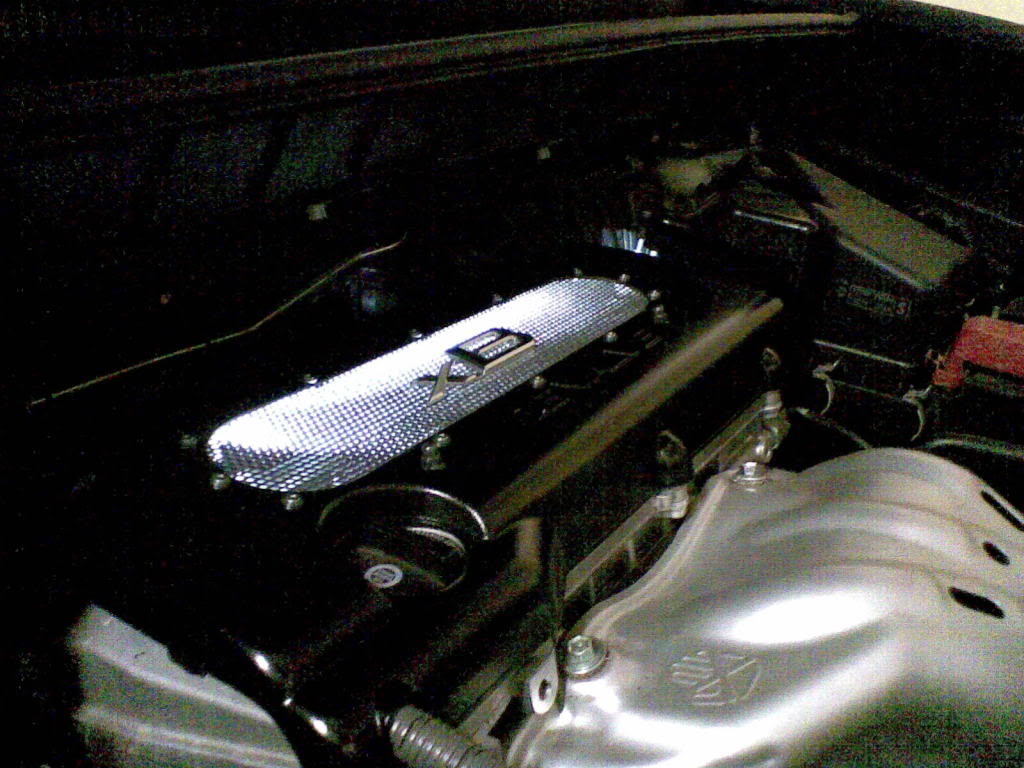
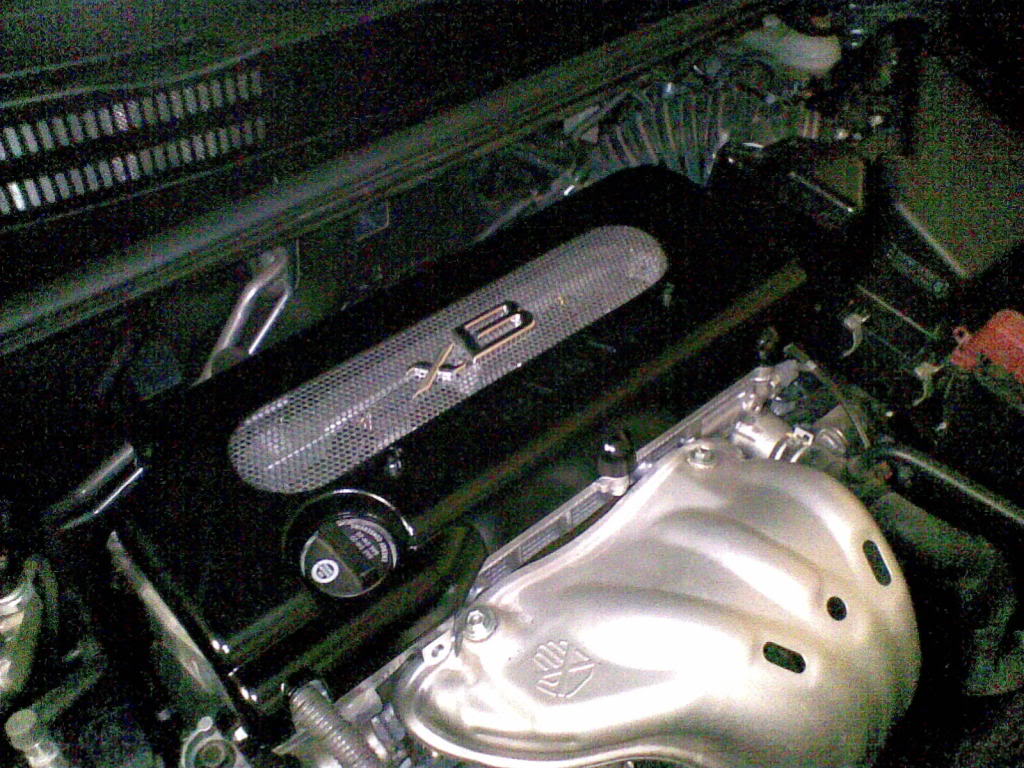
I think it came out nice but I am still on the fence as to weather it'll look clean or ricey once installed. The paint needs to cure before I can actually drive around with it on but I did a test fit tonight to get an idea of how it looks, but there really wasnt enough light to form a good opinion
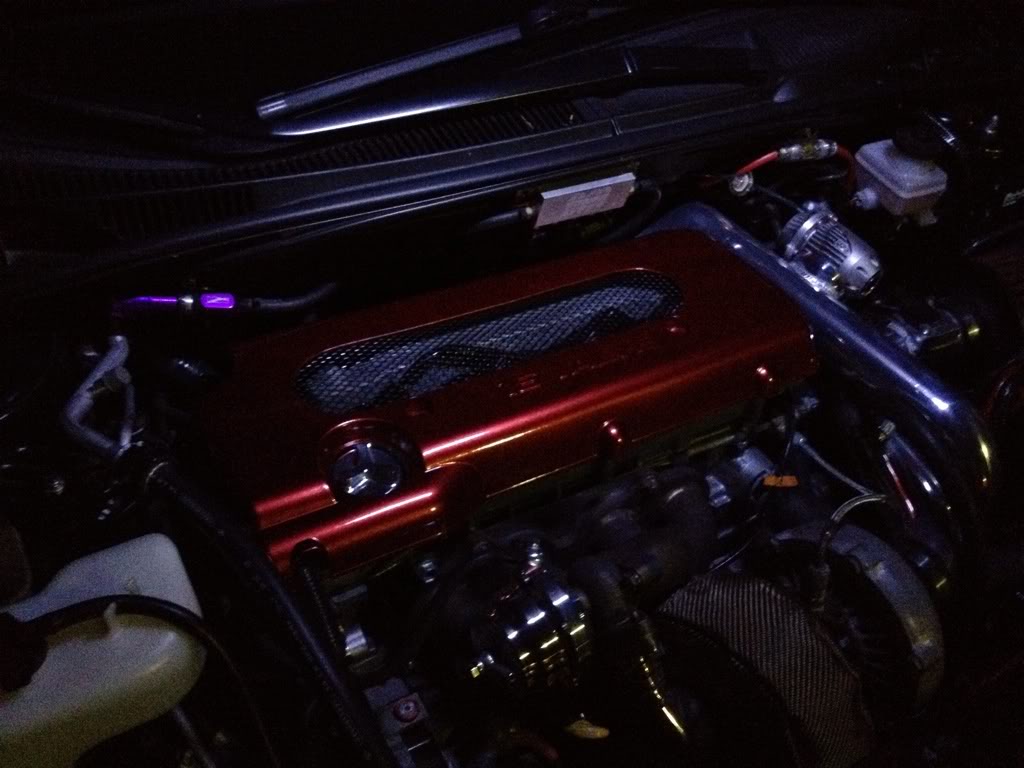
I'm definitely looking forward to seeing how it looks in the daylight, I'll be posting a pic tomorrow afternoon for sure.
Anyways I would love to hear everyone's opinion like, dislike, or suggestions for improvement. Thanks for reading
This is really the only picture I have of the cover before I started doing work on it. As you can see, it looks like it was damaged during shipping as there was a long crack along the top of it

Didn't really matter to me since I was planning on doing modification but still a bit of a pain :/
close up of crack:

Using a dremel (and sometimes a power drill with a dremel bit :p ) I began cutting out the raised oval on the cover:

I finally finished the cut out but still had to spend a lot of time smoothing out the edge with sanding bits and loose sand paper

As you can see, I accidentally let the dremel skip a few times, marking up the surface
I guess I didnt take a pic, but I used plastic weld epoxy on the backside to fuse the crack together.
I then did about 4 rounds of filler primer and sanding to fill the remaining hairline crack and other imperfections


Eventually, I was satisfied with the smoothness of the primer and sprayed some color

I went with the same red that I used on the engine cover that I currently have on. Duplicolor Metal Specs, still love it!

However on my current cover, I just used normal Duplicolor clear coat. This was fine for a while but now that I've put quite a few miles on the turbo set up, the heat from the manifold is starting to burn the paint off. Theres one spot where the clear is completely gone and the color is starting to go. I'll try and get a pic tomorrow.
The point is, for this engine cover I'm trying clear engine enamel. In the past, all the enamels I've tried cloud up really bad, but I think I finally found one that has a nice gloss and doesn't cloud.
3 coats of clear:

This is what I used:

based my short term experience I highly recommend it, but I will update once it has been subjected to some long term heat. I really hope it holds up
Before I sprayed the color, I epoxyed some small short bolts to the underside, to hold a mesh grille behind the opening.

I picked up some gutter guard from Home Depot, and cut it to size:

Sprayed it black:

and attached it to the back side:


I think it came out nice but I am still on the fence as to weather it'll look clean or ricey once installed. The paint needs to cure before I can actually drive around with it on but I did a test fit tonight to get an idea of how it looks, but there really wasnt enough light to form a good opinion

I'm definitely looking forward to seeing how it looks in the daylight, I'll be posting a pic tomorrow afternoon for sure.
Anyways I would love to hear everyone's opinion like, dislike, or suggestions for improvement. Thanks for reading
#12
The one thing I'm still pretty hung up on is I'm not really feeling how much the grey of the valve cover sticks out. I was thinking about painting or powder coating the valve cover black like EDDIEA123 suggested... but I realized that the plastic cover actually doesnt completely hide the front of the cover:
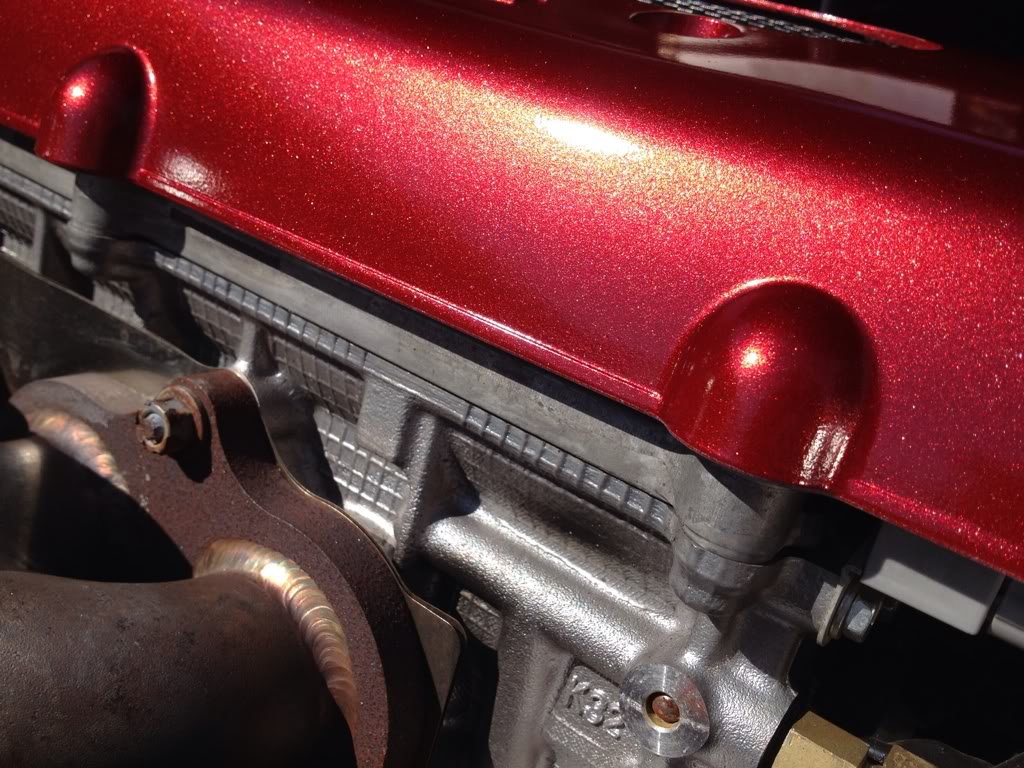
If the whole valve cover was black, there would basically be a black stripe between the red cover and the head. What I'm considering doing now is getting some thing like this:
http://www.g2usa.com/product/G45.html
and just painting the areas of the valve cover that are visible through the vent. It would look really bad anytime I pull the cover off but as long as its on it should look alright... thoughts anyone?
#15
hah whats funny is my buddy actually just suggested the same thing earlier today. I guess I'll leave it as is for now cuz I dont have the time to do a polishing project with finals coming up nor can I be with out my car while do do the project. Maybe this summer.
For now you got any input on what color overlays i should get for the '16 VALVE' lettering? I did chrome on my non polished cover but I'm thinkin a flat gold or black might look nice on this one... thoughts?
For now you got any input on what color overlays i should get for the '16 VALVE' lettering? I did chrome on my non polished cover but I'm thinkin a flat gold or black might look nice on this one... thoughts?
Thread
Thread Starter
Forum
Replies
Last Post
2fixA
Scion xB 1st-Gen Aero & Exterior
33
07-30-2004 04:13 AM
Besk_one
Scion xA/xB 1st-Gen ICE & Interior
6
11-17-2003 10:28 PM


