DIY: Fiberglass Sub Enclosure
#1
Thread Starter
Senior Member


SL Member
Scion Evolution
Joined: Oct 2005
Posts: 5,277
From: Andersen AFB, Guam
Some people wanted to see how it is done.
I dont claim to be an expert, but this worked for me.
I take ZERO responsibility for any problems that occur.
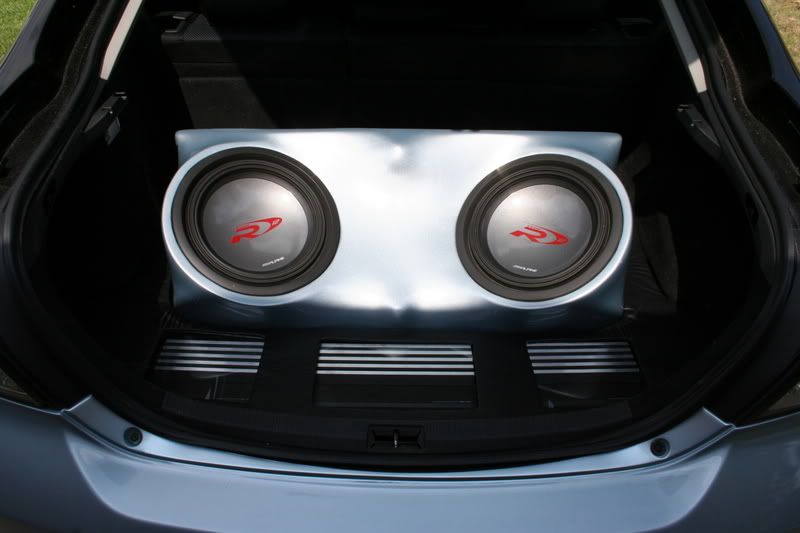
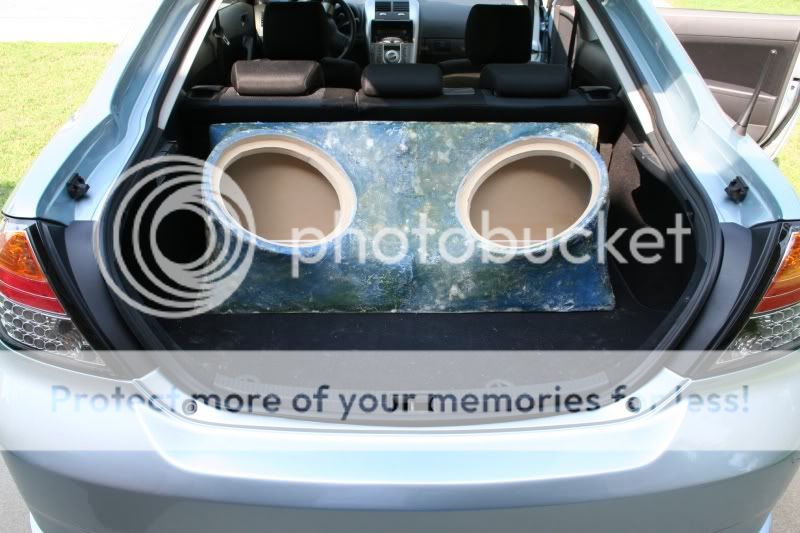
This is what it looks like finished.
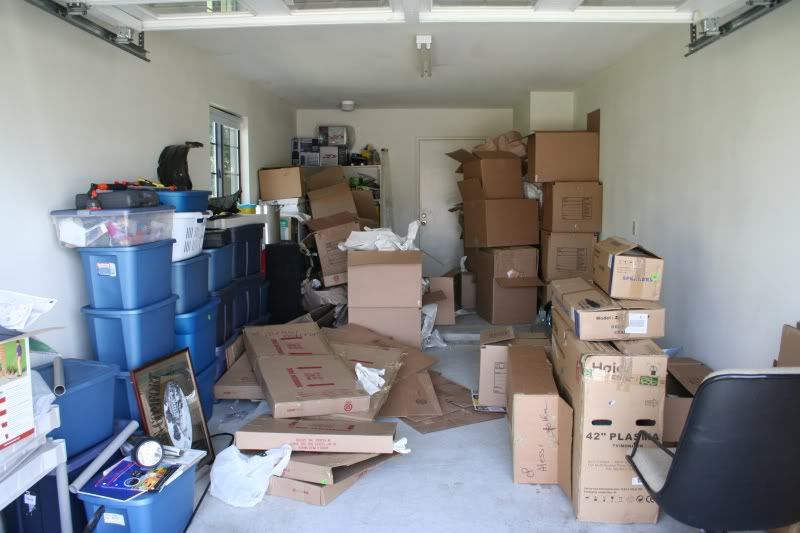
First I had to clean the garage to have room. We have a ton of empty boxs to get rid of.
Before:
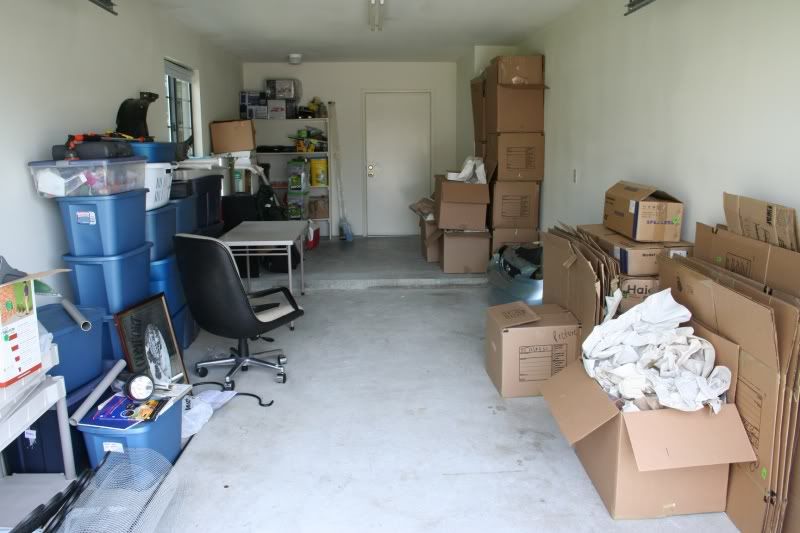
After:
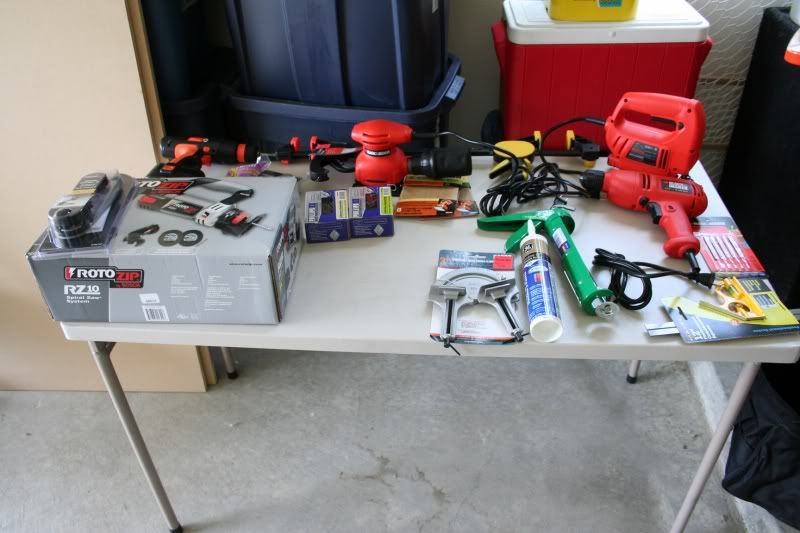
Some of the tools I have bought. A palm sander, jigsaw, drill, rotozip (waste of money) and a bunch of other things:
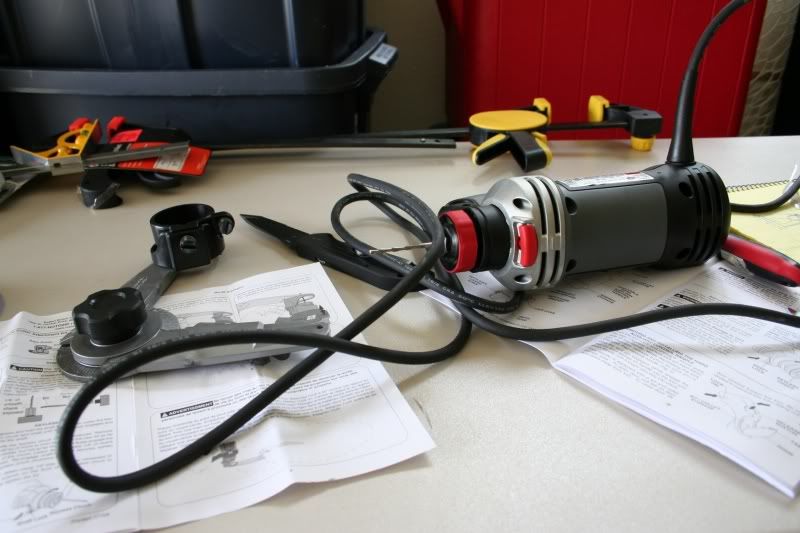
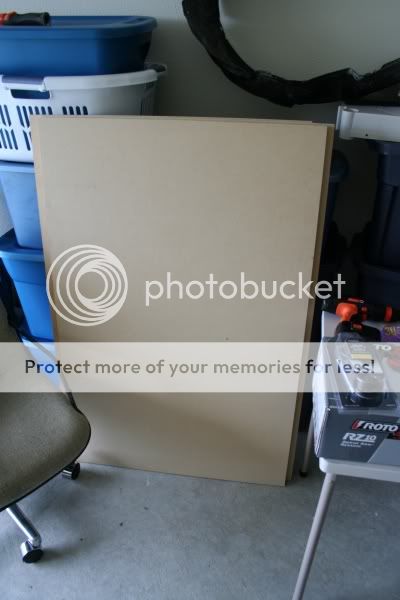
I used 3/4inch MDF board. Its 19.95 a sheet. If you have them cut the 49"x97" sheet into 3 pieces it will fit into our car. but make sure you dont need any pieces larger than what its cut to. I didnt. My base is 37"x13". The back is 37"x12".
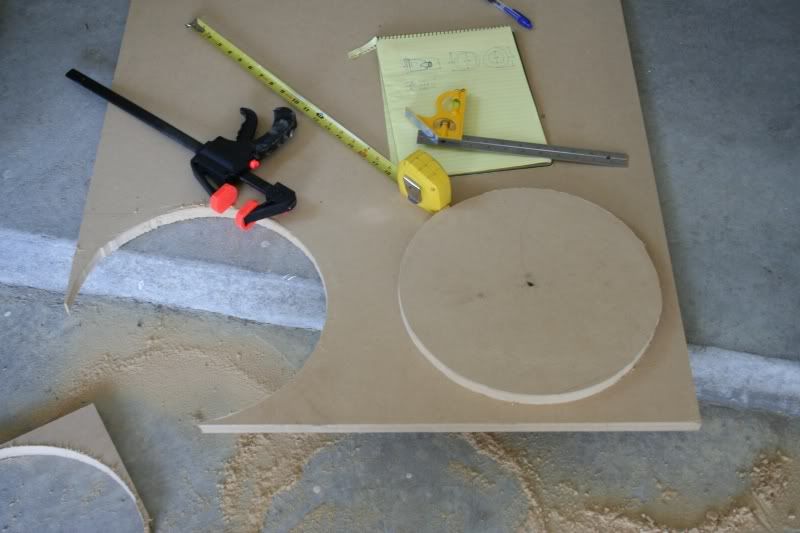
Ok I started the baffles with a rotopzip but it was impossible to cut a perfect circle, so I used a jigsaw. What you need to do is find out the inner diameter of the sub so you can make a mounting ring. Make the circle for the inner diameter then add to it an inch over the total diameter of the sub. You will have a ring.
The other ring to go ontop of it will be slightly larger than the size of the sub then add an inch for the outer cut. You end up with two Rings, one larger than the other. I used 13 [sup]19/32[/sup] for the outer diameter of both. I used 10 [sup]13/32[/sup] for the inner of one and 12 [sup]19/32[/sup] for the inner of the other.
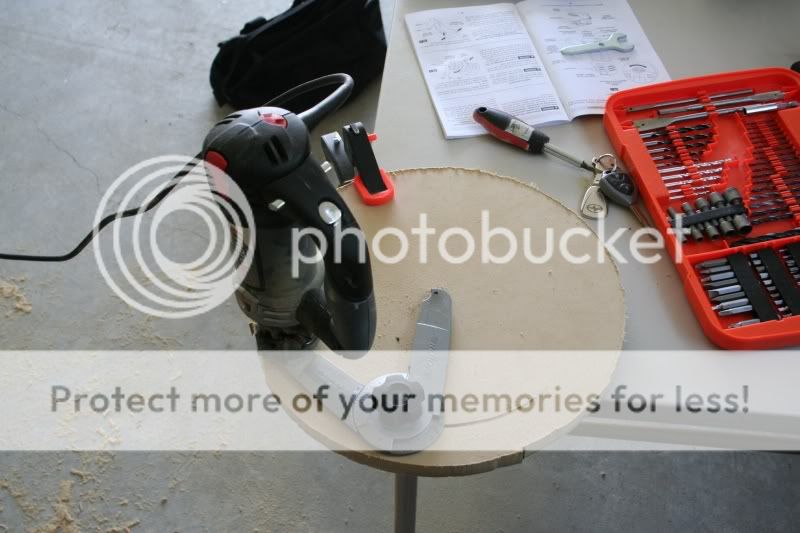
Ok i then used wood glue and put the larger ring on top of the smaller ring. I predrilled two holes to hold it and used 1 [sup]5/8[/sup] screws to hold it and I also clamped it. Hopefully you can see what i mean by the different rings.
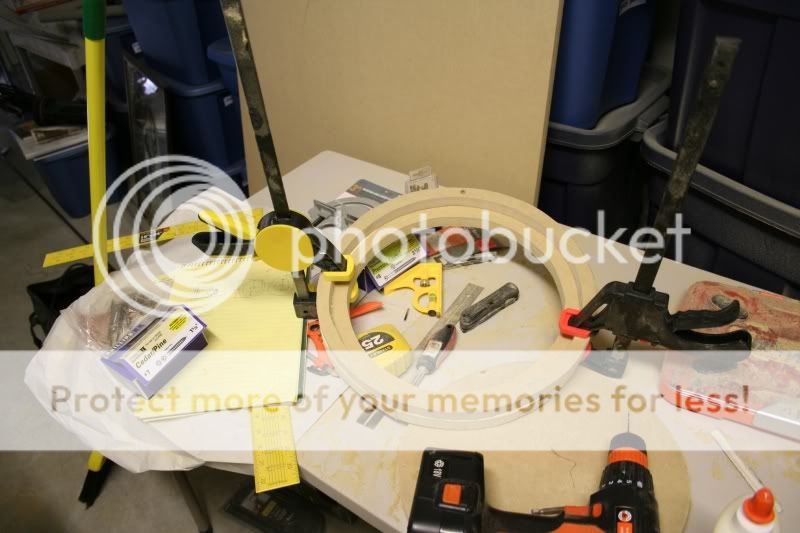
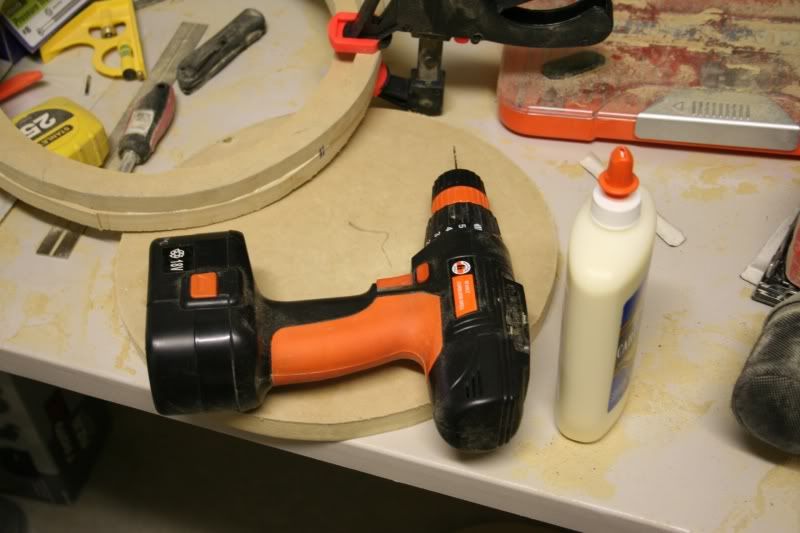
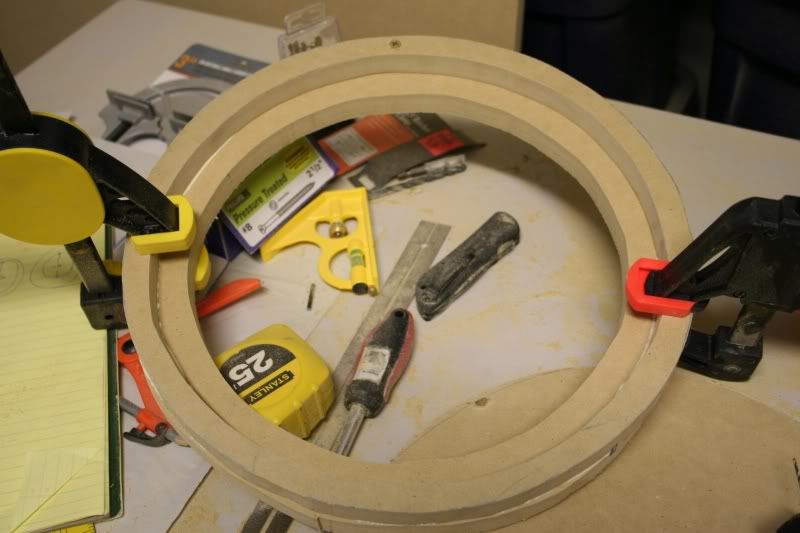
I let it dry for a day then test fitted it. Its tite so I will sand it down a bit.
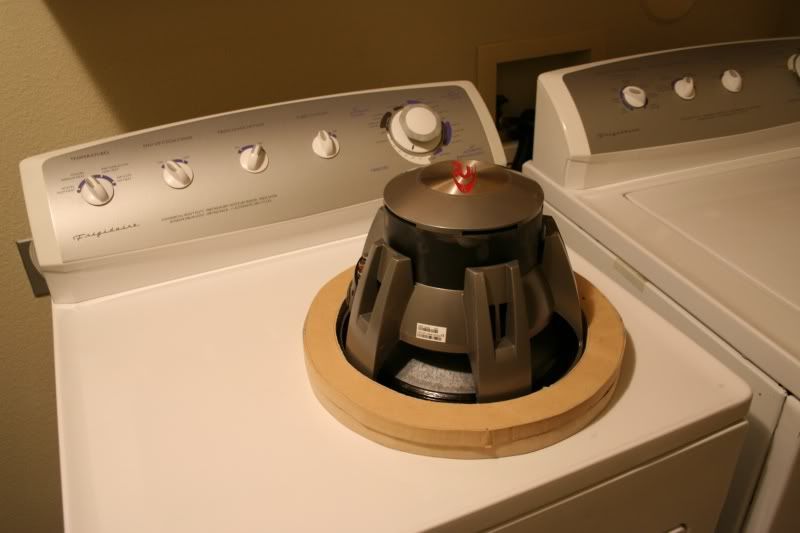
I started laying it out and wanted this but it wont fit.
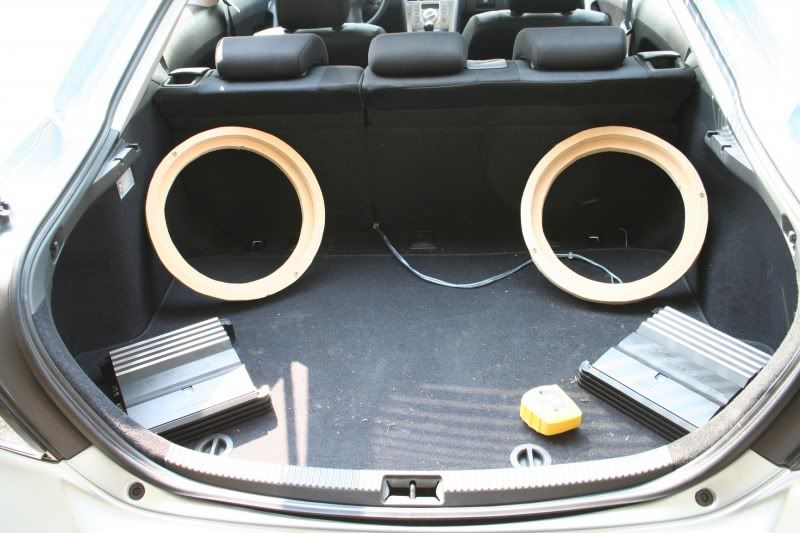
So I am doing this:
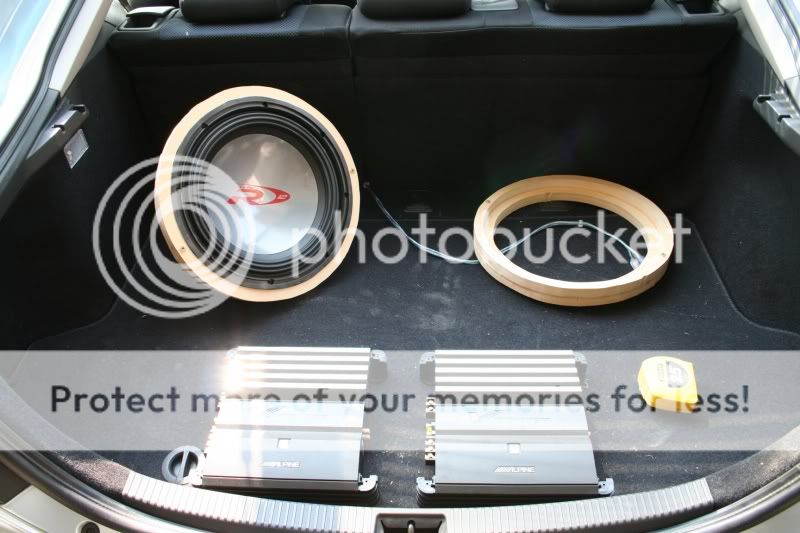
I measured from the edge of the carpet in the back up to an inch from the amps and made the base that deep. For width I measured the opening of the trunk and subtracted an inch, so I can put the box in and out. 37"x13"
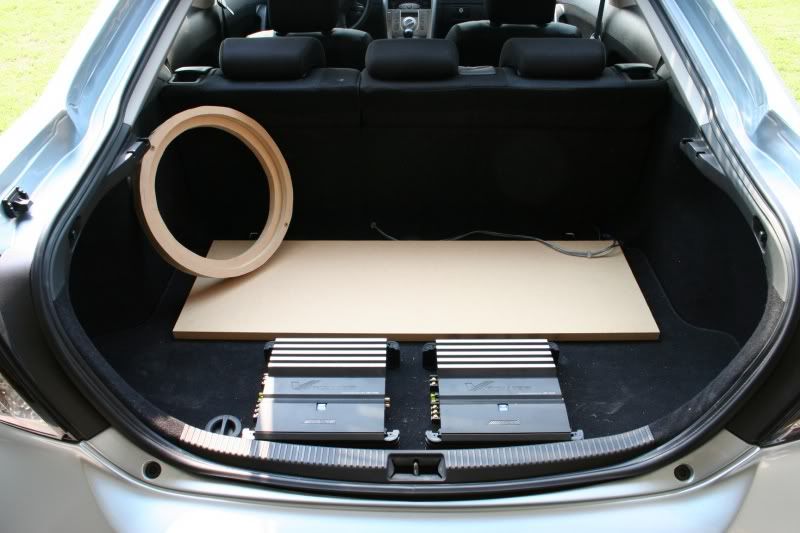
For the height I measured where the trunk lid is and subtracted an inch. 37"x 12"
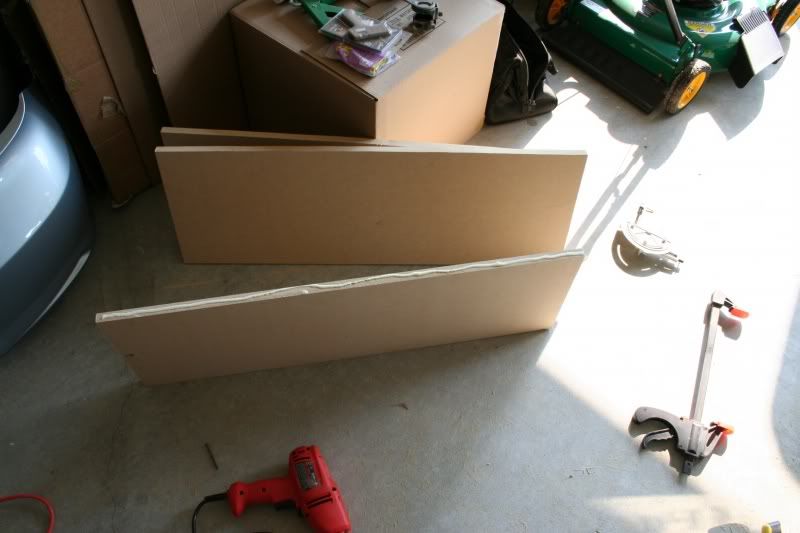
I then put it togethor with wood glue. Clamped it, predrilled holes and screwed it togethor. Its drying now.
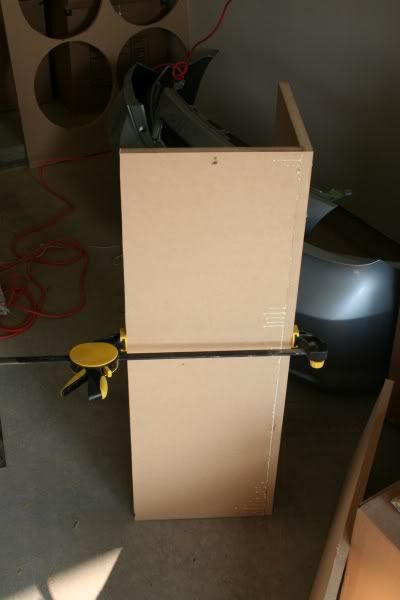
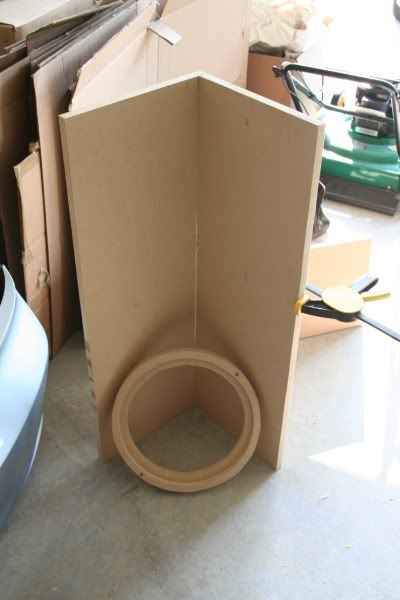
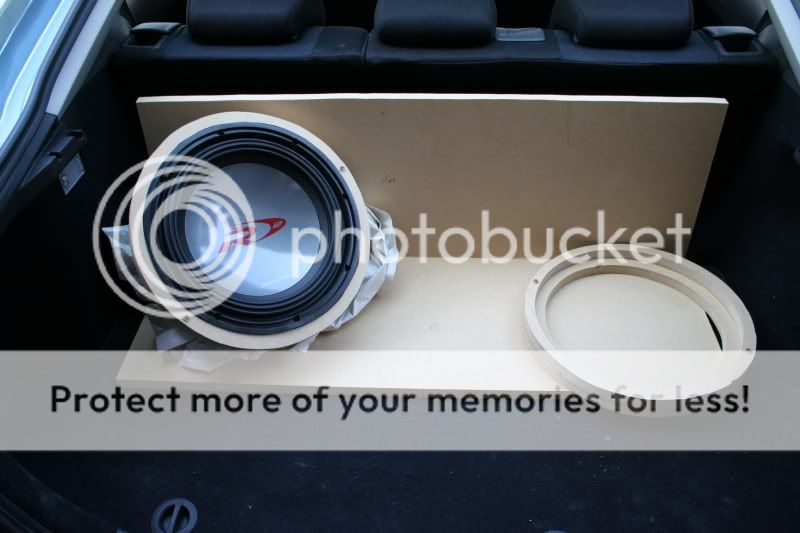
I put the joined front and back in the car. used some packing paper to get the sub to where I wanted it to sit. It looked like it should fit so I added a center divider. I cut a piece of MDF to fit. Once it fit a trimmed it down to flow with the box. Good thing with fiberglass is you can have cool angles.
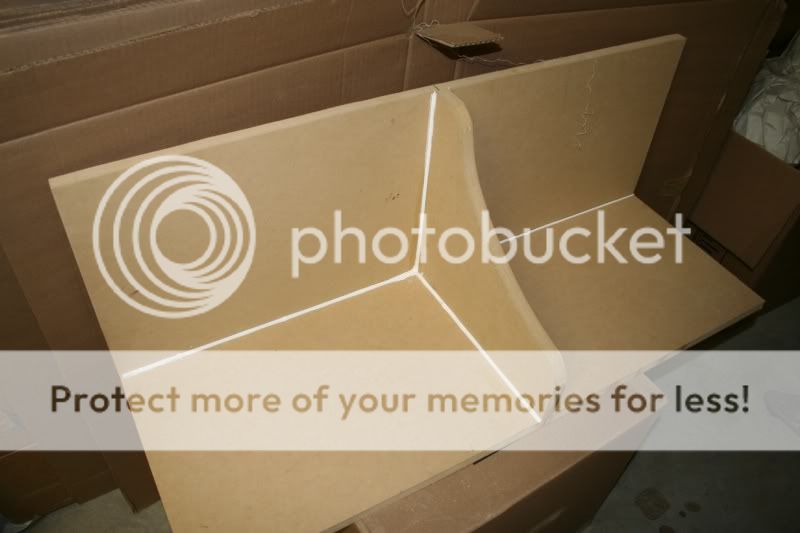
Center divider added and caulked so its air tight. I used glue and screws like the rest of it.
I then put the subs back where I wanted with paper and used dowl rod to support the rings. I used hot glue to hold the dowls in place then when there was enoguh I removed the paper and it held.
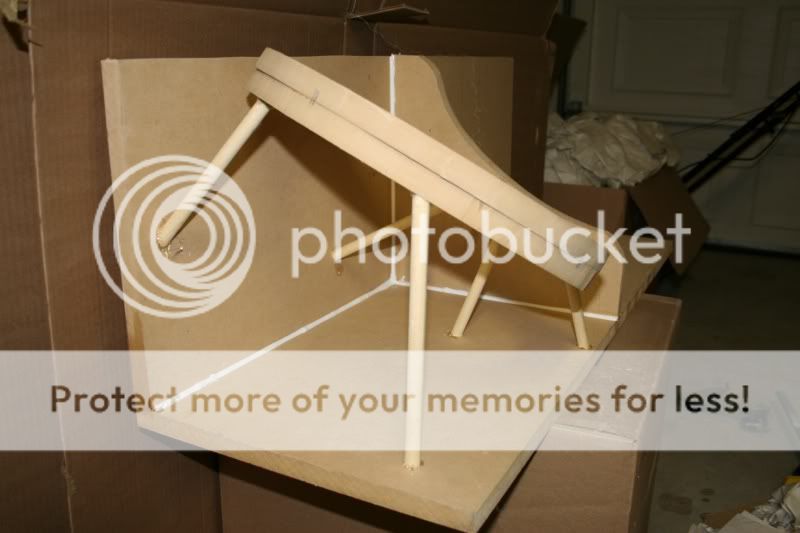
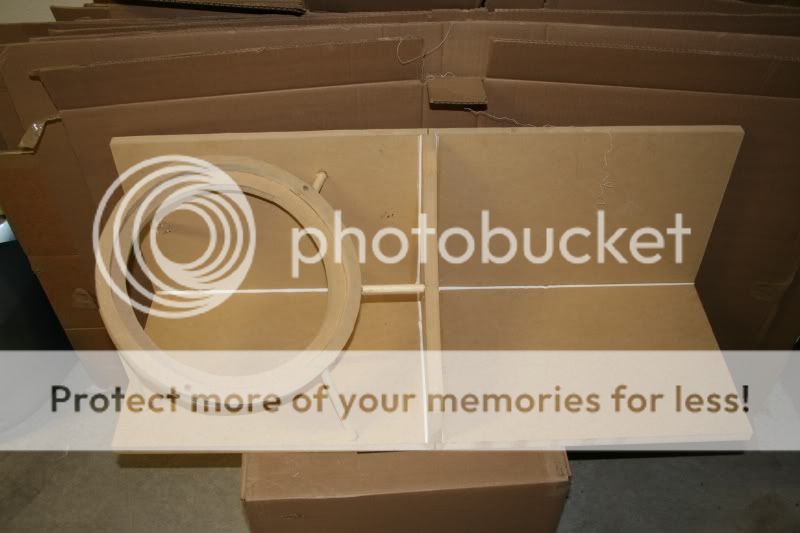
For the other side I took measurements from the first side and duplicated it. Its pretty darn close to the same.
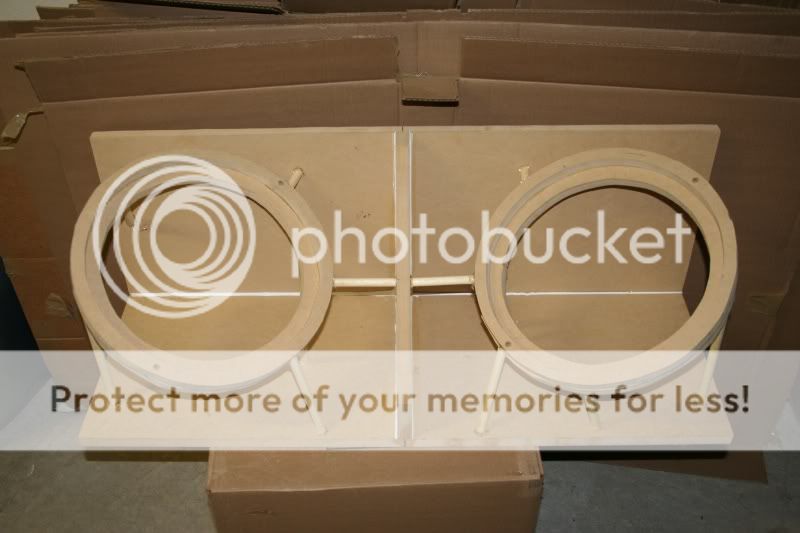
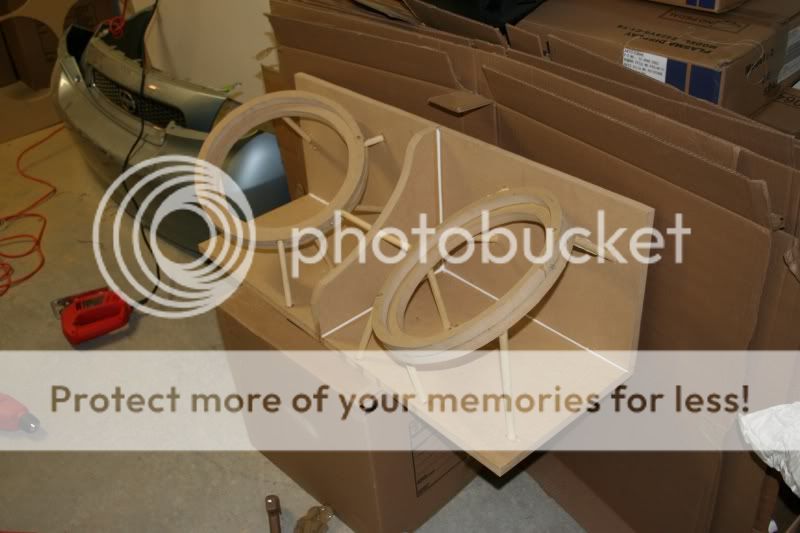
Once I was sure it was braced enough i took some fabric that i got on clearance made out of stretchy polyester and stretched it over the box. I used hot glue to hold it in place. Make sure there are no folds or anything. I had a few and they all showed up. Air leaked where they were so I had to refiberglass so of it. Whatever shape this fabric is, will be your final shape of your project.
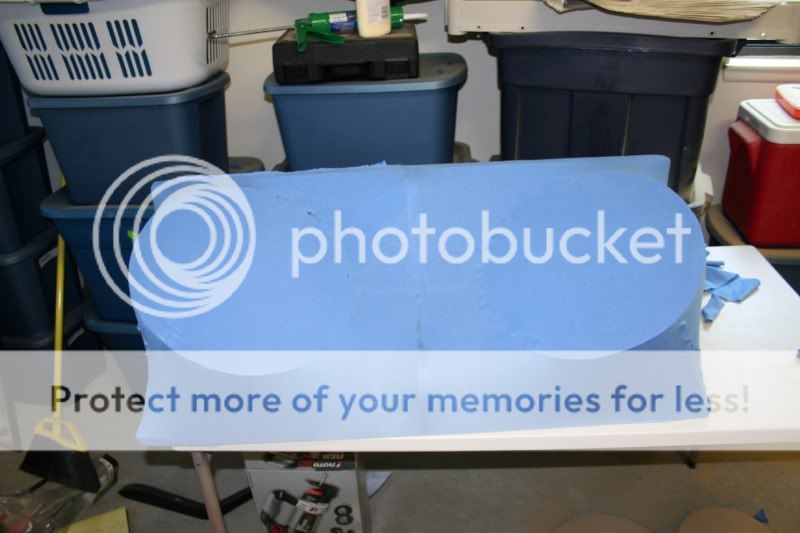
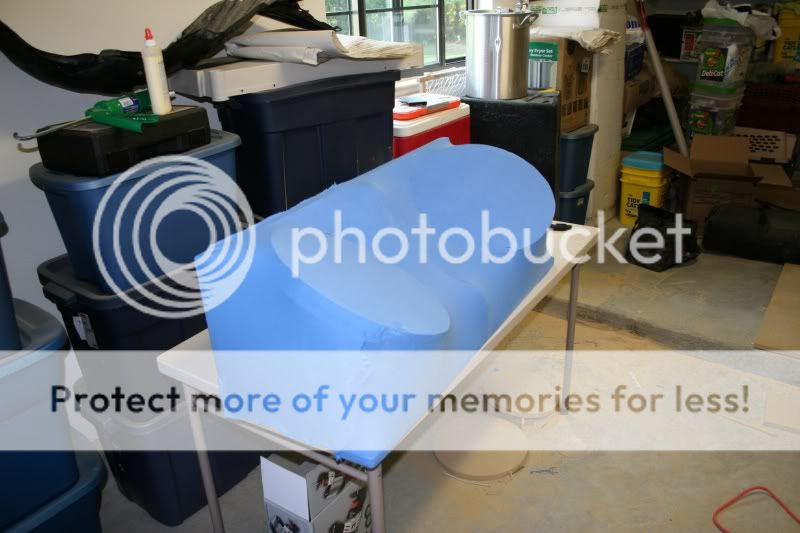
Ok now the fiberglassing.
I bought:
1 gallon fiberglass resin with hardner
2 packs of medium strength fiberglass matt
1 can of acetone
4 respirators for fiberglass
25 rubber gloves
a paint pale (didnt use it)
5 CHEAP paint brushes
I used:
4 empty water bottles
a glass jar
Ok. The resin is extremely hard to work with. It takes 15 drops of hardner per 1 ounce so you mix very small amounts. I mixed 4 ounces at a time. Make sure to wear gloves and the respirator and do this outside. I still felt dissy when done. The resin is EXTREMELY harmful. Mix the resin and hardner stir it. Take your paint brush and cover the fabris with resin. Make sure to cover it all and wait till it hardens. This gives you a base to work off of.
Now take you fiberglass matt and rip it into smaller pieces. Like paper mache. Place the fiberglass on the box and use the brush and dab the resin onto the mat. brushing doesnt work to well so do what you can to make sure it is saturated. It will go from white to the color of the fabrick once its on. Make sure there are no air bubbles. You will now have fiberglass all over the paint brush and your gloves, your shoes, and everywhere else good luck.
While mixing batches of resin put the paint brush in a cup of acetine so it doesnt harden. If the resin GELS up on you while applying it, DONT USE IT. Mix a new batch. I waisted a lot of resin.
Cover the whole box as many times until the box is hard.
I dont have many pics because you are on a time crunch and my hands were sticky.
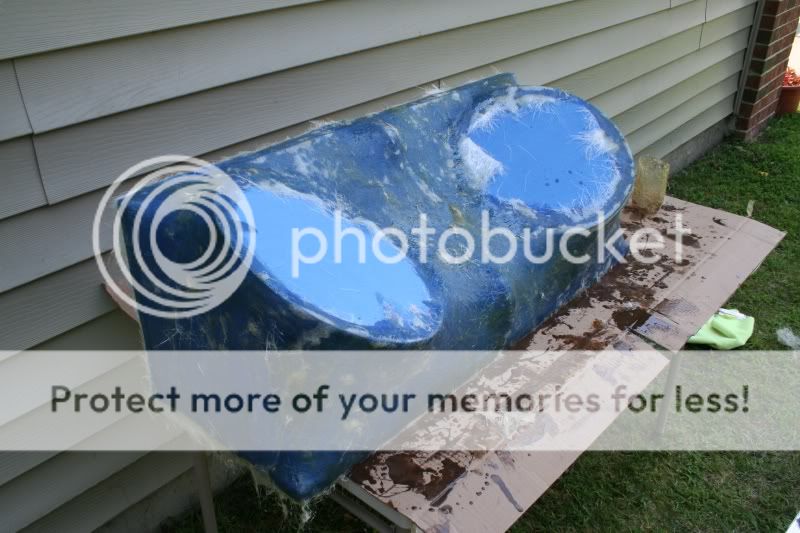

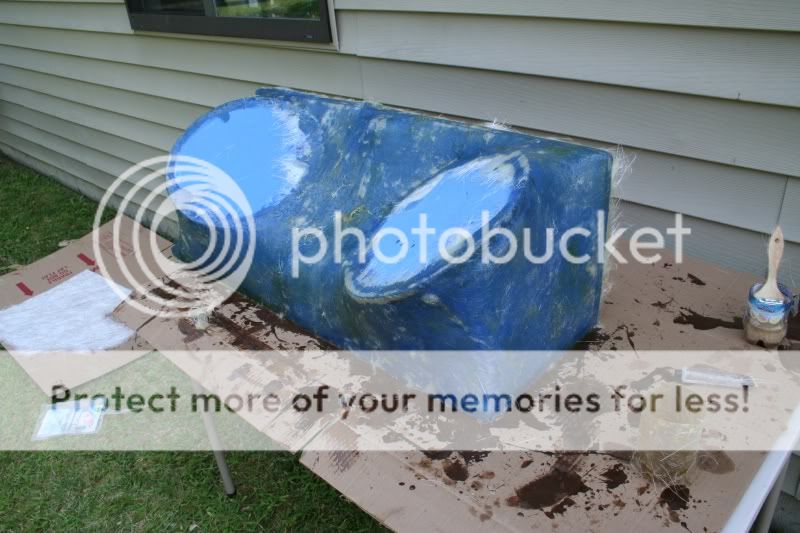
I dont claim to be an expert, but this worked for me.
I take ZERO responsibility for any problems that occur.
This is what it looks like finished.

First I had to clean the garage to have room. We have a ton of empty boxs to get rid of.
Before:

After:

Some of the tools I have bought. A palm sander, jigsaw, drill, rotozip (waste of money) and a bunch of other things:


I used 3/4inch MDF board. Its 19.95 a sheet. If you have them cut the 49"x97" sheet into 3 pieces it will fit into our car. but make sure you dont need any pieces larger than what its cut to. I didnt. My base is 37"x13". The back is 37"x12".

Ok I started the baffles with a rotopzip but it was impossible to cut a perfect circle, so I used a jigsaw. What you need to do is find out the inner diameter of the sub so you can make a mounting ring. Make the circle for the inner diameter then add to it an inch over the total diameter of the sub. You will have a ring.
The other ring to go ontop of it will be slightly larger than the size of the sub then add an inch for the outer cut. You end up with two Rings, one larger than the other. I used 13 [sup]19/32[/sup] for the outer diameter of both. I used 10 [sup]13/32[/sup] for the inner of one and 12 [sup]19/32[/sup] for the inner of the other.


Ok i then used wood glue and put the larger ring on top of the smaller ring. I predrilled two holes to hold it and used 1 [sup]5/8[/sup] screws to hold it and I also clamped it. Hopefully you can see what i mean by the different rings.


I let it dry for a day then test fitted it. Its tite so I will sand it down a bit.

I started laying it out and wanted this but it wont fit.

So I am doing this:

I measured from the edge of the carpet in the back up to an inch from the amps and made the base that deep. For width I measured the opening of the trunk and subtracted an inch, so I can put the box in and out. 37"x13"

For the height I measured where the trunk lid is and subtracted an inch. 37"x 12"

I then put it togethor with wood glue. Clamped it, predrilled holes and screwed it togethor. Its drying now.


I put the joined front and back in the car. used some packing paper to get the sub to where I wanted it to sit. It looked like it should fit so I added a center divider. I cut a piece of MDF to fit. Once it fit a trimmed it down to flow with the box. Good thing with fiberglass is you can have cool angles.

Center divider added and caulked so its air tight. I used glue and screws like the rest of it.

I then put the subs back where I wanted with paper and used dowl rod to support the rings. I used hot glue to hold the dowls in place then when there was enoguh I removed the paper and it held.


For the other side I took measurements from the first side and duplicated it. Its pretty darn close to the same.


Once I was sure it was braced enough i took some fabric that i got on clearance made out of stretchy polyester and stretched it over the box. I used hot glue to hold it in place. Make sure there are no folds or anything. I had a few and they all showed up. Air leaked where they were so I had to refiberglass so of it. Whatever shape this fabric is, will be your final shape of your project.


Ok now the fiberglassing.
I bought:
1 gallon fiberglass resin with hardner
2 packs of medium strength fiberglass matt
1 can of acetone
4 respirators for fiberglass
25 rubber gloves
a paint pale (didnt use it)
5 CHEAP paint brushes
I used:
4 empty water bottles
a glass jar
Ok. The resin is extremely hard to work with. It takes 15 drops of hardner per 1 ounce so you mix very small amounts. I mixed 4 ounces at a time. Make sure to wear gloves and the respirator and do this outside. I still felt dissy when done. The resin is EXTREMELY harmful. Mix the resin and hardner stir it. Take your paint brush and cover the fabris with resin. Make sure to cover it all and wait till it hardens. This gives you a base to work off of.
Now take you fiberglass matt and rip it into smaller pieces. Like paper mache. Place the fiberglass on the box and use the brush and dab the resin onto the mat. brushing doesnt work to well so do what you can to make sure it is saturated. It will go from white to the color of the fabrick once its on. Make sure there are no air bubbles. You will now have fiberglass all over the paint brush and your gloves, your shoes, and everywhere else
 good luck.
While mixing batches of resin put the paint brush in a cup of acetine so it doesnt harden. If the resin GELS up on you while applying it, DONT USE IT. Mix a new batch. I waisted a lot of resin.
Cover the whole box as many times until the box is hard.
I dont have many pics because you are on a time crunch and my hands were sticky.


#2
Thread Starter
Senior Member


SL Member
Scion Evolution
Joined: Oct 2005
Posts: 5,277
From: Andersen AFB, Guam
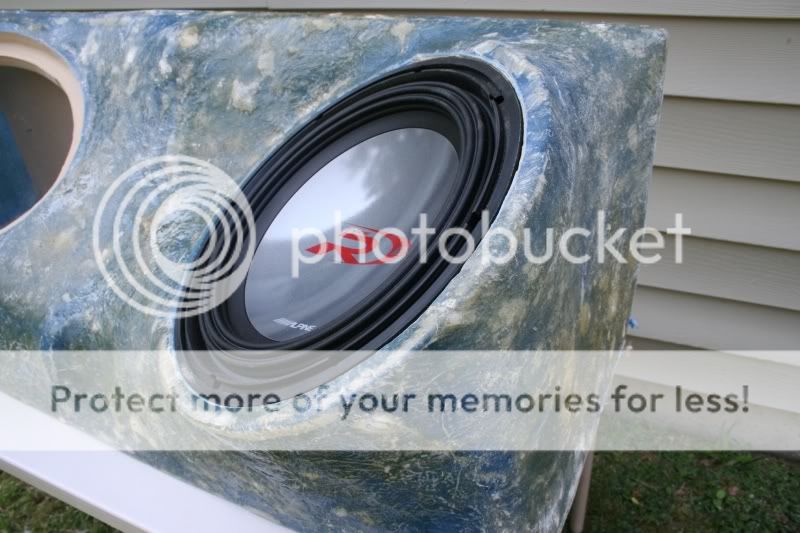
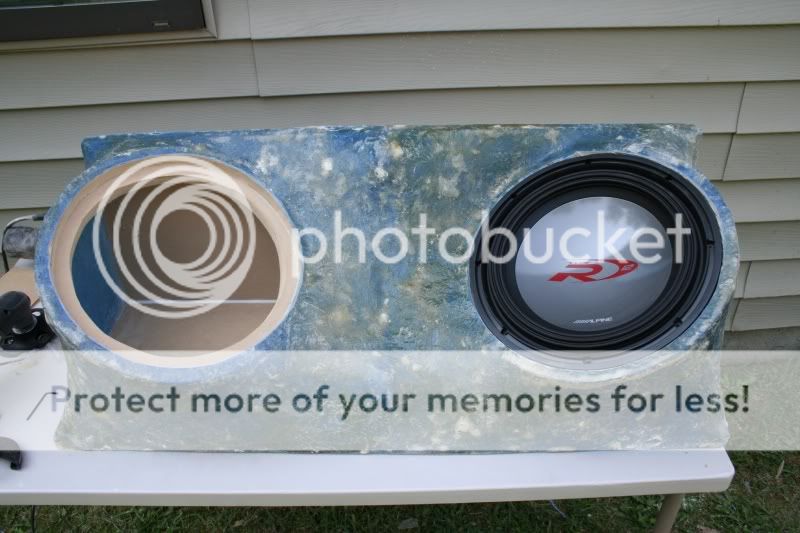
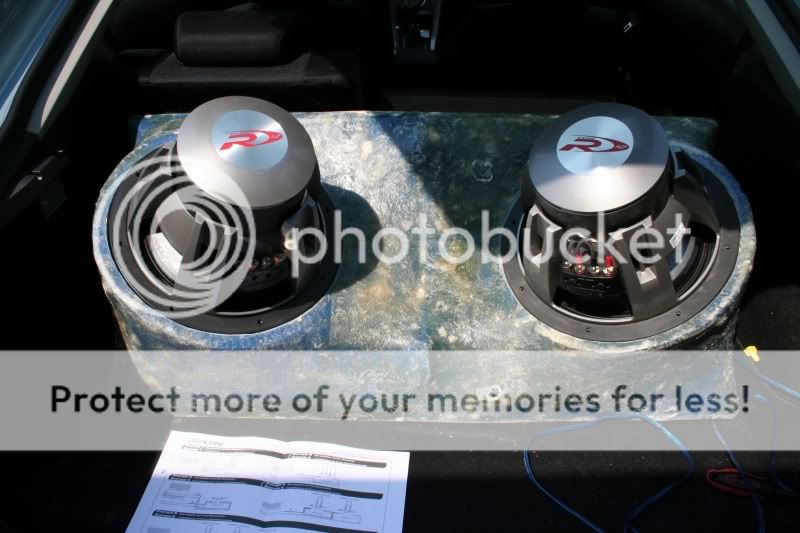
Once I was certain it was all thick enough.I let it dry over night and in the morning I cut out the speaker area. Sanded out any majorly high spots with the rotozip sander and palm sander. I sanded the rings down so the speaker would fit. I test fitted the subs and they fit just fine. I put them in reverse mounted to make sure I had no air leaks. I did have one. So I went back and refiberglassed that part. The subs were just sitting in and not screwed down and it sounded amazing. And that was with just one sub. Cant wait to secure and wire up both of them.
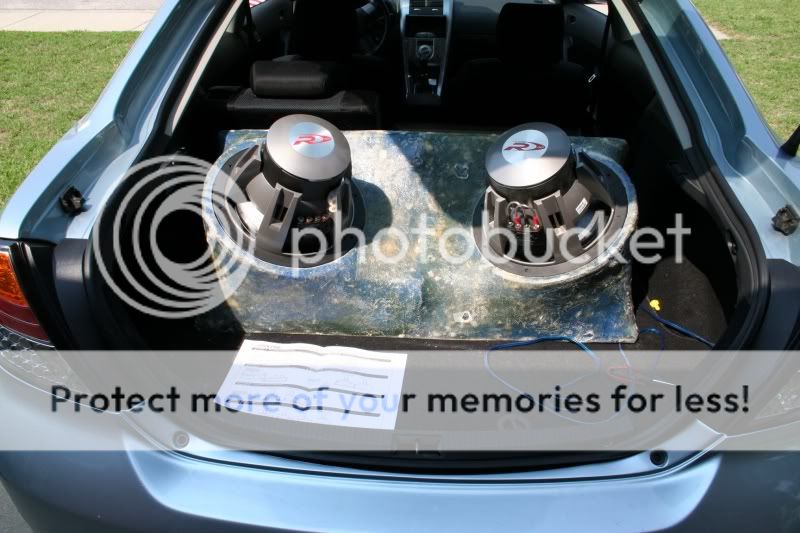

Here is the amp rack. I just used 3/4 inch MDF. I traced the stock floor on it. The placed the box on top. Then traced the box. I cut everthing out. I cut the holes for where the amps would be placed.


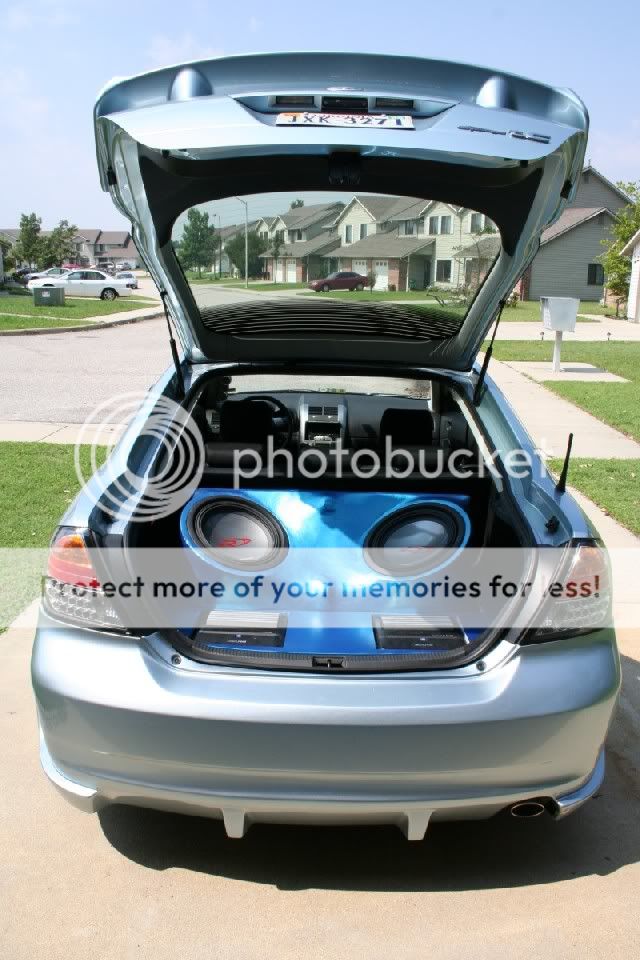
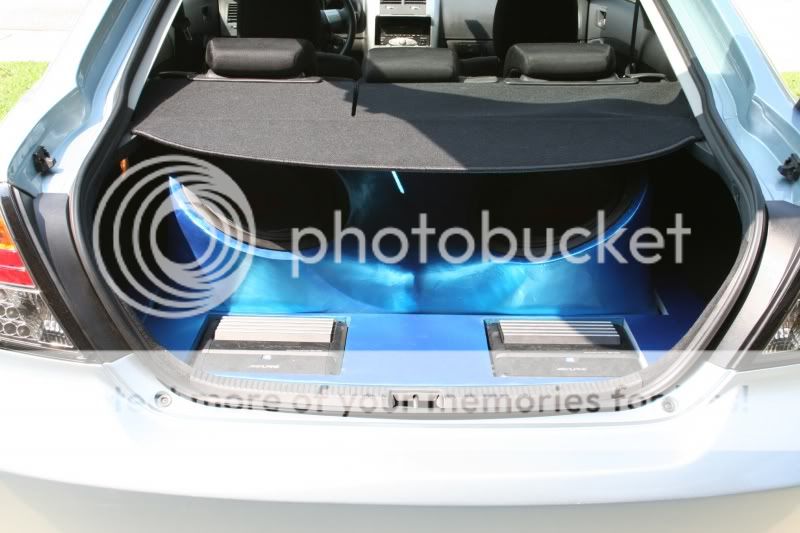

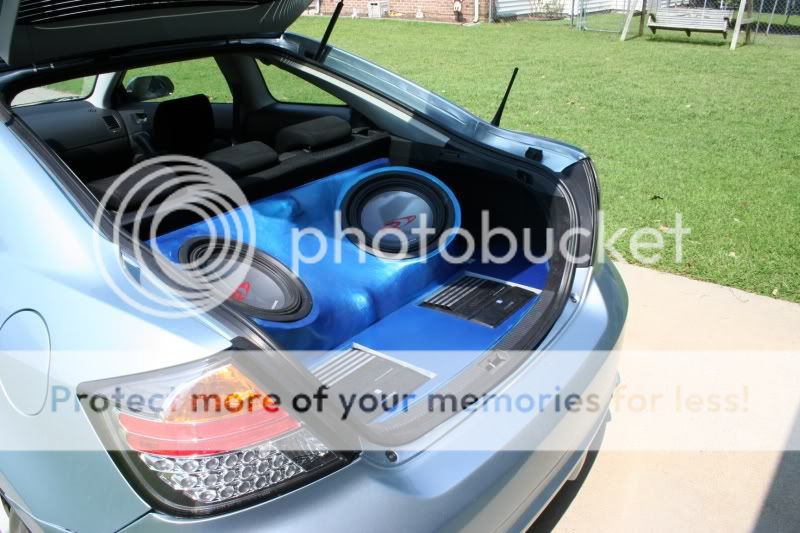




Here is the amp rack. I just used 3/4 inch MDF. I traced the stock floor on it. The placed the box on top. Then traced the box. I cut everthing out. I cut the holes for where the amps would be placed.


#8
Nice write up. For anyone that wants easy, perfect circles everytime, look into a Jasper jig. You need a router to attach it to. It says it requires a plunge router but if you're careful a fixed base will work.
#11
Nice work. I did a fiberglass setup on my truck but transferred it to my car. I def. recommend a respirator cus tose fumes leave you loopy if your workin for awhile. Maybe thats why I dont remember much of that summer. lol
Thread
Thread Starter
Forum
Replies
Last Post
Tc_patentman
Scion xA/xB 1st-Gen ICE & Interior
2
10-28-2004 07:48 PM


