RevivedPhoenix's Bagged FM tC | New Pix 6/10/11 Pg.1
#1
Thread Starter
Senior Member


SL Member
Joined: Jun 2010
Posts: 148
From: (925) The Bay Area, California
I'll jump straight to the pictures and save you the rest.

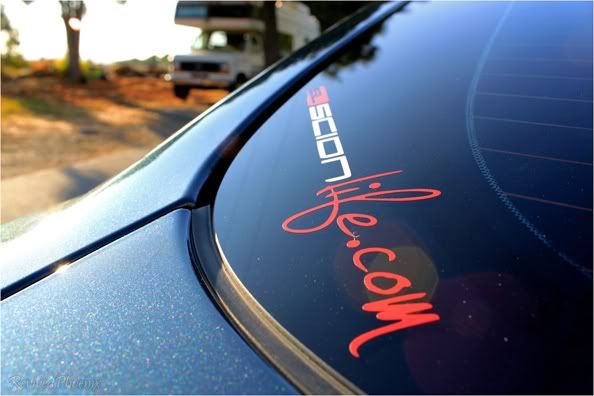
Before people start asking - I bought the SL decal @ http://www.carcandymotorsports.com/i...ducts_id=16391
(Be sure to type in the comment section that you want the "Scion" text to be white if you will be placing it on something dark, such as tinted windows.)

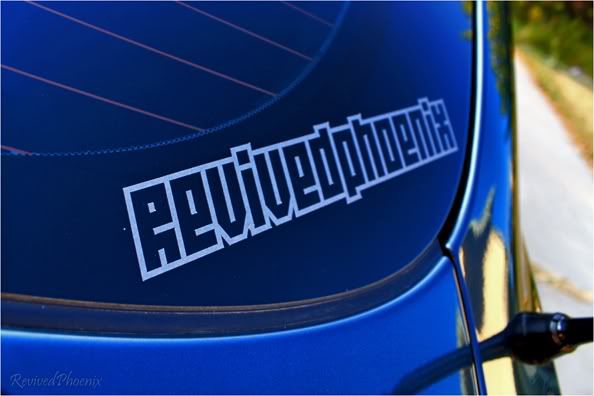
I got this one made custom @ http://www.decalfx.com/custom_decal_maker.php


GrilleCraft MX Series sports upper and lower sports grille set. Ripped the Scion logo off my old grille and stuck it onto this one.


Yes, my back seat is laid down to make room for all my new parts and tools. I've been on a modding binge lately. There's my HKS Hi-Power axle-back exhaust. Thanks to Garage1217 @http://store.garage1217.com/ for the awesome 36LED flagship dome lights.
1/23/11 UPDATE - Painted calipers and "tC" badge with G2 Mustang Red Fire Caliper paint.

Close up on the HKS Hi-Power Axle-back, not new, just never shot it up close before.


2/4/11 UPDATE Dropping some background scenery on you this time around


Favorite

UPDATE 4/17/11 - S'more pictures. Local car show. Added on Injen Cold Air Intake, MengMotorsports.com Fog Lights w/ 5000k HIDs, Carbon Fiber RS1 front and rear lip (gotta shave the sideskirts to fit) and ScionApocalypse "SA" decal (+5HP for being red!)

My girl


Update 6/10/11 - Decided to do a night shoot in the local mall parking lot to show off MengMotorsports Fog Lights with 5k HIDs in 'em. Also...
I'm now riding on bags! Yep, EasyStreet air suspension digital kit from ScionPro.com


Before people start asking - I bought the SL decal @ http://www.carcandymotorsports.com/i...ducts_id=16391
(Be sure to type in the comment section that you want the "Scion" text to be white if you will be placing it on something dark, such as tinted windows.)

I got this one made custom @ http://www.decalfx.com/custom_decal_maker.php


GrilleCraft MX Series sports upper and lower sports grille set. Ripped the Scion logo off my old grille and stuck it onto this one.


Yes, my back seat is laid down to make room for all my new parts and tools. I've been on a modding binge lately. There's my HKS Hi-Power axle-back exhaust. Thanks to Garage1217 @http://store.garage1217.com/ for the awesome 36LED flagship dome lights.
1/23/11 UPDATE - Painted calipers and "tC" badge with G2 Mustang Red Fire Caliper paint.

Close up on the HKS Hi-Power Axle-back, not new, just never shot it up close before.


2/4/11 UPDATE Dropping some background scenery on you this time around


Favorite

UPDATE 4/17/11 - S'more pictures. Local car show. Added on Injen Cold Air Intake, MengMotorsports.com Fog Lights w/ 5000k HIDs, Carbon Fiber RS1 front and rear lip (gotta shave the sideskirts to fit) and ScionApocalypse "SA" decal (+5HP for being red!)

My girl


Update 6/10/11 - Decided to do a night shoot in the local mall parking lot to show off MengMotorsports Fog Lights with 5k HIDs in 'em. Also...
I'm now riding on bags! Yep, EasyStreet air suspension digital kit from ScionPro.com


Last edited by RevivedPhoenix; 06-10-2011 at 10:57 PM. Reason: Added new pictures
#3
Thread Starter
Senior Member


SL Member
Joined: Jun 2010
Posts: 148
From: (925) The Bay Area, California
They have the billet grilles and the mesh grilles here direct from the dealer. You might be able to find a better price elsewhere, I can't remember.
http://www.grillcraft.com/applicatio..._Scion_TC.aspx
Installation will require you to take off your front bumper to gain access to the inside. From there you will need a drill to install the mounting brackets. Thats it, just some time and around 7 tiny holes.
As for the exhaust, HKS has them at their website but they're about $100 more there than other websites. Again, I can't remember exactly where I bought it from but this website was on my list of past visited so it may have been here.
http://thmotorsports.com/hks/hks_hip...-BT001-03-2006
About $360 here compared to $450 at the dealer website. Installation is completely bolt on. Take the stock exhaust off via the 2 bolts around mid car. They'll have the springs around them. Once those are off pry the stock away from the rubber hangers, there's about 3 or 4 of them, and do the reverse with the new exhaust.
Both mods are fairly simple, come with instructions, and are great starter projects that don't take very long to complete. Likely anywhere from 30 minutes to an hour and a half, depending on how leisurely you work. The grilles may be better to work with a friend, just to hold the bumper while you are drilling it since its made of flexible plastic, but it isn't 100% necessary.
#5
Thread Starter
Senior Member


SL Member
Joined: Jun 2010
Posts: 148
From: (925) The Bay Area, California
Heh, the pictures after I mention the coilovers are the ones with them installed. I'm still dialing them in bit by bit since its only been about 3 days now with them on but I'm about a finger width from tire to the body on all four tires. I like the flush look better than having them tucked... for now.
#7
Thread Starter
Senior Member


SL Member
Joined: Jun 2010
Posts: 148
From: (925) The Bay Area, California
Yeah Niko, I got them just fine. The install took longer at the shop than they expected but they didn't change me any extra. Got the Progress rear sway bar and the coilovers installed for $220 and got an alignment for $75, not bad considering that every other shop wanted around $400 for the same work.
Oh yeah, Niko, how do you get to the 0-30 dials for the rears? They installed the coilovers set to 25 in the fronts and they were EXTREMELY uncomfortable. The backs feel really stiff as well so I'm expecting they're also set to 25 but I haven't yet been able to get down and dirty and start ripping my car apart to figure out how to get to them.
Oh yeah, Niko, how do you get to the 0-30 dials for the rears? They installed the coilovers set to 25 in the fronts and they were EXTREMELY uncomfortable. The backs feel really stiff as well so I'm expecting they're also set to 25 but I haven't yet been able to get down and dirty and start ripping my car apart to figure out how to get to them.
#12
#14
First of all nice car its looking good
Also,
would you mind posting some pics or sending me some pics on how you mounted the side leds in the exterior? I would really appreciate it.
Also,
would you mind posting some pics or sending me some pics on how you mounted the side leds in the exterior? I would really appreciate it.
#15
I think you should buy my Progress Springs w/ Tokico Struts!
https://www.scionlife.com/forums/sho...d.php?t=198046
https://www.scionlife.com/forums/sho...d.php?t=198046
#16
Thread Starter
Senior Member


SL Member
Joined: Jun 2010
Posts: 148
From: (925) The Bay Area, California
Tito07tC - You're talking about the underbody lights on the sides? I'll see if I can snap some pictures for you. They're basically clips that connect around the LED tube and screw up to the body where you can get it tucked the most. Pictures likely wont be the best quality but I'll try tomorrow.
TeeCizzle - Already on BC Racing BR Series coilovers. Some pictures are me still on stock springs though.
TeeCizzle - Already on BC Racing BR Series coilovers. Some pictures are me still on stock springs though.
#18
Thread Starter
Senior Member


SL Member
Joined: Jun 2010
Posts: 148
From: (925) The Bay Area, California
Its definitely helpful to knock an indent into the spot you're gonna drill beforehand. I can't tell you how many times I nearly dropped the screw on my face because I was trying to start the hole and it slipped. Gotta get the car lifted pretty high too because it really helps to get under it and drill up with your whole body, otherwise it'l be real hard to get it to go through that metal.


