tcpetes BBS restoration DONE! TEASER PICS 6/10
#29
ok update 3/11/2009 2:20am
so after a super fast change from my work cloths into some BS gettin dirty cloths i quickly ghetto masked the wheels inner barrel with a plastic bag to protect the inner barrel from the paint stripper... i chose this because from past experience the stripper tends to eat paper to some extent and make it very brittle and i needed something i can flip around with ease so i can move the wheel around and get into tight spots so a plastic garbage bag was the perfect solution
SORRY IF THIS SET OF PICS POP UP BLURRY BUT I WAS IN A HURRY NEXT ROUND I WILL HAVE A TRIPOD TO TAKE PICS
heres a pic of the pre paint stripper
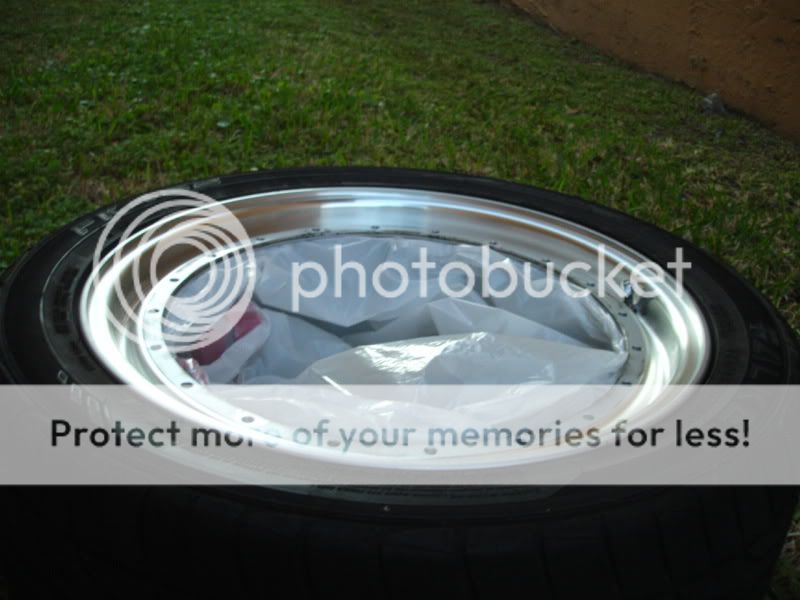

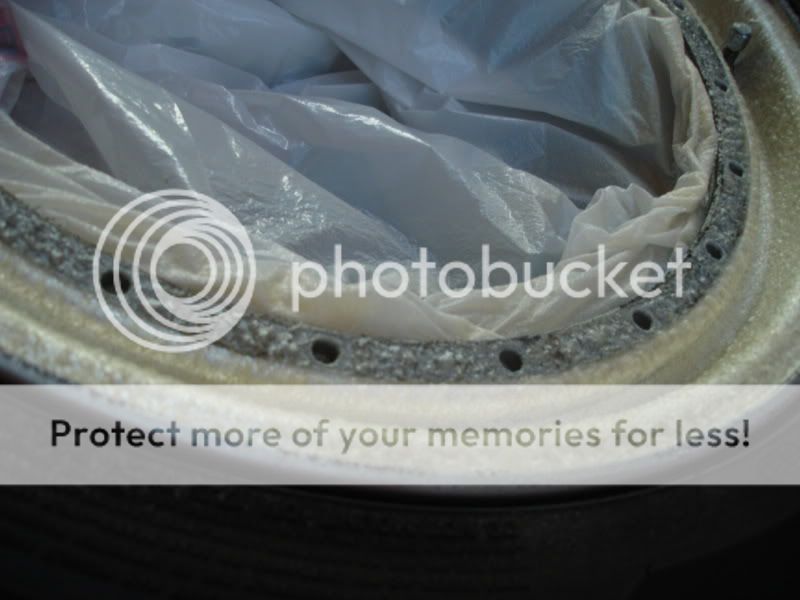
pics of the paint stripper eating away at the clear coat... YUMMAY!


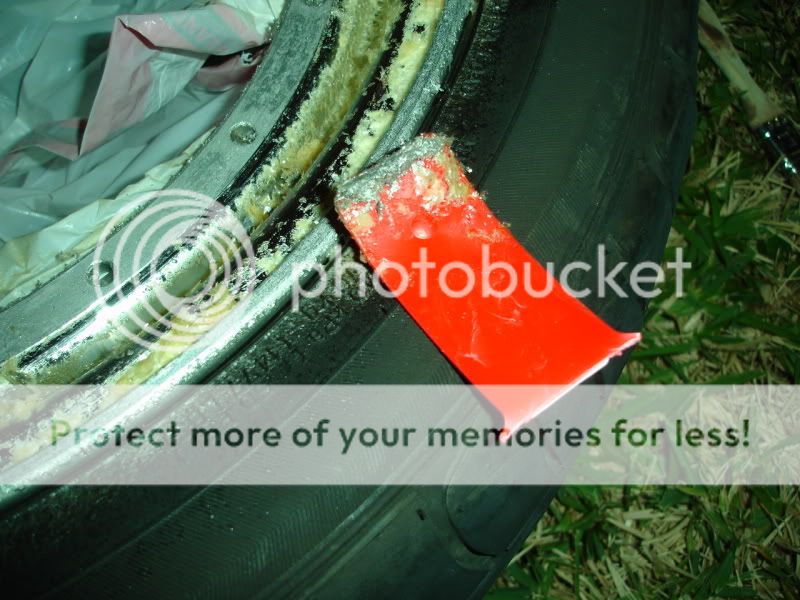
pics of the awesome ghetto clear scrapper with curved wedge design for maximum "getin that fkn tight spot and get to work bish" flex!

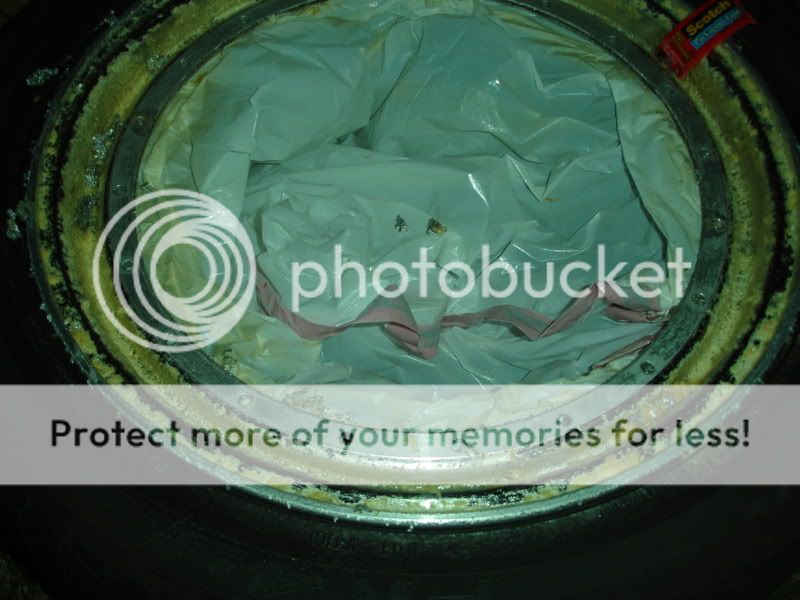
after some scrapping away of the clear this is what you get

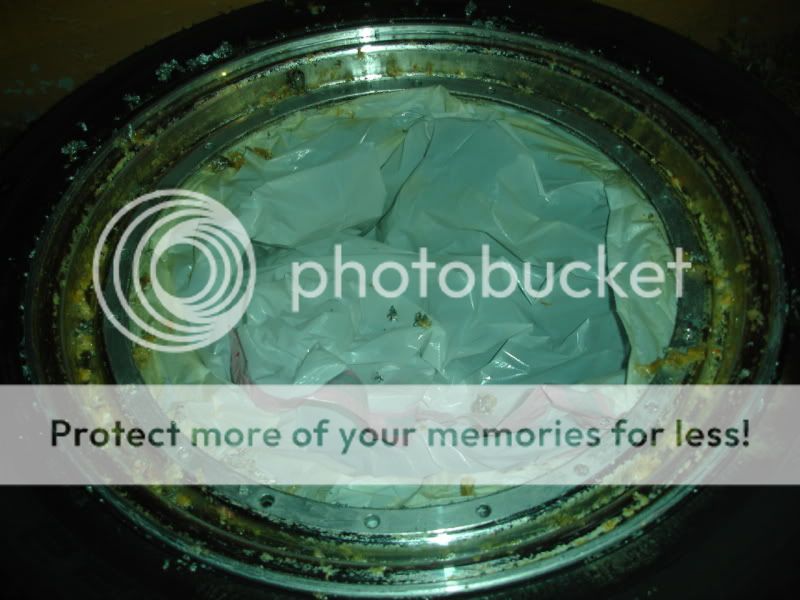
a little more scrapping and its looking mad shiny now
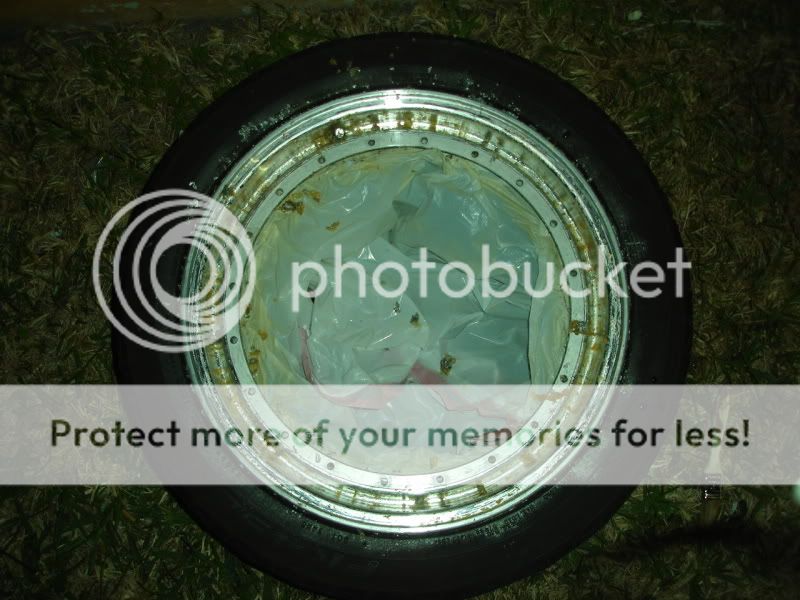
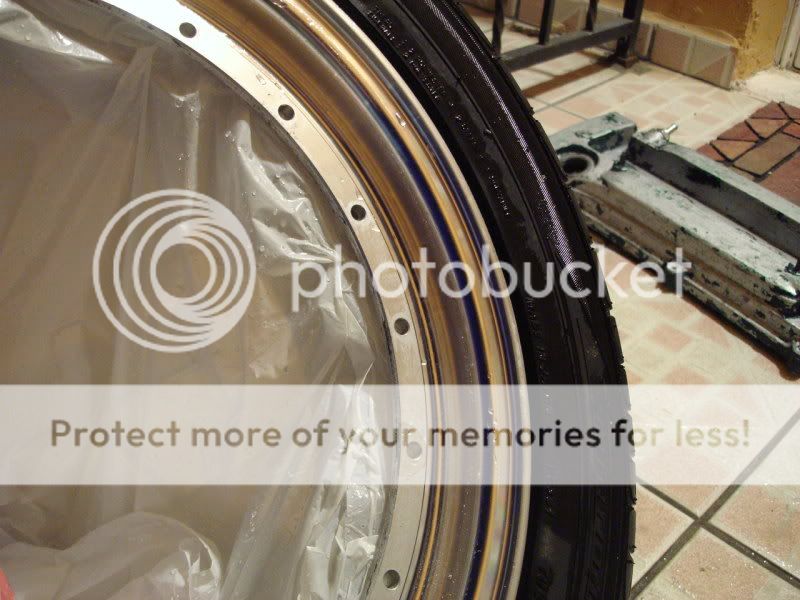
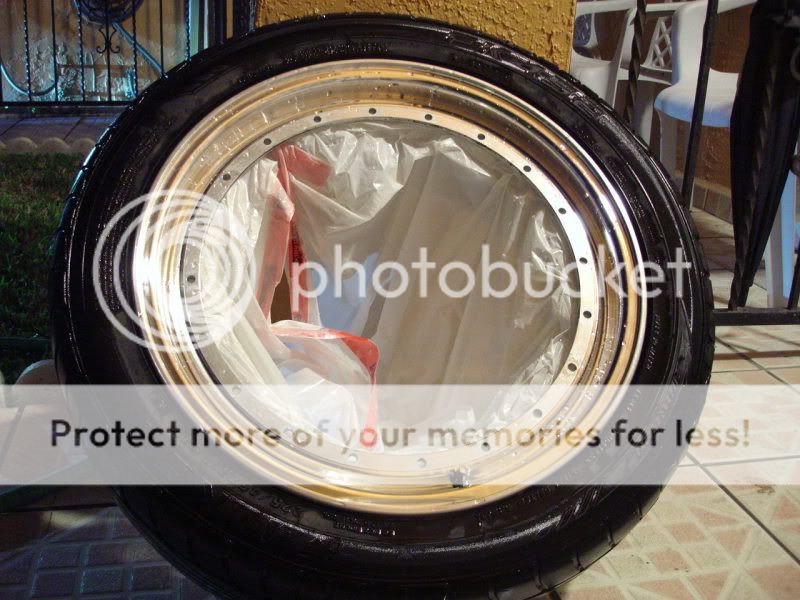
and now after a quick wash with the rubber gloves on and a nice hose down to wash away the stripping acid
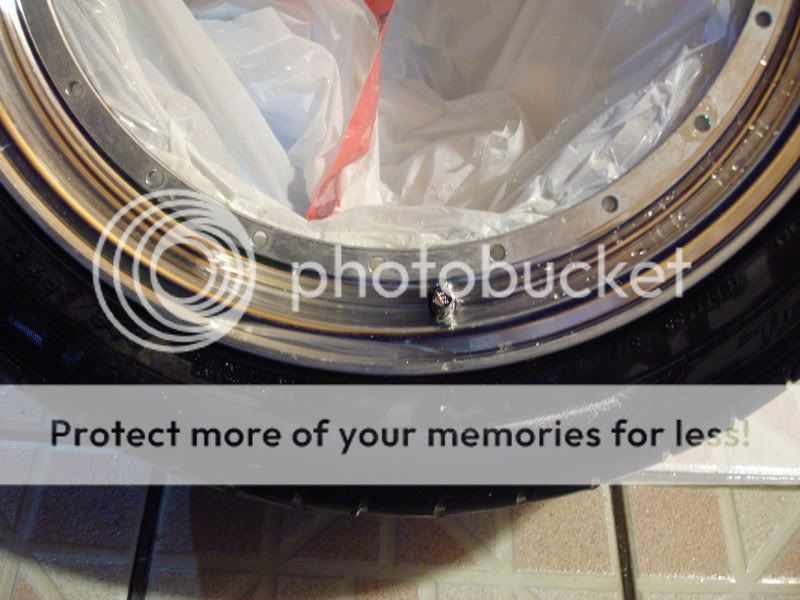
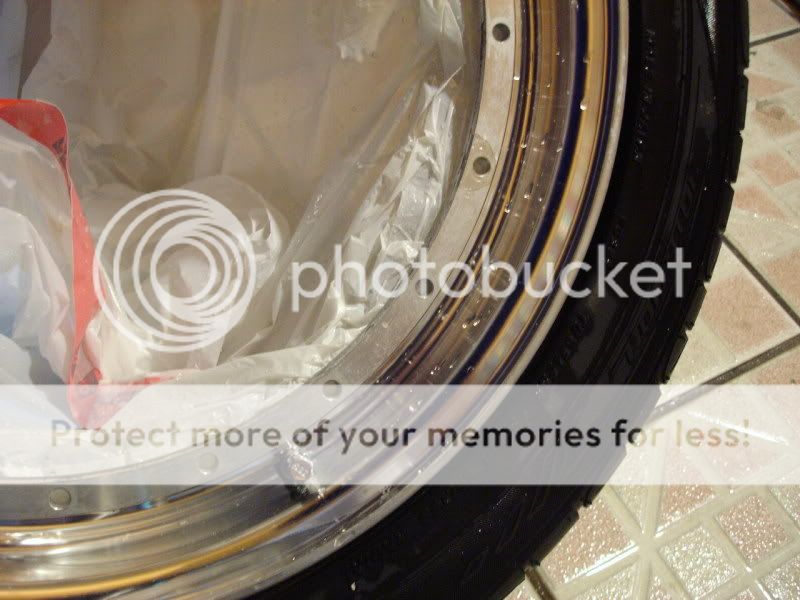
check out the shine on that lip now... SHAM FKN WOW!... and this is not even done yet!
thats all for tonight folks!!!! up next.. another small small coat of stripper to finally clean off any more clear deposits and off the sanding station for polishing!
also i dunno if any of you remember that candy green valve cover i did a few months back....
but that bish got stripped also..... !
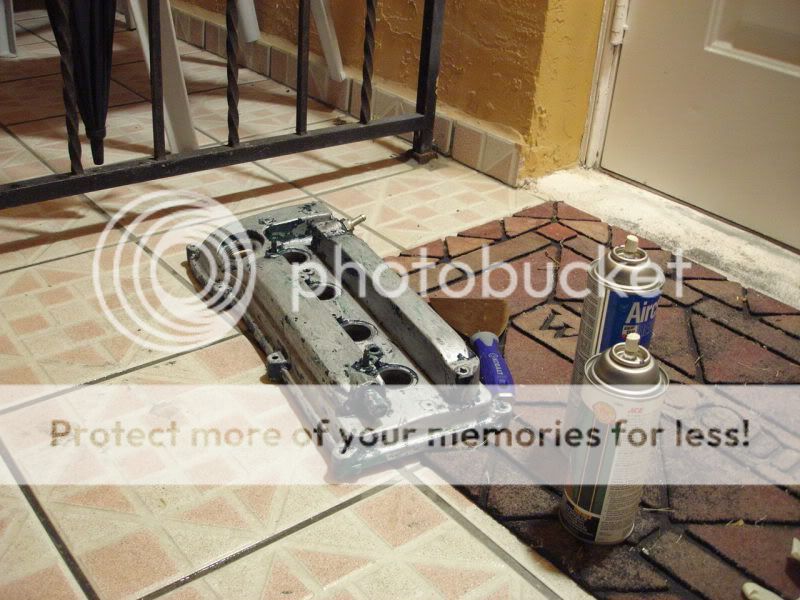
washing away alot of bad mojo and other stuff on this one and its going to get blessed with some hialeah voodoo and good positive vibes for 2009!
so after a super fast change from my work cloths into some BS gettin dirty cloths i quickly ghetto masked the wheels inner barrel with a plastic bag to protect the inner barrel from the paint stripper... i chose this because from past experience the stripper tends to eat paper to some extent and make it very brittle and i needed something i can flip around with ease so i can move the wheel around and get into tight spots so a plastic garbage bag was the perfect solution
SORRY IF THIS SET OF PICS POP UP BLURRY BUT I WAS IN A HURRY NEXT ROUND I WILL HAVE A TRIPOD TO TAKE PICS
heres a pic of the pre paint stripper


pics of the paint stripper eating away at the clear coat... YUMMAY!


pics of the awesome ghetto clear scrapper with curved wedge design for maximum "getin that fkn tight spot and get to work bish" flex!


after some scrapping away of the clear this is what you get


a little more scrapping and its looking mad shiny now

and now after a quick wash with the rubber gloves on and a nice hose down to wash away the stripping acid


check out the shine on that lip now... SHAM FKN WOW!... and this is not even done yet!


thats all for tonight folks!!!! up next.. another small small coat of stripper to finally clean off any more clear deposits and off the sanding station for polishing!
also i dunno if any of you remember that candy green valve cover i did a few months back....
but that bish got stripped also..... !

washing away alot of bad mojo and other stuff on this one and its going to get blessed with some hialeah voodoo and good positive vibes for 2009!
#31
damm pete! got some ***** puttin paint stripper on BBS's dude, lol
so did the VC ever peel? or did you just wanna change?
i followed the tips you PMd me long as$ time ago, and my VC is still perfect, not one chip!lol
great stuff your doin man!
DEFINITELY FULL OF WIN!!!
so did the VC ever peel? or did you just wanna change?
i followed the tips you PMd me long as$ time ago, and my VC is still perfect, not one chip!lol
great stuff your doin man!
DEFINITELY FULL OF WIN!!!
#32
nah the VC never pealed i tested it out for a few days and it was great but it was time for change for me... alot of letting go certain things and moving onto bigger, better, and more positive things and motions in my life. so im starting fresh with that VC. it was my original red wrinkle coat one which brought me lots good things. it was just time to cleanse my head and car and start 09 on a positive.
im glad that write up helped you out man and im glad its worked out for ya!!!! i hope to see it in person soon too! lol
thanks all for the comments so far each and everyone of ya'll!! just trying to do what no one else is doing at the moment and keepin it fresh for scion. ill update with in the next few days as i start sanding away and polishing up the lip... BTW this is only 1 wheel..i have 3 more to go haha so this thread will be an epic one.
ill also try to answer all the Q's as best i can.
its going to be mounted on the inner face of the ridge. in vw land they call it inverted mounting... its commonly found on other LM's with different patterns like for BMW, porsche etc etc on normal 114.3, 100 patterns the face is mounted on the outside like i had it before
im glad that write up helped you out man and im glad its worked out for ya!!!! i hope to see it in person soon too! lol
thanks all for the comments so far each and everyone of ya'll!! just trying to do what no one else is doing at the moment and keepin it fresh for scion. ill update with in the next few days as i start sanding away and polishing up the lip... BTW this is only 1 wheel..i have 3 more to go haha so this thread will be an epic one.
ill also try to answer all the Q's as best i can.
Originally Posted by O5_TRD_tC
how r u going to mount it?


