How to: USB/Aux on aftermarket stereo on Scion tC2
#1
before you start i am not responsible for any damages done to your car or yourself while completing this thread
First off the things you will need
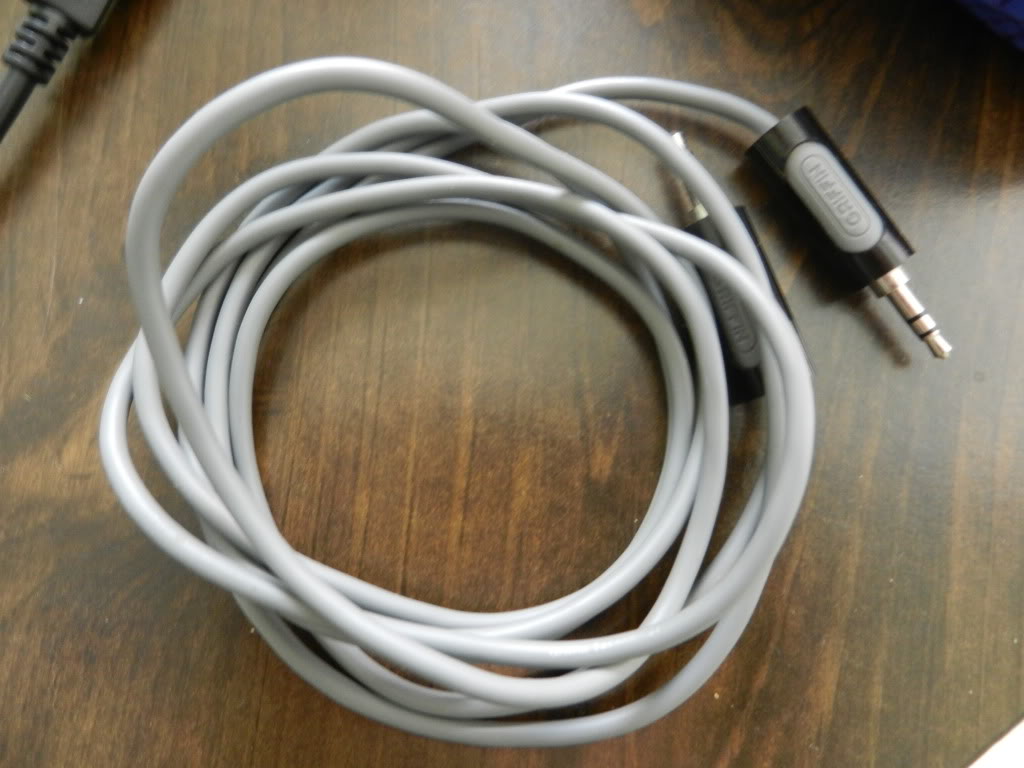
-a 3 wire 3.5mm headphone aux wire i used an old 3.5 to 3.5 that i had left over
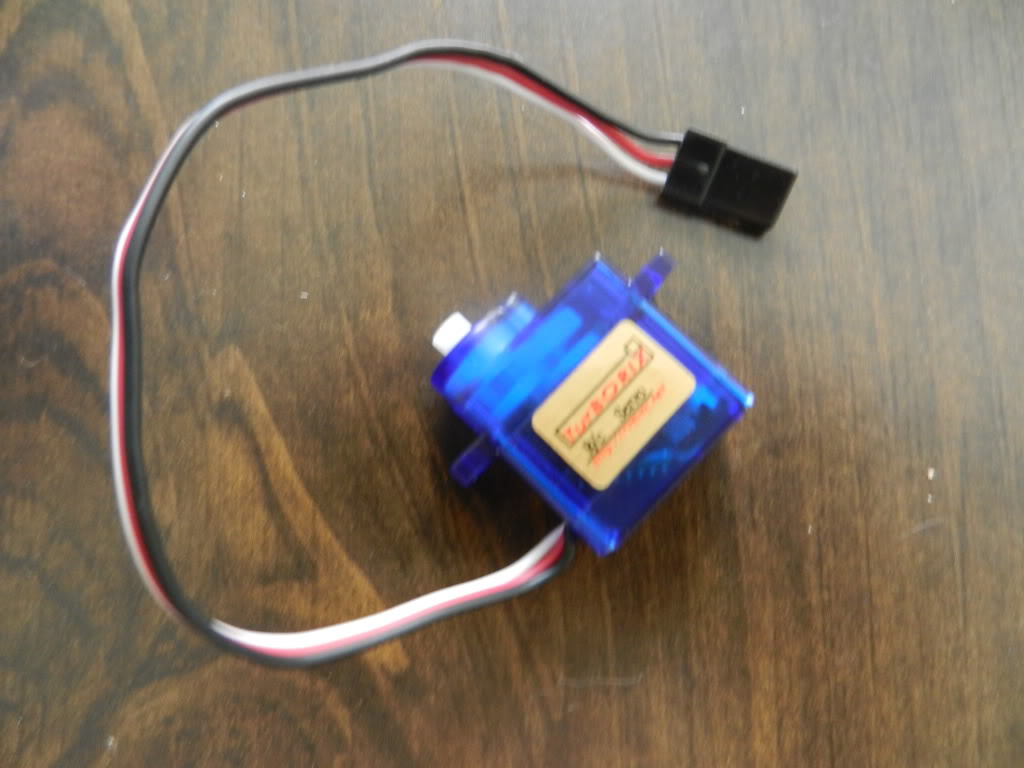
-a cervo or a cervo extension cable i got a cervo off ebay for $.99 you can get an extension on ebay or a hobby shop for a couple bucks
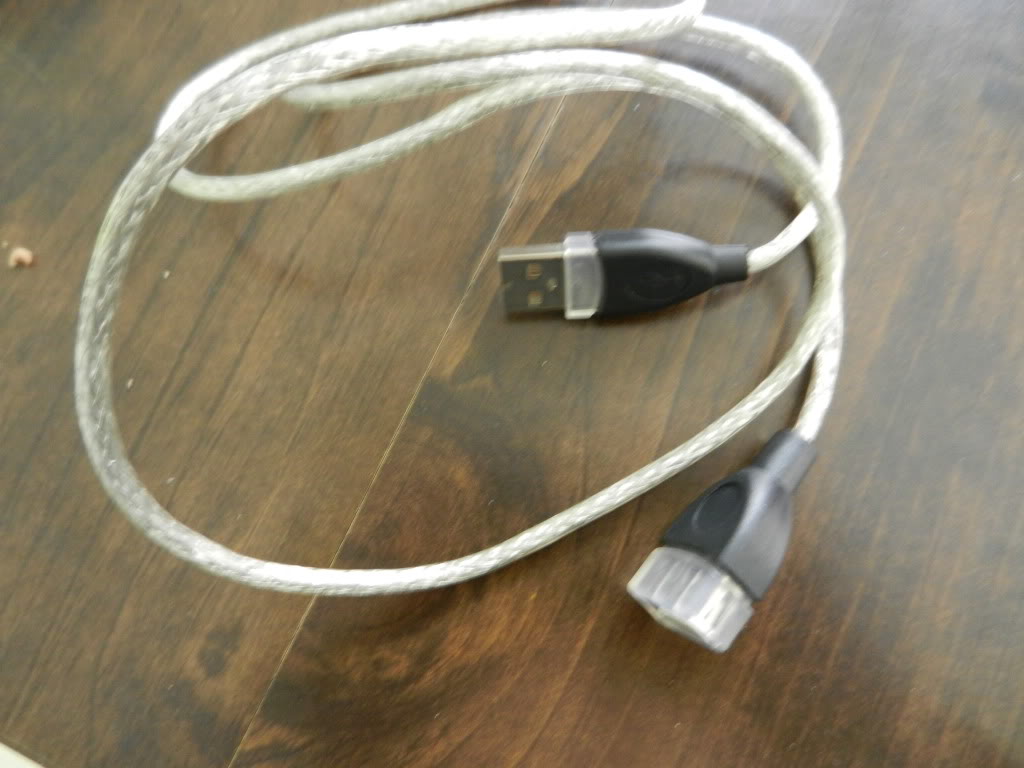
-a USB extension cable can be found at any electronics store
Tools
-i used a soldering iron to make all of my connections
-shrink wrap or electrical tape
-razor blade
-pliers (needle nose preferably)
How to access back of switch
first pop off the passenger side of the center console
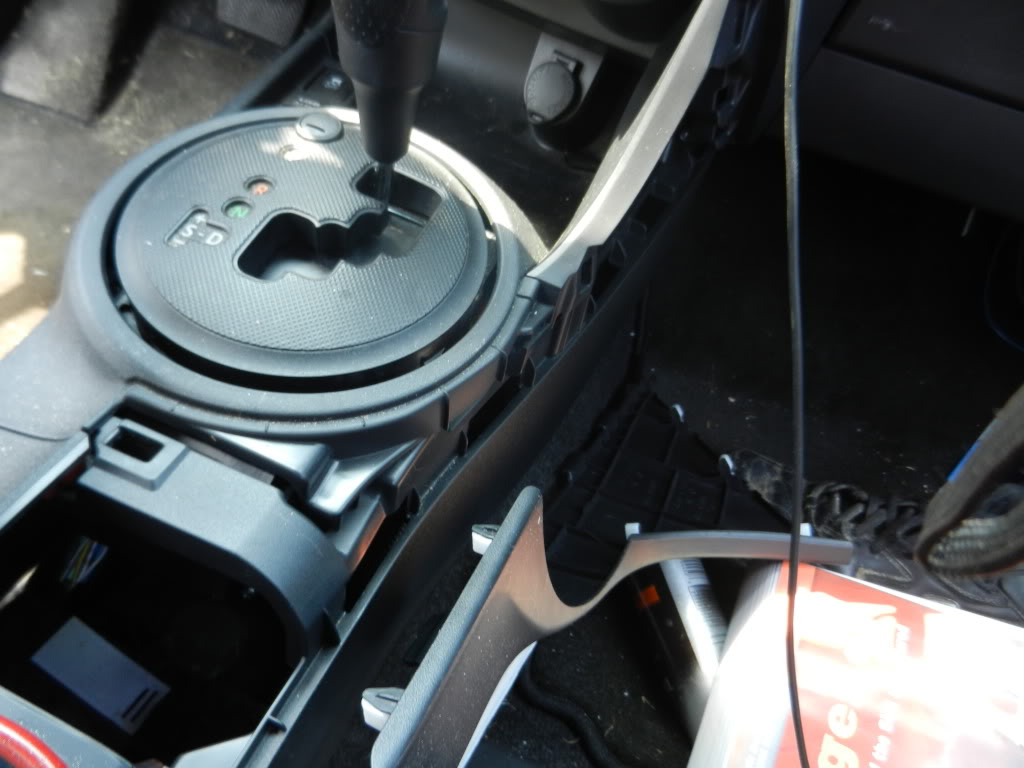
then pull straight up on the bezel around the shifter (you may need to engage the emergency brake to remove it)
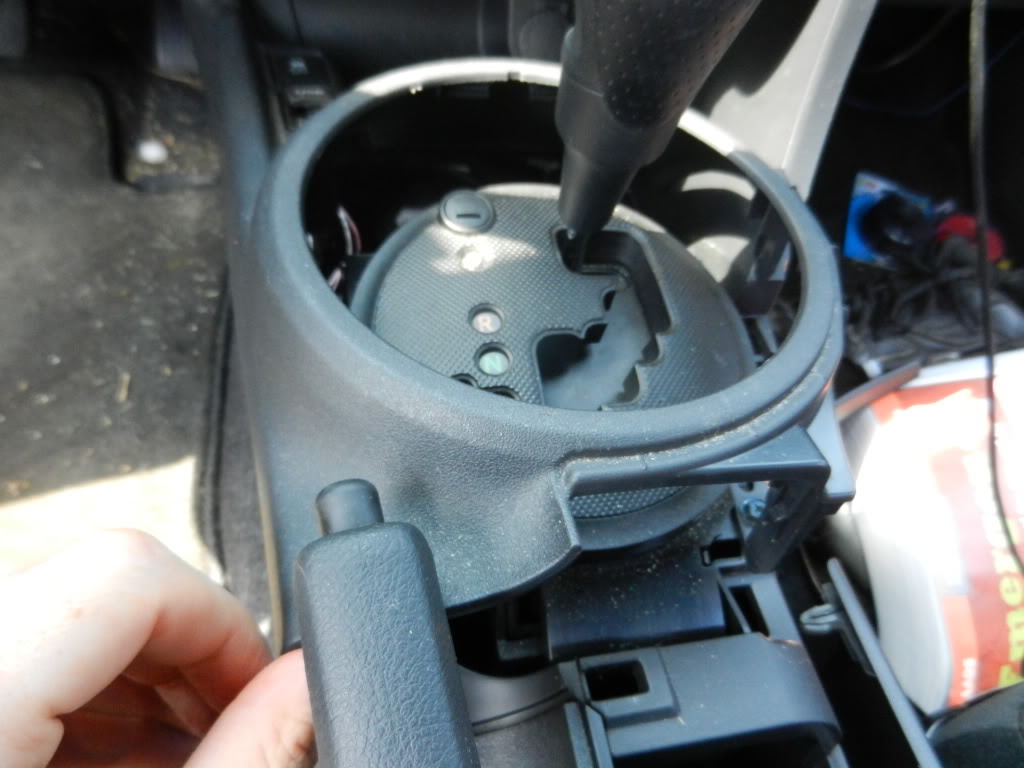
then remove the stock plug from the switch
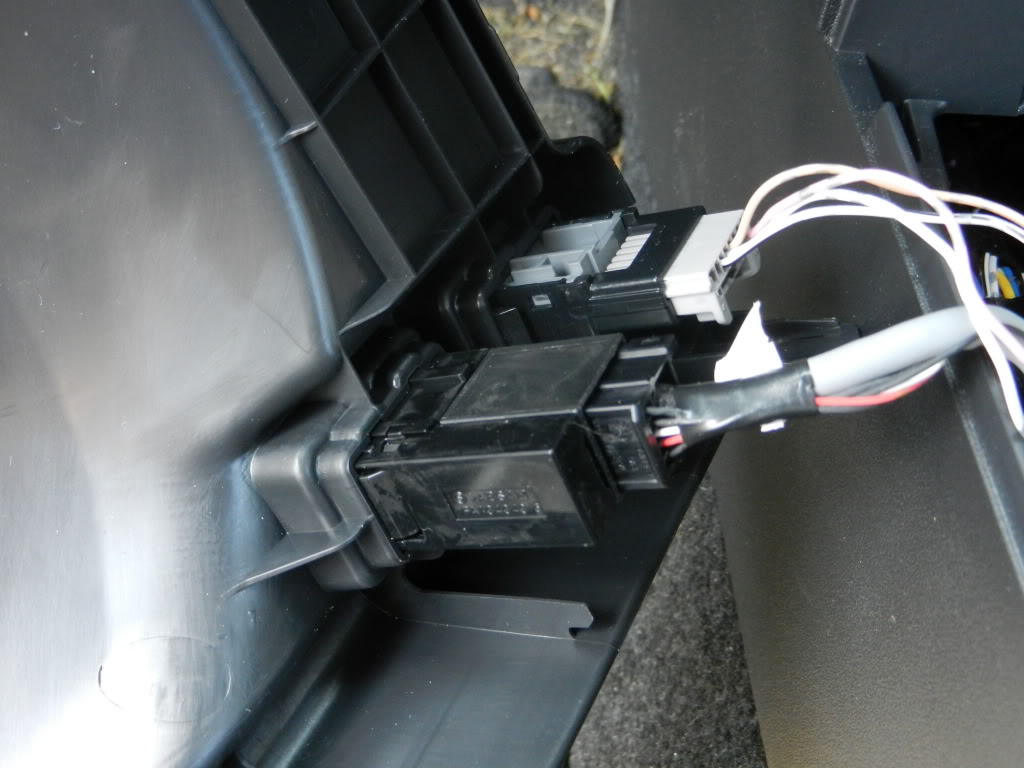
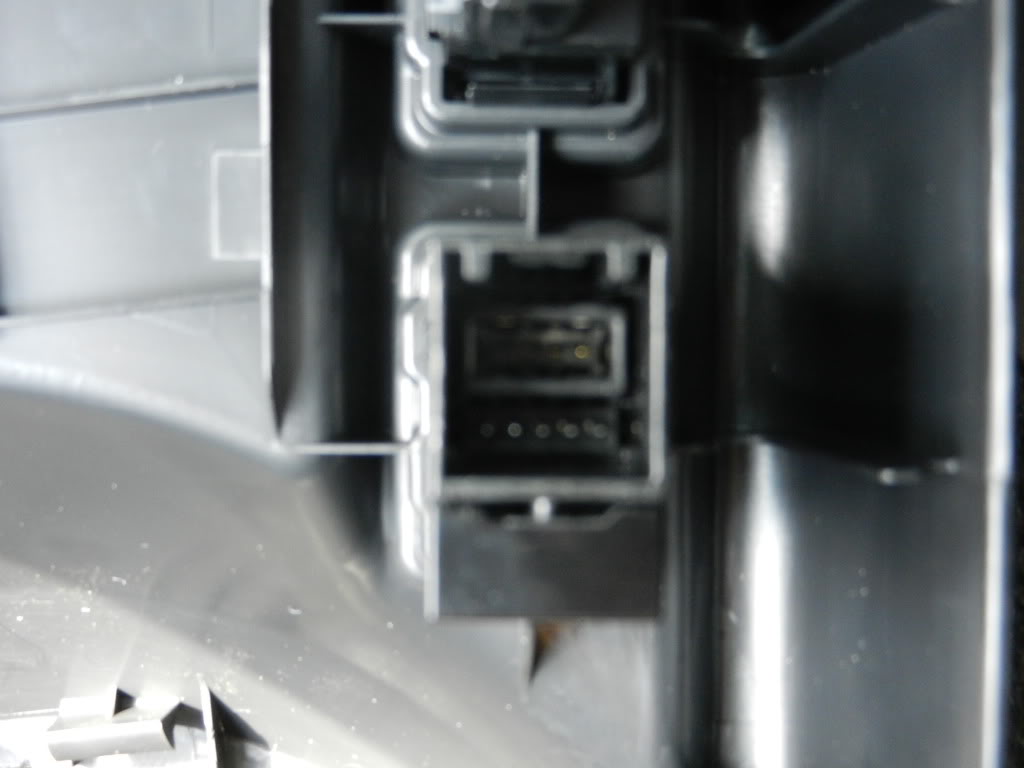
Stereo input:
For the stereo cable I used a three wire 3.5mm stereo cable, cut the plug of one end and you'll have three thin wires exposed mine had a silver wire wrap that was actually the typical black ground:
Black - ground
Red - right channel
White - left channel
Mate them to a radio control servo wire extension as follow:
(Depending on which harness they give you at the hobby shop, they usually are black,red,white or brown,red,yellow)
Black to (Black or Brown)
Red to (White or yellow)
White to (Red)
cut the male connection off of your extenion or cervo and seperate the wires
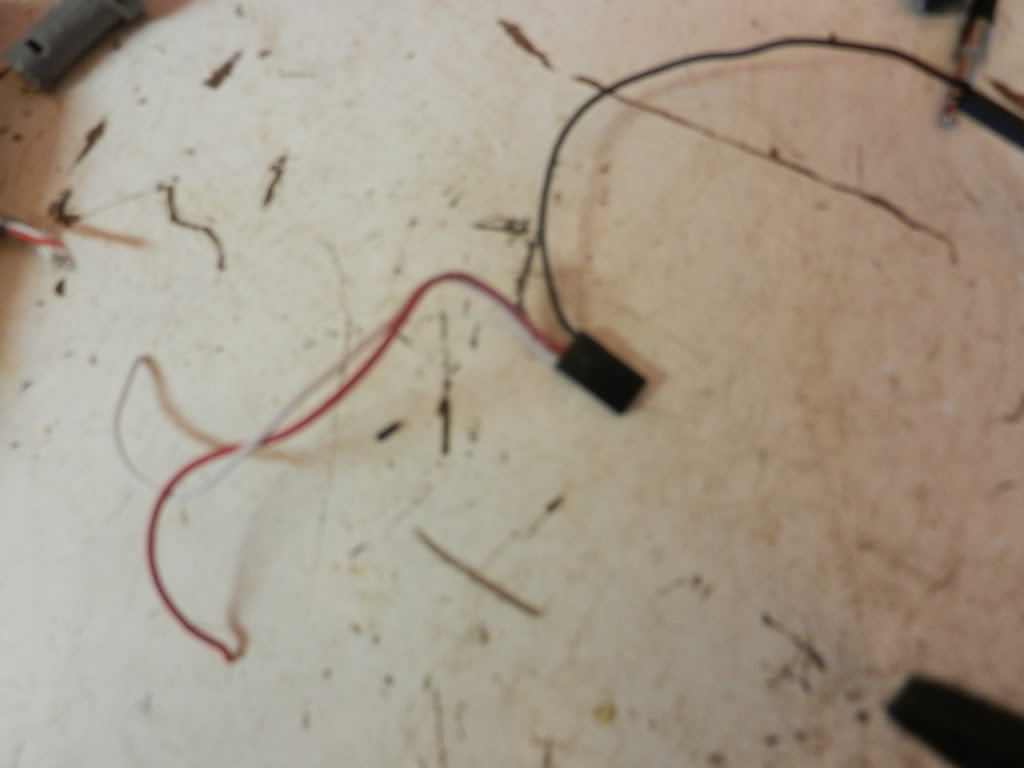
cut the aux cable and seperate the 3 wires that are in it
next solder the wires as shown above to their corresponding wire i made sure to place shrink wrap on each of the three individual wires and on the combination of all for extra protection later on
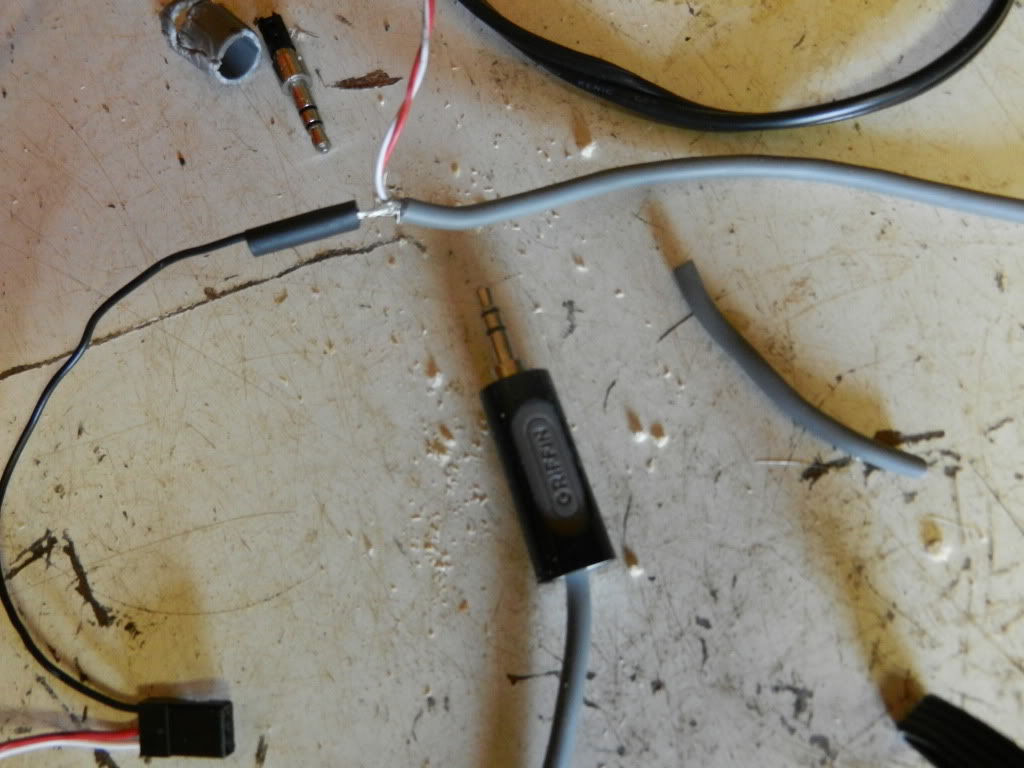
After all solders are made and shrink wraps are connected you should have something like this
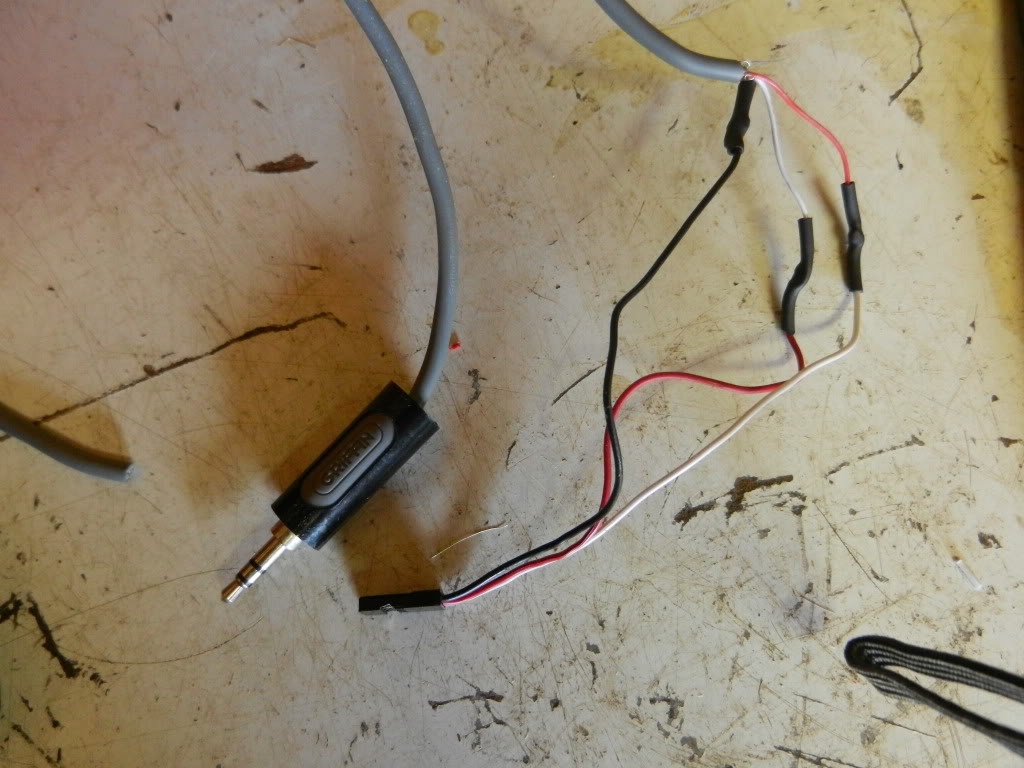
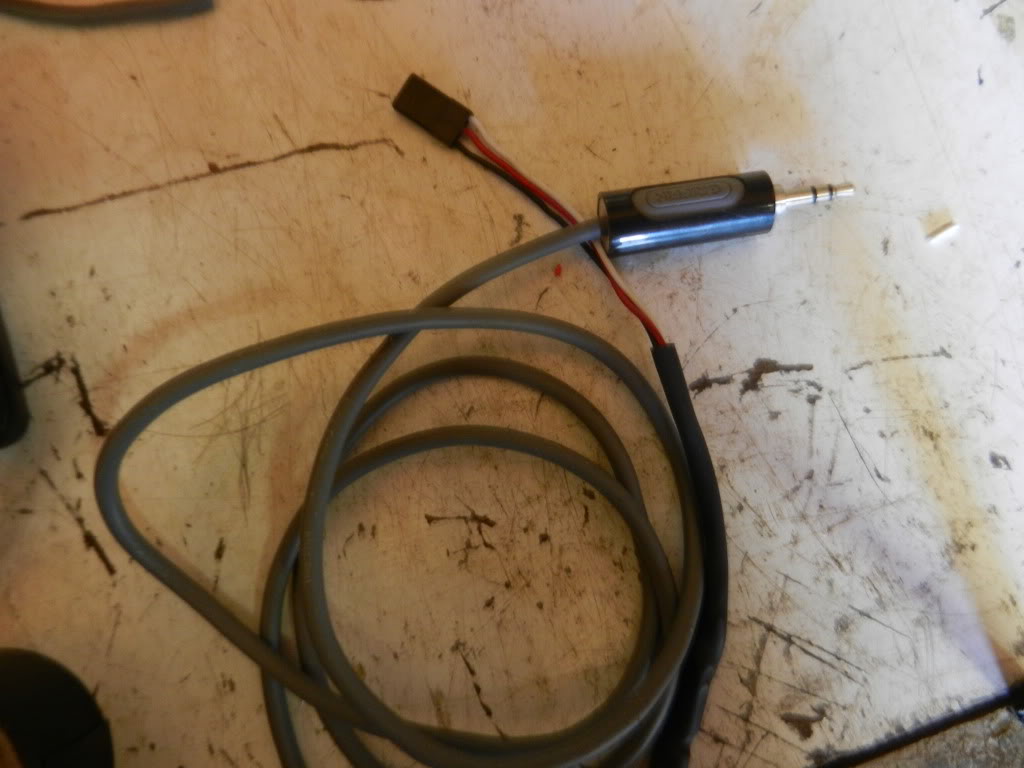
next we have to plug in the cervo wire to the stock switch the switch is layed out into 5 small wire plugs you want to place the cervo wire into the last 3 or these plugs
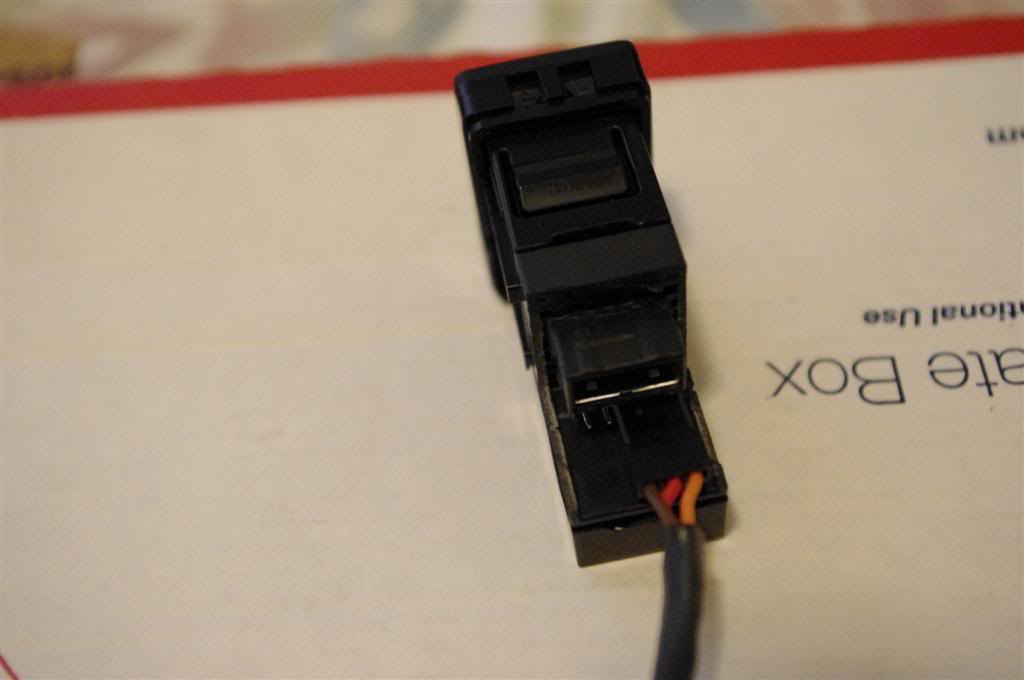
lastly plug the Aux into the Aux end of the aftermarket stereo and test
Connecting the USB:
You will need to modify the female end of the USB cable, basically remove the metal and rubber surrounding using a razor blade and a pair of pliers
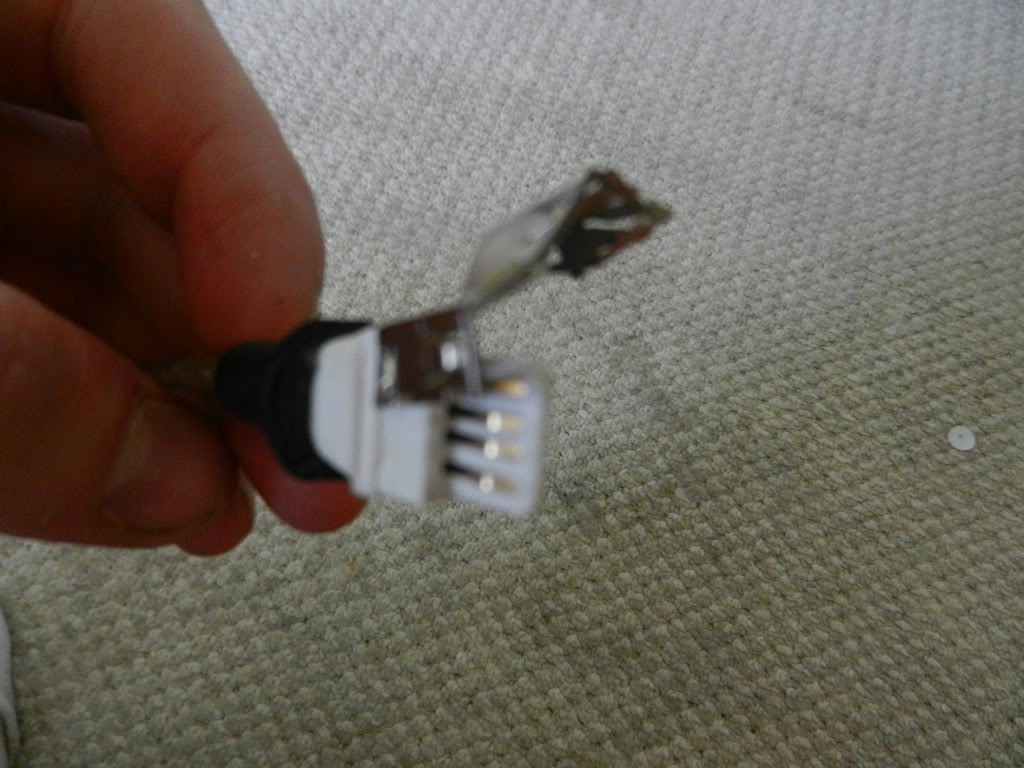
next plug the female end that you just modified into the top of the plug with the metal prongs facing down or towards the cervo wire you need to seat this completely
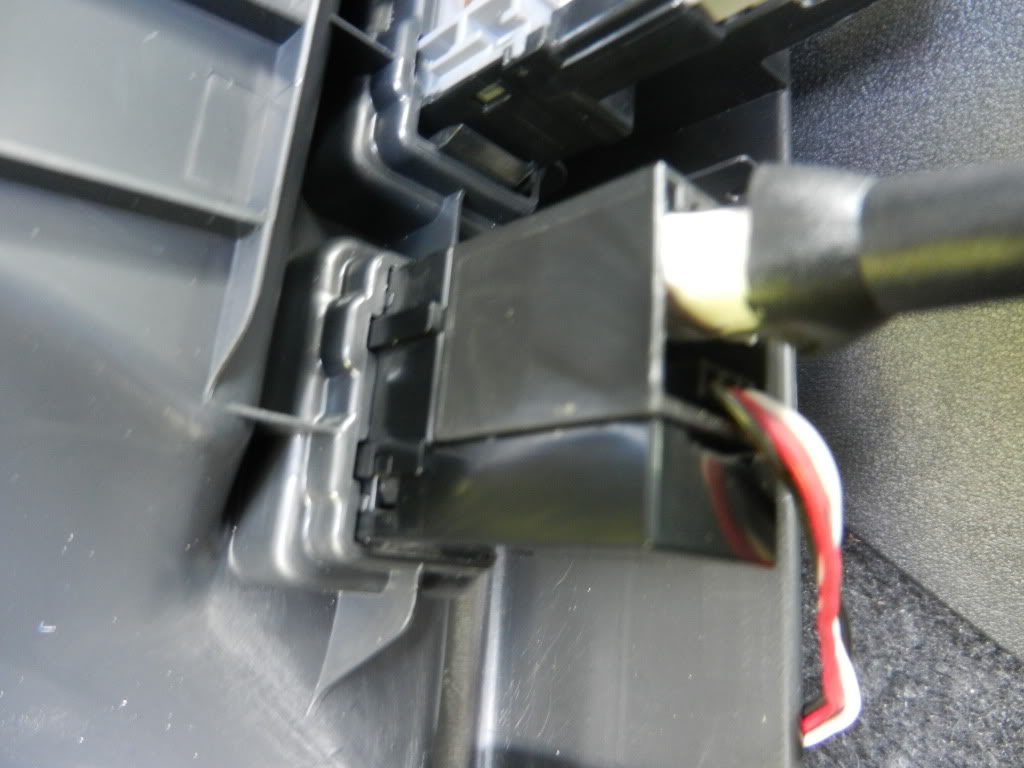
last plug the usb into the usb on your aftermarket stereo and test
its hard to see but the light is on on the usb drive success
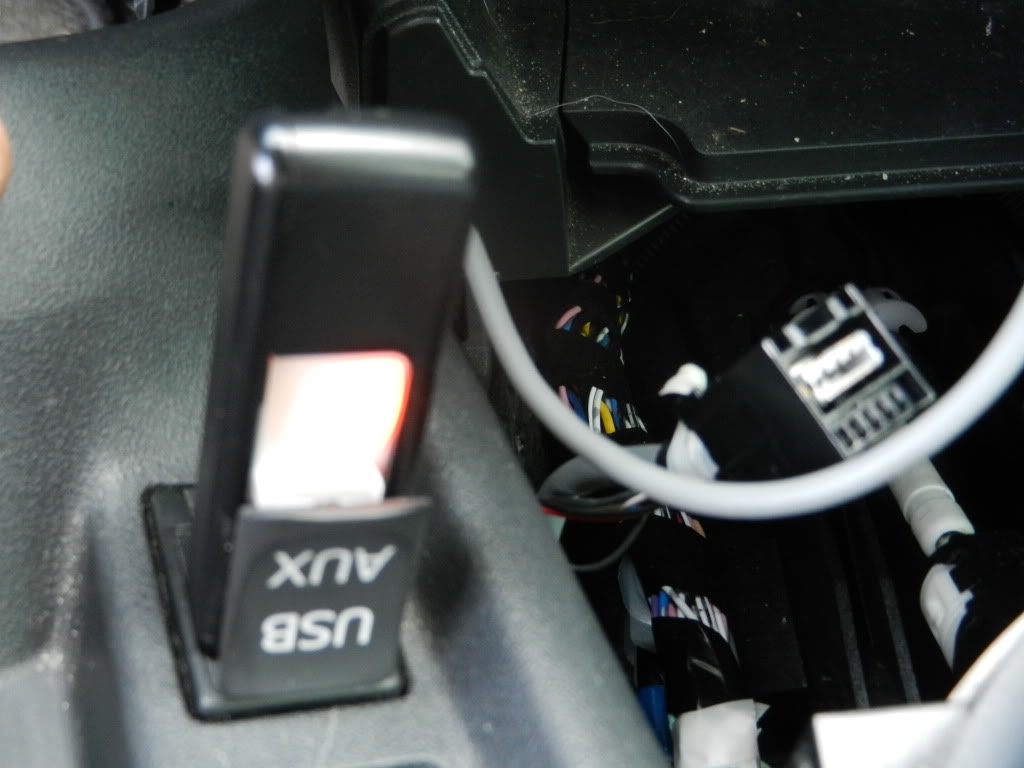
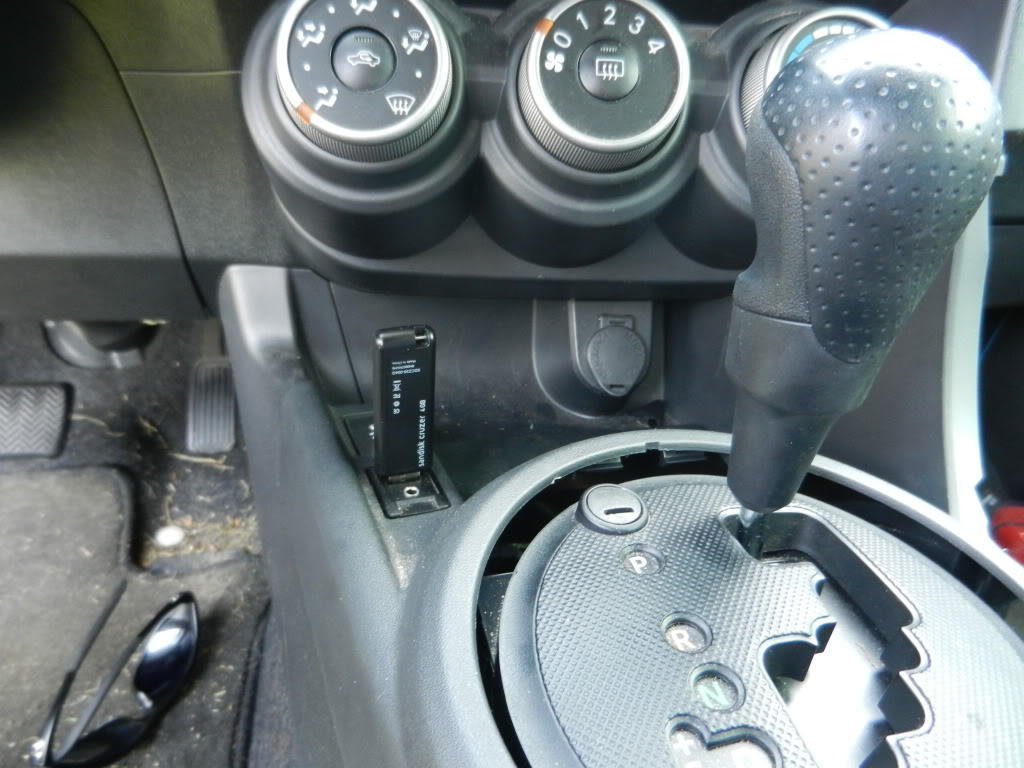
now run all wires down the back of the radio and back into the switch and pop everything back into place
so much cleaner
any questions just ask
First off the things you will need
-a 3 wire 3.5mm headphone aux wire i used an old 3.5 to 3.5 that i had left over
-a cervo or a cervo extension cable i got a cervo off ebay for $.99 you can get an extension on ebay or a hobby shop for a couple bucks
-a USB extension cable can be found at any electronics store


Tools
-i used a soldering iron to make all of my connections
-shrink wrap or electrical tape
-razor blade
-pliers (needle nose preferably)
How to access back of switch
first pop off the passenger side of the center console

then pull straight up on the bezel around the shifter (you may need to engage the emergency brake to remove it)

then remove the stock plug from the switch


Stereo input:
For the stereo cable I used a three wire 3.5mm stereo cable, cut the plug of one end and you'll have three thin wires exposed mine had a silver wire wrap that was actually the typical black ground:
Black - ground
Red - right channel
White - left channel
Mate them to a radio control servo wire extension as follow:
(Depending on which harness they give you at the hobby shop, they usually are black,red,white or brown,red,yellow)
Black to (Black or Brown)
Red to (White or yellow)
White to (Red)
cut the male connection off of your extenion or cervo and seperate the wires

cut the aux cable and seperate the 3 wires that are in it
next solder the wires as shown above to their corresponding wire i made sure to place shrink wrap on each of the three individual wires and on the combination of all for extra protection later on

After all solders are made and shrink wraps are connected you should have something like this


next we have to plug in the cervo wire to the stock switch the switch is layed out into 5 small wire plugs you want to place the cervo wire into the last 3 or these plugs

lastly plug the Aux into the Aux end of the aftermarket stereo and test
Connecting the USB:
You will need to modify the female end of the USB cable, basically remove the metal and rubber surrounding using a razor blade and a pair of pliers

next plug the female end that you just modified into the top of the plug with the metal prongs facing down or towards the cervo wire you need to seat this completely

last plug the usb into the usb on your aftermarket stereo and test
its hard to see but the light is on on the usb drive success

now run all wires down the back of the radio and back into the switch and pop everything back into place
so much cleaner

any questions just ask
#4
Thanks for this write up.
I hooked up the USB to my P4300DVD HU and it's working perfectly.
I modified the USB Extention cable that came with that HU so it was pretty simple. I didn't hook up the AUX since I don't have any devices that use it.
I hooked up the USB to my P4300DVD HU and it's working perfectly.
I modified the USB Extention cable that came with that HU so it was pretty simple. I didn't hook up the AUX since I don't have any devices that use it.
#6
USB works great! Wasn't able to do the aux connection due to me having my aux used by the stereo control adapter. Not too worried about it. Would i be able to use an aux splitter and use the car aux plus the stereo control adapter???
#7
if so i dont see why you couldnt use it for both unless it has something to do with the input derived from that aux port if you have an extra splitter laying around you could always just try it out
#8
Finally getting around to redoing the aux. I wired my servo extension exactly like this showed however when I plugged it into the last three wire prongs on the stock connector and tested it through my computer speakers all I got was left side signal. I moved the servo extension to the middle three prongs and now I get both sides. It seems to be working correctly now but I want to make sure if I haven't done something wrong.
#9
Not to rain on your parade but there is an easier way to get the aux cable instead of getting the servo and the connector for that you can simply get an mp3 interface harness (isimple/pac audio) the part number is PXHTY3 it is about $11 and looks like this:

Now instead of bypassing the factory harness you simply cut off the female end (of the aftermarket connector) and you have at least a good 6 inches of wire to deal with, match up to the factory wire colors, now you can simply solder your 3.5mm cable onto this harness and your steering wheel controls if your connecting them (all outside of the vehicle) and simply snap in (the aftermarket connector) to the factory plug. DONE! Very simple. Toyota uses pretty much the exact same harness in every car since the 80s so this same procedure can be done on almost any car.
If you don't want to order the harness you can still get access to the aux wires at the radio harness and just hardwire there without the plug. Again not trying to rain on your parade just trying to show an easier option it's what I would do if my customer did not want to hardwire into the factory harness.
#11
I did read the entire thread.... did you read mine? This harness (which is aftermarket) plugs straight onto the factory plug at the radio... so no cutting of factory wiring is required and it takes a lot of the possibility of screwing up out of the picture.
Now for those who care, you take the FEMALE end of the AFTERMARKET harness that is in the PICTURE and you cut it off NOT THE FACTORY CONNECTOR allowing you to attach SWC and MP3 connections at the radio.
I was just putting this out there as I have a similar harness in my xB and I thought it would make this DIY thread easier for rookies..
I was simply trying to be kind but I forgot this is the interwebz and a professional installer surely does not know as much as everyone else..
I'll just keep my knowledge to myself in the future..
#12
I did read the entire thread.... did you read mine? This harness (which is aftermarket) plugs straight onto the factory plug at the radio... so no cutting of factory wiring is required and it takes a lot of the possibility of screwing up out of the picture.
Now for those who care, you take the FEMALE end of the AFTERMARKET harness that is in the PICTURE and you cut it off NOT THE FACTORY CONNECTOR allowing you to attach SWC and MP3 connections at the radio.
I was just putting this out there as I have a similar harness in my xB and I thought it would make this DIY thread easier for rookies..
I was simply trying to be kind but I forgot this is the interwebz and a professional installer surely does not know as much as everyone else..
I'll just keep my knowledge to myself in the future..
Now for those who care, you take the FEMALE end of the AFTERMARKET harness that is in the PICTURE and you cut it off NOT THE FACTORY CONNECTOR allowing you to attach SWC and MP3 connections at the radio.
I was just putting this out there as I have a similar harness in my xB and I thought it would make this DIY thread easier for rookies..
I was simply trying to be kind but I forgot this is the interwebz and a professional installer surely does not know as much as everyone else..
I'll just keep my knowledge to myself in the future..
#13
im honostly not trying to be an ___ but what im trying to figure out is how you dont mess with either the factory harness or the radios plugs if you have to solder something to one or the other?? solder is not 100% removable
#14
Edit: after rereading my post I can see how it was confusing I will try to rephrase it to make more sense.
The major benefit of this is your not messing with your factory connector, your able to do your soldering or connections outside of the vehicle (less chance of mess or dripping solder), you can easily remove to fix or put back to stock, its cheap and lastly it has all the wires you need for steering controls and aux input.
#15
ok i get what your saying now so you can use this to do the stearing wheel controls too thats cool do you know how to wire that up?? and just an fyi you can get all of the plugs for my way on monoprice.com for like 5 bucks total before shipping but and the servo on ebay for .99 shipped so i think all together with shipping it ran me $10
#16
ok i get what your saying now so you can use this to do the stearing wheel controls too thats cool do you know how to wire that up?? and just an fyi you can get all of the plugs for my way on monoprice.com for like 5 bucks total before shipping but and the servo on ebay for .99 shipped so i think all together with shipping it ran me $10
#17
I just remembered this harness today when I was looking up parts for a customer this will make everything a hell of a lot simpler.
70-8114

7.99 @ SonicElectronix
70-8114

7.99 @ SonicElectronix
#18
◄◄Click Here to Add your Vehicle to Garage
don't see anything for the USB though.
I just remembered this harness today when I was looking up parts for a customer this will make everything a hell of a lot simpler.
70-8114

7.99 @ SonicElectronix
70-8114

7.99 @ SonicElectronix


