GReddy Super Charger Coupler Replacement, How To... Pics...
#1
This write up isn't just limited to the GReddy SC, it applies to all Eaton super chargers. Replacing the coupler usually isn't needed until your supercharger racks up some high miles, usually over 50 or 70k, but depending on how you use your blower you may wear the coupler prematurely. Coupler wear can be characterized by a loud rattle at idle, similar to the sound of rocks tumbling inside the blower. I replaced my coupler with one i sourced from www.zzperformance.com the coupler is the same for all eaton blowers, however, when installing mine i noticed the aftermarket one was slightly larger than the oem one. On the supercharger in my Grand Prix, the Eaton M90, this was not an issue, but on the MP45, the one the GReddy uses, this became an issue on the snout, the coupler rubbed slightly, so i had to sand it down a little but to ensure it wouldn't rub, a slight hiccup, but no big problem. Here is the link for the Oil Impregnated coupler i used. http://www.zzperformance.com/grand_p...=155&catid=106 Okay, now lets start with the install...
It will be up to you whether or not you want to pull your entire blower or try to leave it on. I just went ahead and pulled it, it took me about 20-30 mins. The first thing you are going to want to do is drain the super charger oil. I used a T30 torx to remove the drain plug, shown with a green arrow in the picture...
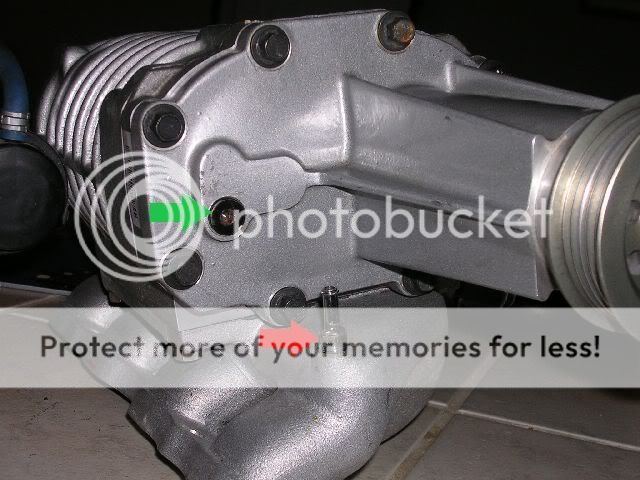
if you remove the super charger you will be able to dump the oil into a container by turning it up on end, however, if you attempt to do the snout removal without removing the supercharger, you will need to get a syringe and some tubing and suck the oil out. After the oil is removed you will then remove the bolts, but before you do, you will have to remove the tube shown by the red arrow in the previous pic so that you can access the bolt behind it...
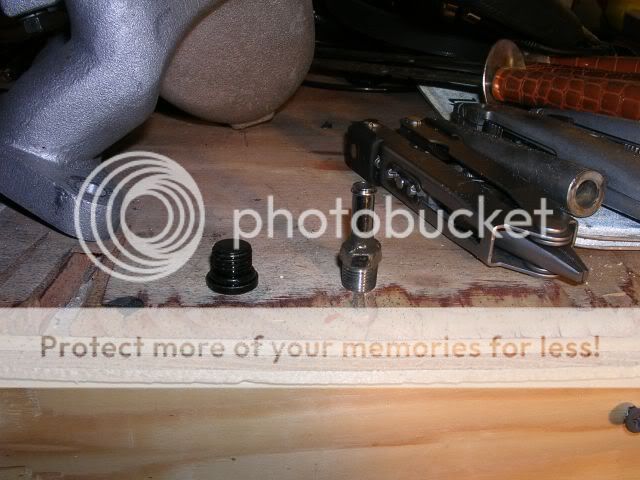
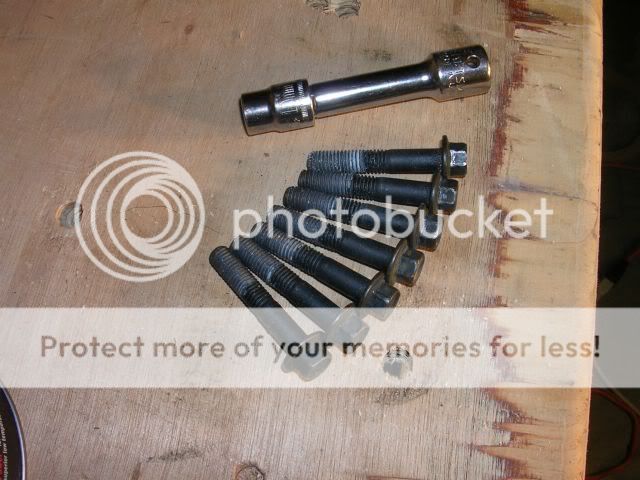
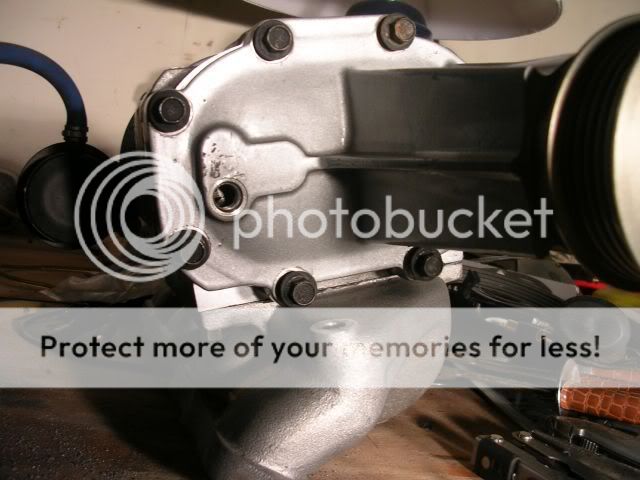
Remove the snout by pulling on it. It may or may not just slide right off. If it does not slide right off, just give it a jiggle and keep pulling... Once the snout is off you will see the coupler on the rotor gears, or it may be on the snout itself...
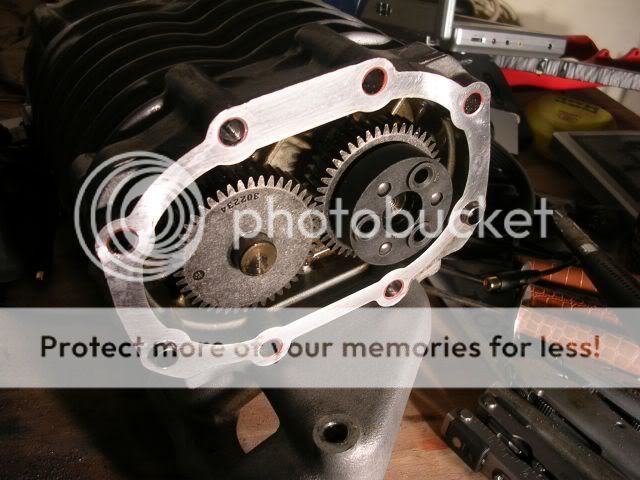
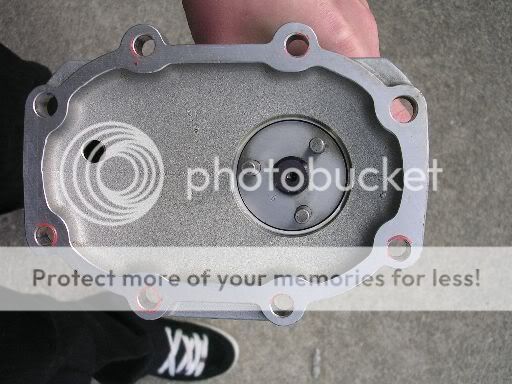
Remove the old coupler...

Here is a pic of the new coupler next to the old one...
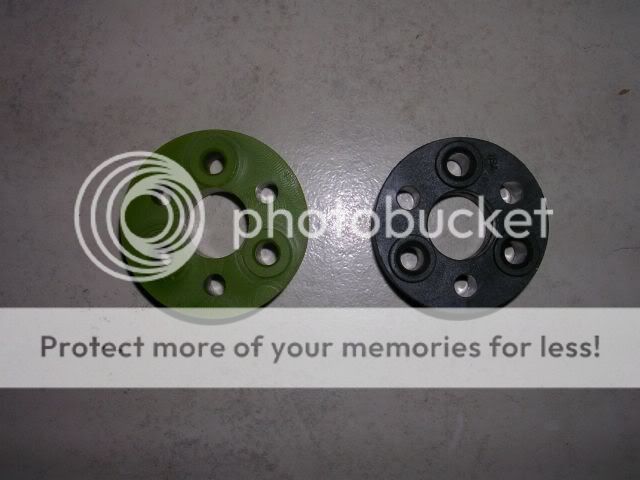
Next, compare the size of the couplers, if the new one is larger than the old one in diameter, you will have to sand it down a little bit... One the coupler is of acceptable size, place it on the the rotor gears, the raised holes go on the posts towards the gears as shown...
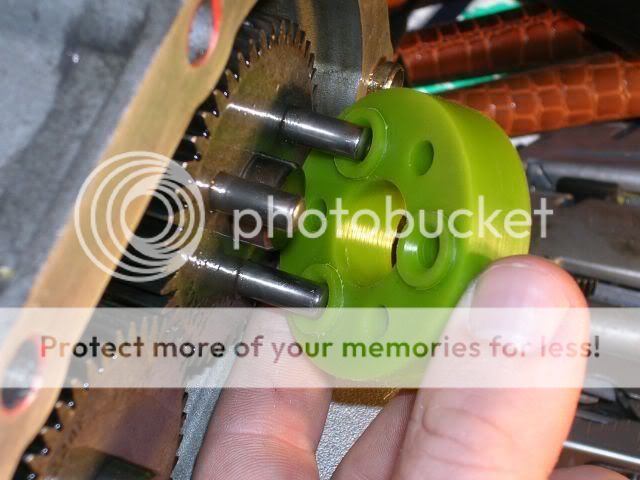
Press it on as far as you can get it to go, it will be tight and you will not get it on all the way, don't worry, just put it on as far as you can...
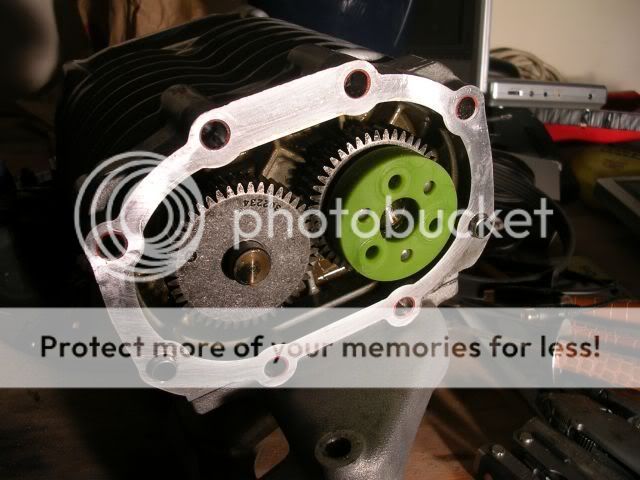
Now, align the snout posts with the remaining holes in the coupler, the empty holes should have a raised surface facing the snout identical to the ones on the other side as shown...
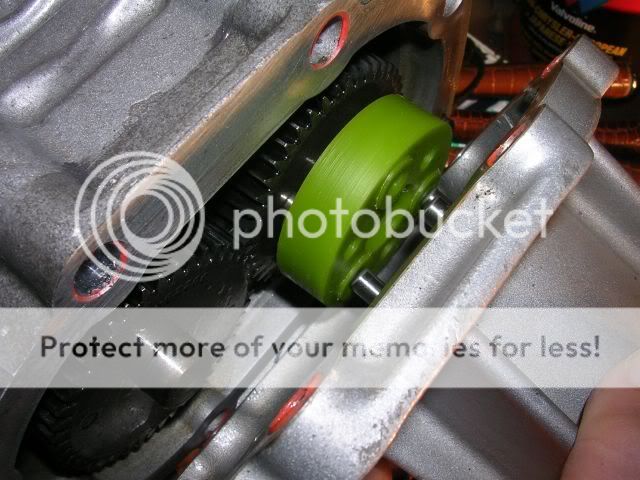
Press the snout on as far as you can, it will be tight and will not go on all the way, don't worry, just put it on as far as you can, once on, place the bolts back in and hand tighten them...
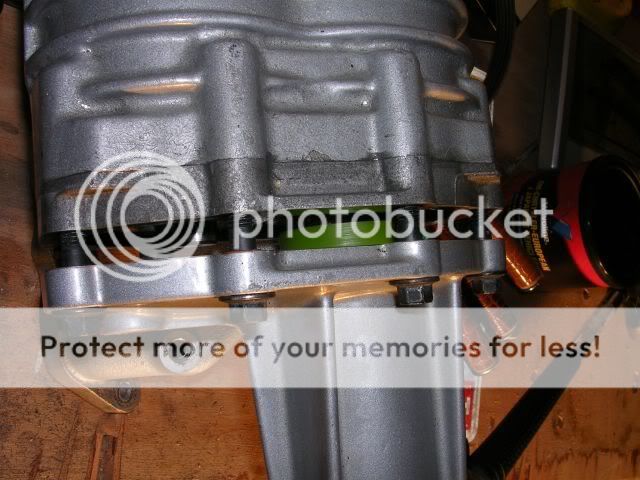
Start tightening the bolts evenly. The posts on the rotor gears and snout will be pressed into the coupler...
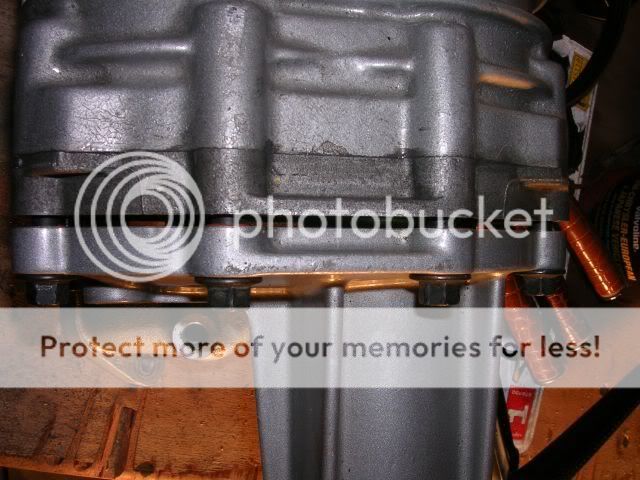
Continue tightening the bolts until they are all tight. Now you can replace the tube for the bypass valve. Finally, you will need to refill the oil. Use a syringe and tubing. Fill until the oil reaches the level of the bottom of the hole. Replace the Drain Plug. Reinstall supercharger and enjoy...
It will be up to you whether or not you want to pull your entire blower or try to leave it on. I just went ahead and pulled it, it took me about 20-30 mins. The first thing you are going to want to do is drain the super charger oil. I used a T30 torx to remove the drain plug, shown with a green arrow in the picture...

if you remove the super charger you will be able to dump the oil into a container by turning it up on end, however, if you attempt to do the snout removal without removing the supercharger, you will need to get a syringe and some tubing and suck the oil out. After the oil is removed you will then remove the bolts, but before you do, you will have to remove the tube shown by the red arrow in the previous pic so that you can access the bolt behind it...


Remove the snout by pulling on it. It may or may not just slide right off. If it does not slide right off, just give it a jiggle and keep pulling... Once the snout is off you will see the coupler on the rotor gears, or it may be on the snout itself...


Remove the old coupler...

Here is a pic of the new coupler next to the old one...

Next, compare the size of the couplers, if the new one is larger than the old one in diameter, you will have to sand it down a little bit... One the coupler is of acceptable size, place it on the the rotor gears, the raised holes go on the posts towards the gears as shown...

Press it on as far as you can get it to go, it will be tight and you will not get it on all the way, don't worry, just put it on as far as you can...

Now, align the snout posts with the remaining holes in the coupler, the empty holes should have a raised surface facing the snout identical to the ones on the other side as shown...

Press the snout on as far as you can, it will be tight and will not go on all the way, don't worry, just put it on as far as you can, once on, place the bolts back in and hand tighten them...

Start tightening the bolts evenly. The posts on the rotor gears and snout will be pressed into the coupler...

Continue tightening the bolts until they are all tight. Now you can replace the tube for the bypass valve. Finally, you will need to refill the oil. Use a syringe and tubing. Fill until the oil reaches the level of the bottom of the hole. Replace the Drain Plug. Reinstall supercharger and enjoy...
#3
thanks, as far as your question about the 06 wiring harness, as far as i know they haven't produced one yet, i could be wrong, i just haven't heard of it yet. there are a few people who have done a rewire for the 06, there was a pinout posted awhile ago...
#5
Easy, are we talking much less noise?
The 06 wiring is not dificult to do. You need to solder the joints & heat shrink them. There is only 1 connection that needs attention because, a transistor or a risistor is on 1 end & needs to be removed.
The 06 wiring is not dificult to do. You need to solder the joints & heat shrink them. There is only 1 connection that needs attention because, a transistor or a risistor is on 1 end & needs to be removed.
#6
it runs smoother, there is a noticable decrease in noise, however, my bypass actuator is disabled at the moment, so that negates the decrease in noise, but when i manually open the bypass at idle, it is a decrease from where it was, the rotors themselves have their own tune, but yeah...
Thread
Thread Starter
Forum
Replies
Last Post


