SUPER detailed xb Spoiler installation DIY
#1
Want to have a spoiler on ur 2nd gen xB but don't wanna spend lotta money at the dealer? Follow these steps. It's rather easy and one person can definitly do the job. It took me about an hour because I was snappin photos in between..
1. First, you'll need tools. Gather all these tools in the pic. Also, you should get the spoiler installation kit which includes the template for the holes.
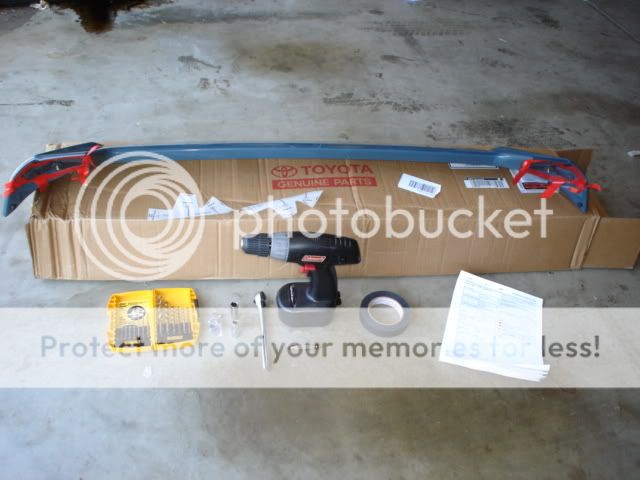
Spoiler
10mm socket wrench,
power drill,
3mm, 8mm, 10mm drill bit,
drill stop,
masking tape,
4mm hex wrench,
drill punch (?)
hammer
zip tie
..and you need your xB too.
2. Start by opening the back door, then pop the rubber grommet. just pry it out, it's super easy.
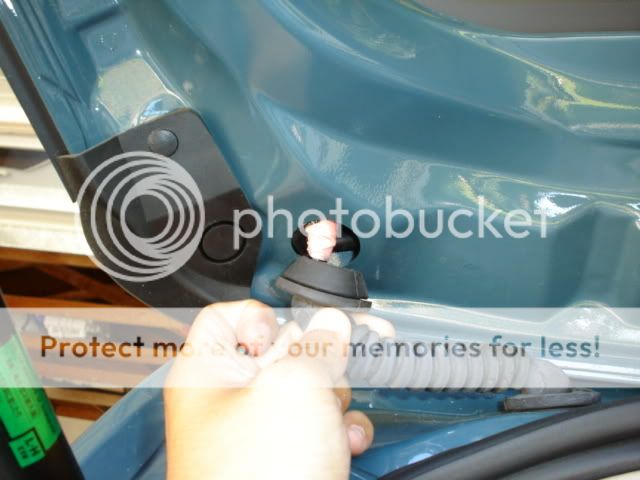
3. Take out the other panel on both sides as well. Just pry it out. You won't break it.
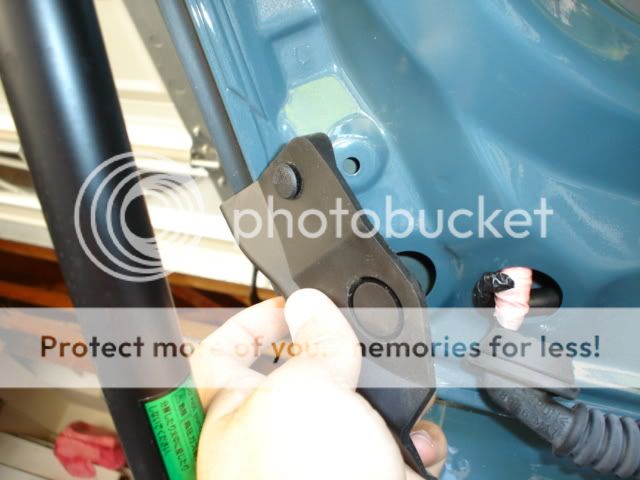
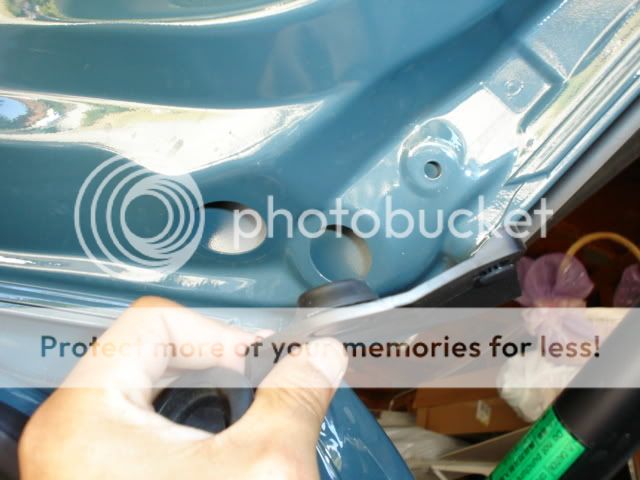
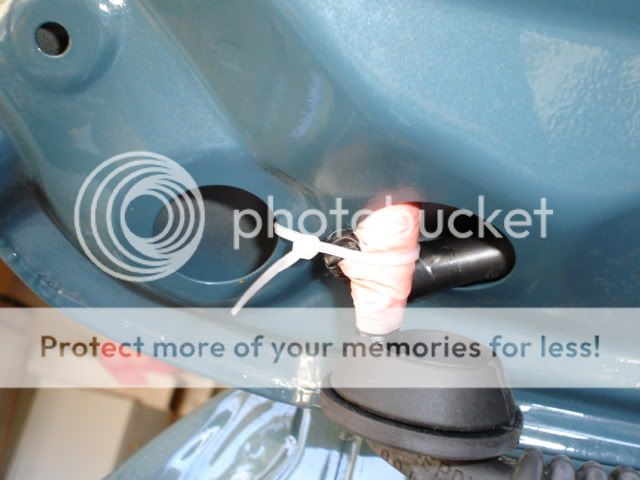
4. You're going to have these wires on the LH side. use a zip tie to tie it to give clearence for the drill. You don't want to drill through the harness!
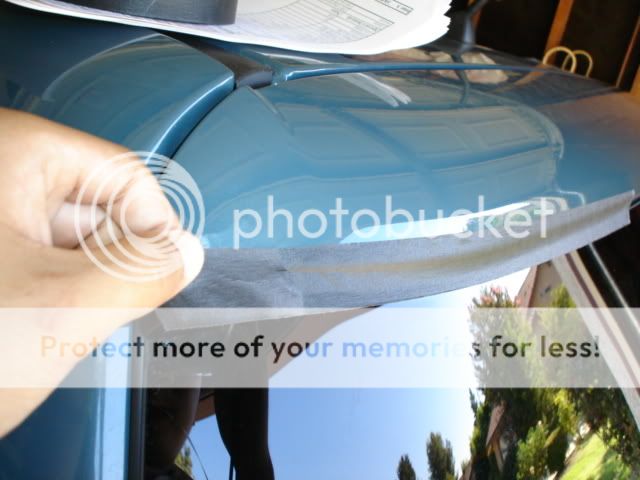
5. Now, close the back door and get some masking tape. use it to cover the gap between the trunk and the windshield. This is to prevent metal shards to go in the gap.
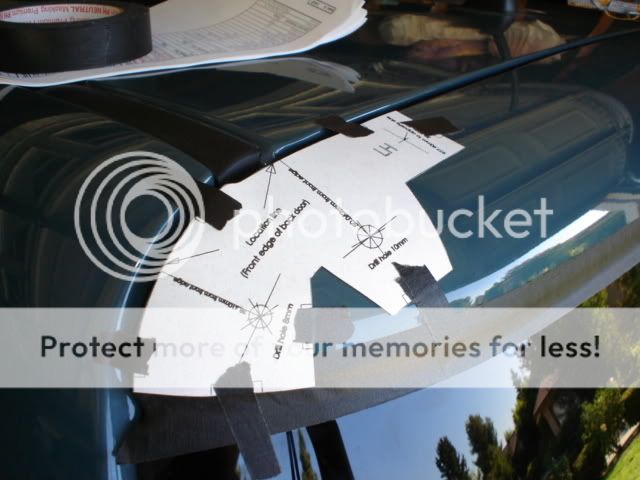
6. Using the provided template, allign it as it is shown and tape it around as indicated on the template. They should fit perfectly. Do this on both sides
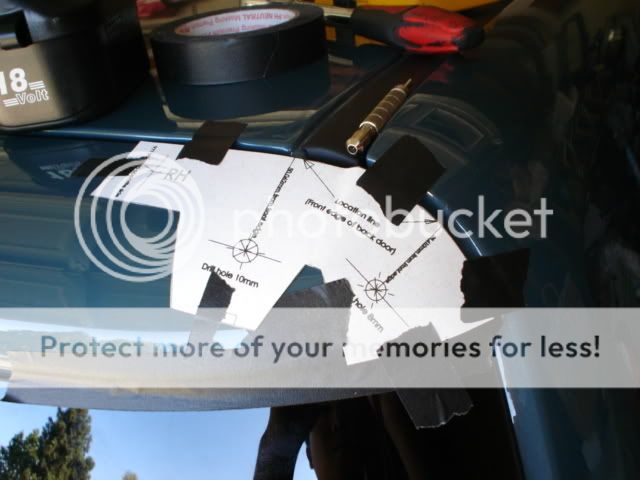
7. Now, grab the puncher and a hammer to indicate where your drill will be used. make sure you get the center and hammer it just enough so it will make a clear indentation.
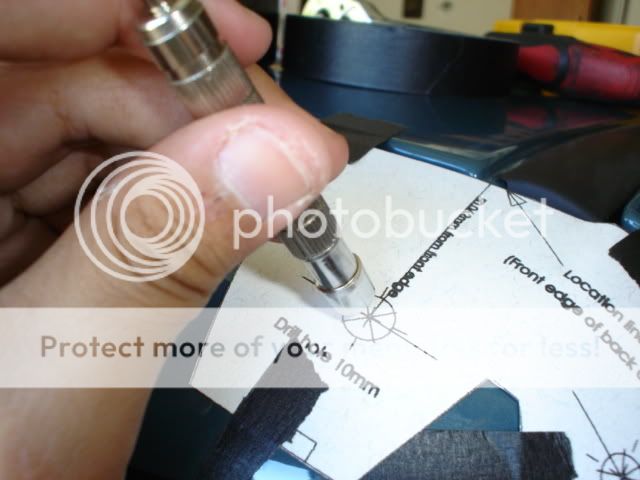
8. Remove the template and the indentation should look like this.

9. Get those drill bits ready by putting the drill stop on 5mm away from the tip. If you dont have drill stops, just wrap it around with PLENTY of tape. Masking tapes will do...
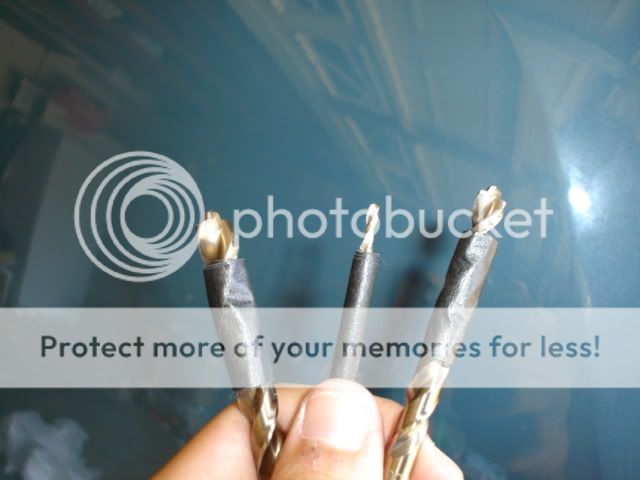
10. Drill it away! go from small to larger drill bit. Outer holes are 8mm and inner holes are 10mm.
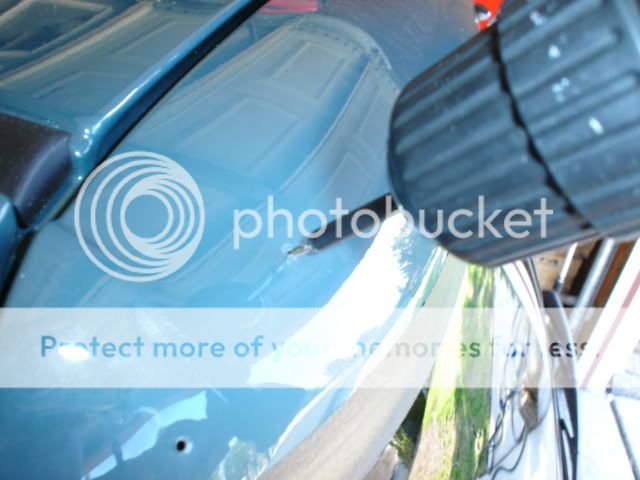
Your xB's new vent!
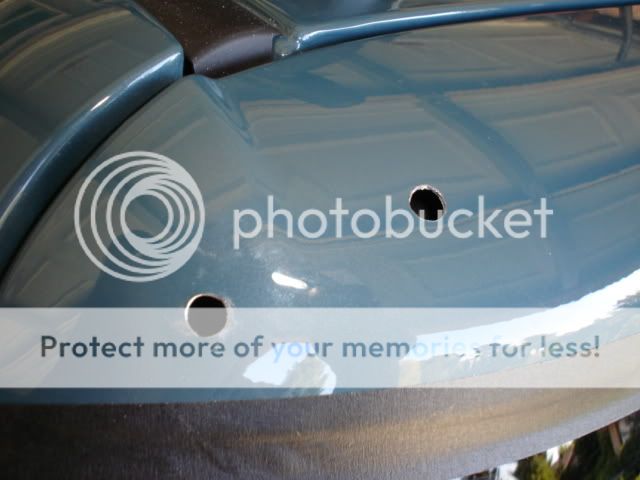
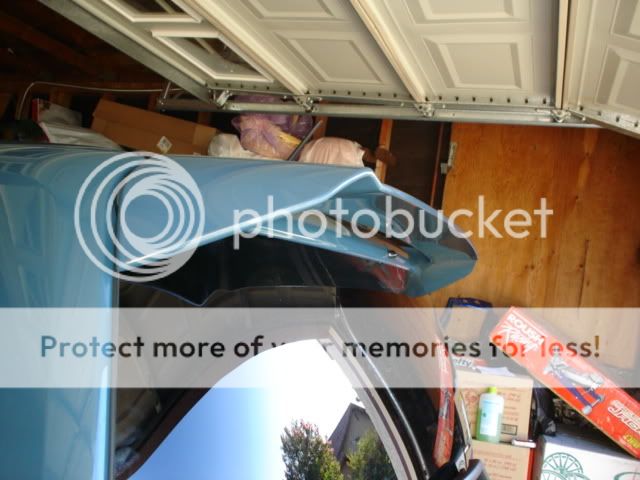
11. Clean up those metal shards and time to test fit your spoiler! If you alligned the holes correctly, they should fit right in. If slightly off, try bending the spoiler a little or make the hole a little bit bigger.
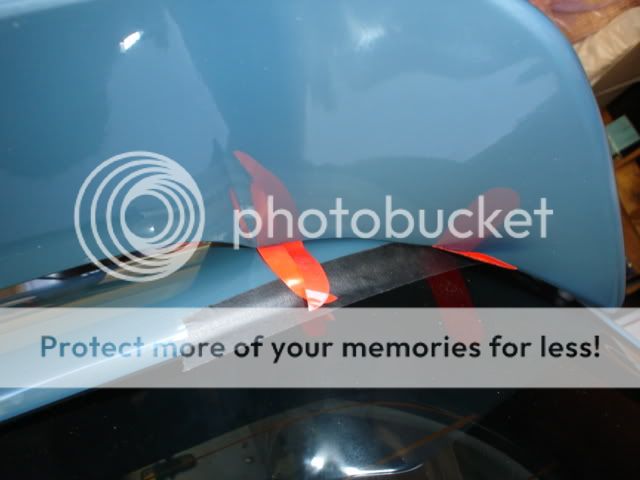
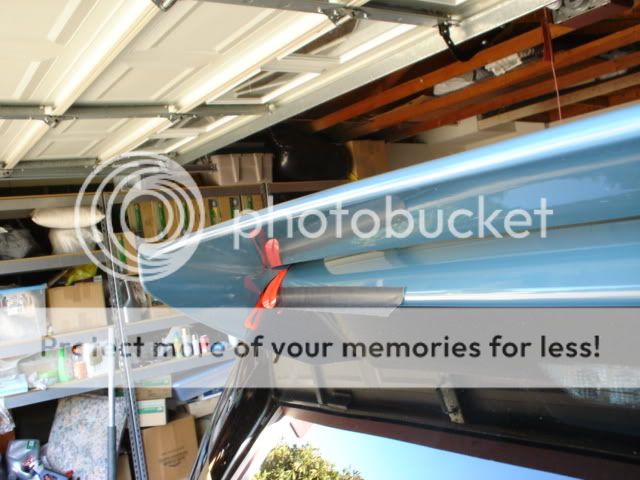
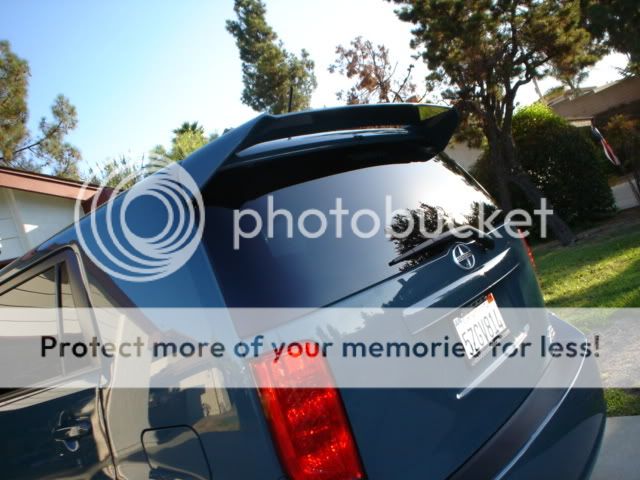
12. If the spoiler snugs in, remove those red strips and adhese the spoiler to the trunk. And push the spoiler downward so the tape will be securely adhesed to the trunk.
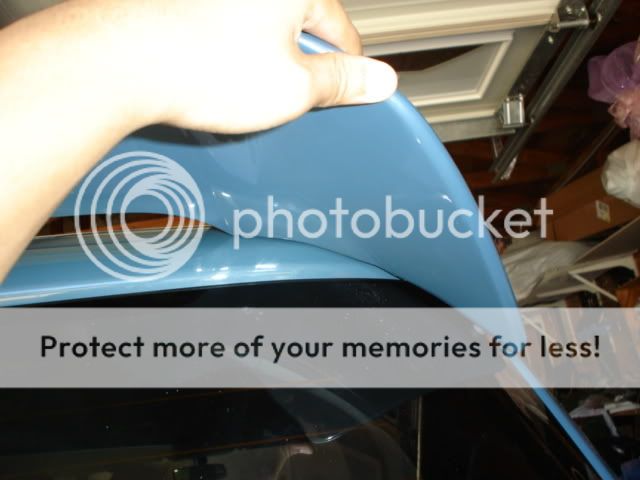
13. The inner hole will have a screw sticking out. Use the provided nut to put them on with 10mm socket. DO NOT TIGHTEN THEM YET.

LH side is a little tricky. use your finger to move away the harness and install the nut.
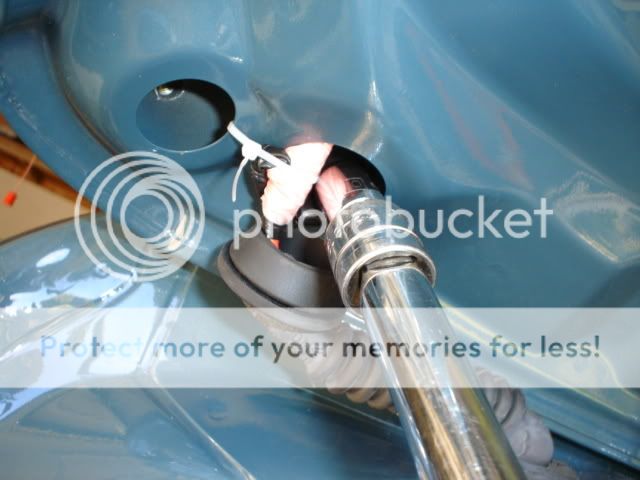
14. Use the provided bolts to insert it on the outer hole. use 4mm hex wrench to tighten.
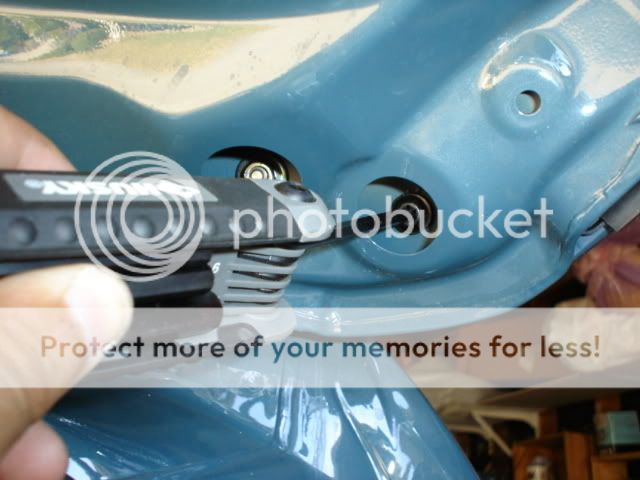
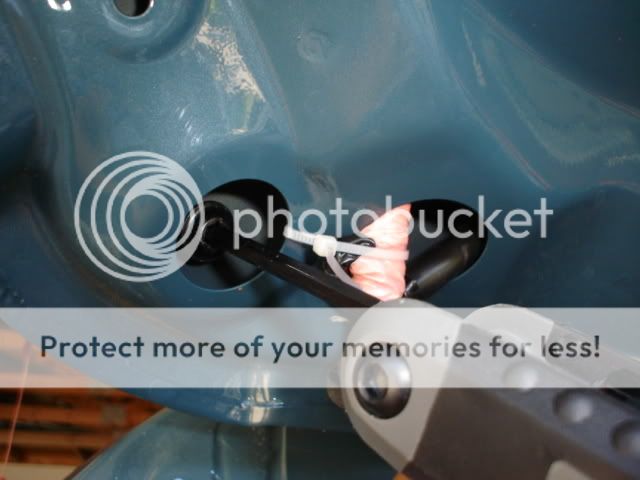
15. Make sure to tighten the 10mm nuts after the hex bolts are tightened.
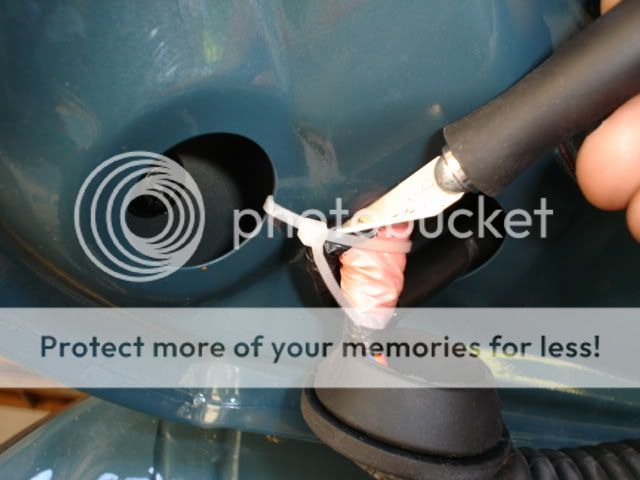
16. Don't forget to cut the zip tie. Careful not to damage the wire harness!
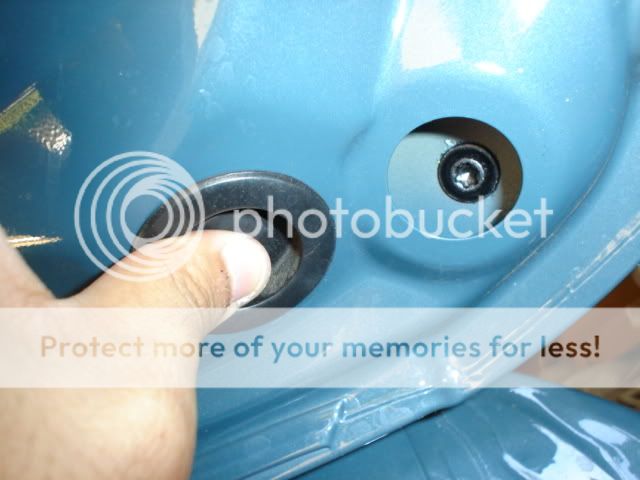
17. Put all the grommet and panels together. LH side Grommet needs a little more time tucking it in, but other grommet goes in smoothly. Panels will just snap in as well.
18. Go back to this thread and reply that this DIY was helpful.
1. First, you'll need tools. Gather all these tools in the pic. Also, you should get the spoiler installation kit which includes the template for the holes.

Spoiler
10mm socket wrench,
power drill,
3mm, 8mm, 10mm drill bit,
drill stop,
masking tape,
4mm hex wrench,
drill punch (?)
hammer
zip tie
..and you need your xB too.
2. Start by opening the back door, then pop the rubber grommet. just pry it out, it's super easy.

3. Take out the other panel on both sides as well. Just pry it out. You won't break it.


4. You're going to have these wires on the LH side. use a zip tie to tie it to give clearence for the drill. You don't want to drill through the harness!

5. Now, close the back door and get some masking tape. use it to cover the gap between the trunk and the windshield. This is to prevent metal shards to go in the gap.

6. Using the provided template, allign it as it is shown and tape it around as indicated on the template. They should fit perfectly. Do this on both sides


7. Now, grab the puncher and a hammer to indicate where your drill will be used. make sure you get the center and hammer it just enough so it will make a clear indentation.

8. Remove the template and the indentation should look like this.

9. Get those drill bits ready by putting the drill stop on 5mm away from the tip. If you dont have drill stops, just wrap it around with PLENTY of tape. Masking tapes will do...

10. Drill it away! go from small to larger drill bit. Outer holes are 8mm and inner holes are 10mm.

Your xB's new vent!

11. Clean up those metal shards and time to test fit your spoiler! If you alligned the holes correctly, they should fit right in. If slightly off, try bending the spoiler a little or make the hole a little bit bigger.


12. If the spoiler snugs in, remove those red strips and adhese the spoiler to the trunk. And push the spoiler downward so the tape will be securely adhesed to the trunk.

13. The inner hole will have a screw sticking out. Use the provided nut to put them on with 10mm socket. DO NOT TIGHTEN THEM YET.

LH side is a little tricky. use your finger to move away the harness and install the nut.

14. Use the provided bolts to insert it on the outer hole. use 4mm hex wrench to tighten.


15. Make sure to tighten the 10mm nuts after the hex bolts are tightened.
16. Don't forget to cut the zip tie. Careful not to damage the wire harness!

17. Put all the grommet and panels together. LH side Grommet needs a little more time tucking it in, but other grommet goes in smoothly. Panels will just snap in as well.


18. Go back to this thread and reply that this DIY was helpful.
#2
Nice write up, mine didnt come with hex screws, mine had torx (T30) *shrug* the only other things I would add is measure measure measure...carefully. That and some sealant on the nut and the screw just in case. Lookin good btw 
#3
Nice write up!! & great pics too!!
I may add...... I used touch up paint to 'paint' the bare metal created by the drilling process( rust prevention).
and, like lvbitwiz. I also 'laid on' the clear silicone sealant on all 4 peices of hardware.
One more thing.. Dont forget the rubber anti-chaffing 'nut cover' for the drivers side!!!
Agian.. Nice job, bb ist........... jh
ps.. hey lvbitwiz... look closely at hie pics.. I believe that he has the torex screws too!!!....lol lol
BUt hey....... how about the SCION company ripping us off for that "Instal Kit".....
that still burns my ___!!!. They should have included them templates & the instructions with the spoiler.. That SUCKS!!!
#4
Originally Posted by lvbitwiz
Nice write up, mine didnt come with hex screws, mine had torx (T30) *shrug* the only other things I would add is measure measure measure...carefully. That and some sealant on the nut and the screw just in case. Lookin good btw 
#5
Originally Posted by jimmbomb
Nice write up!! & great pics too!!
I may add...... I used touch up paint to 'paint' the bare metal created by the drilling process( rust prevention).
and, like lvbitwiz. I also 'laid on' the clear silicone sealant on all 4 peices of hardware.
One more thing.. Dont forget the rubber anti-chaffing 'nut cover' for the drivers side!!!
Agian.. Nice job, bb ist........... jh
ps.. hey lvbitwiz... look closely at hie pics.. I believe that he has the torex screws too!!!....lol lol
BUt hey....... how about the SCION company ripping us off for that "Instal Kit".....
that still burns my butt!!!. They should have included them templates & the instructions with the spoiler.. That SUCKS!!!
#14
i will see if I can get the template from the Toyota system and upload it for you guys. I think its pretty ridiculous that its $40 for a template!
The reason they don't include them is because Scion doesn't want you to install it yourself, that's what the accessory techs get paid to do.
___
The reason they don't include them is because Scion doesn't want you to install it yourself, that's what the accessory techs get paid to do.
___
Last edited by MR_LUV; 06-26-2021 at 10:34 AM. Reason: Awarded 10 Yr Badge
#19
Where is a good place to buy a painted OEM spoiler?
I've seen painted xB spoilers on eBay for $130 or so, but dunno about the quality.
Great writeup!
__________________
I've seen painted xB spoilers on eBay for $130 or so, but dunno about the quality.
Great writeup!
__________________
Last edited by MR_LUV; 06-26-2021 at 10:35 AM. Reason: Awarded 10 Yr Badge
#20
Template (and factory instructions) for xB2 spoiler here:
http://www.scikotics.com/forums/showthread.php?t=295237
Enjoy!
-Paul
http://www.scikotics.com/forums/showthread.php?t=295237
Enjoy!
-Paul


