08-up GReddy SE Exhaust
#1
ok so ive noticed no one has done either pics or vids on this exhaust so here it is
this is a install and pics write up. so after looking around and doing some research i found out the GReddy has discontinued this product (pn.10117954) but managed to get my hands on one through a ebay dealer located about a hour from me in LA.
ok so here it is i received the exhaust monday
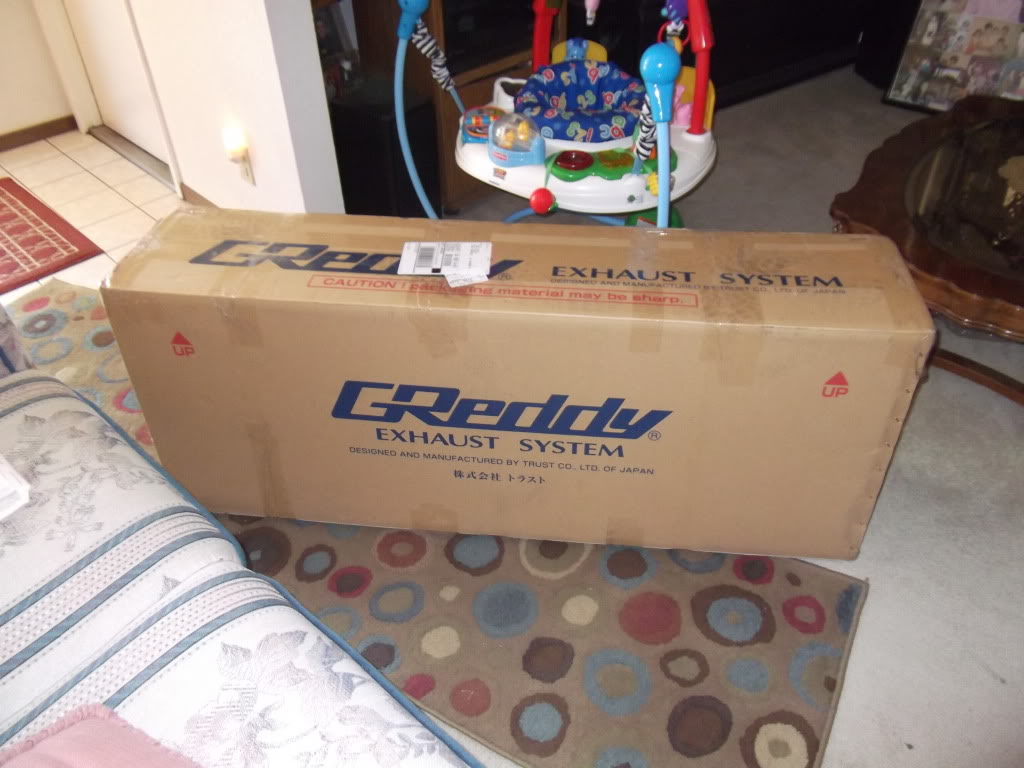
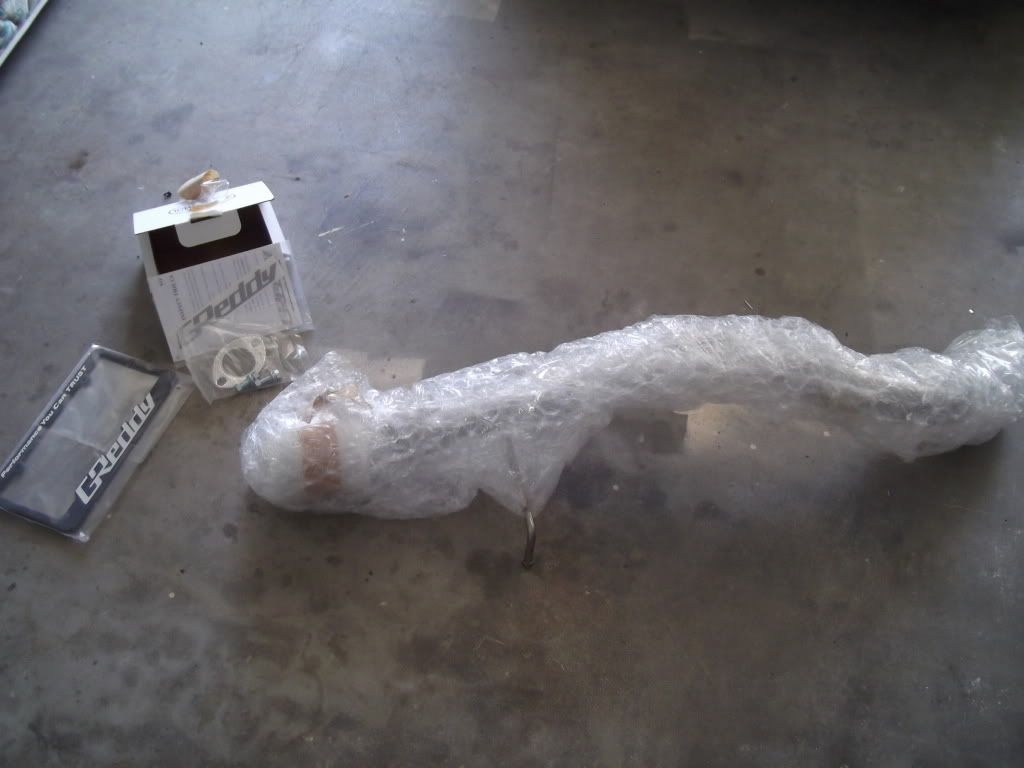
heres what comes in the box (axle back, hardware, gasket, license plate frame, warranty card, and a sticker)
ok the tools youll need are a 14mm wrench, 14mm socket, 4" extension at least "to clear the bar for the gas tank that runs across the car", a flathead screwdriver, and depending where u live or where the car is from some PB blaster or whatever bolt loosener u prefer. mine was pretty bad
so first remove the two 14mm bolts holding the axle back section to the mid-pipe
youll notice the two nuts r welded to the axle back flange. i sprayed mine with the pb blaster and let them sit for about 5 min before even trying.
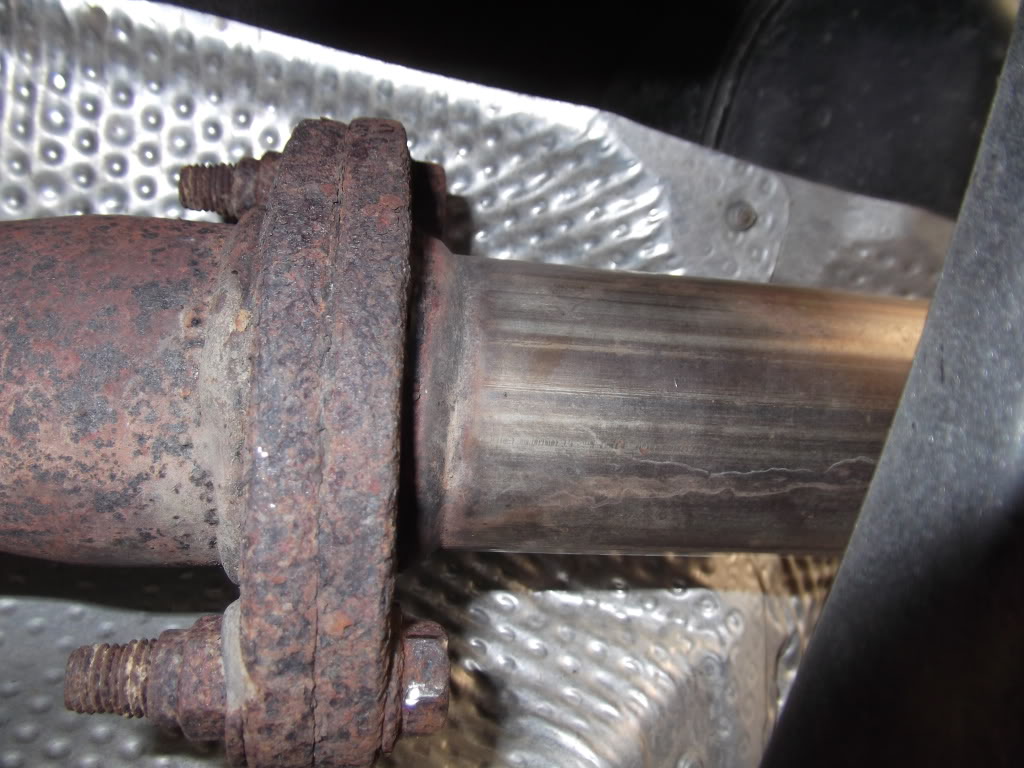
after removing the bolts ^ disconnect the flange and then remove from the hanger take the screwdriver and wiggle it between the rubber hanger and metal hanger post
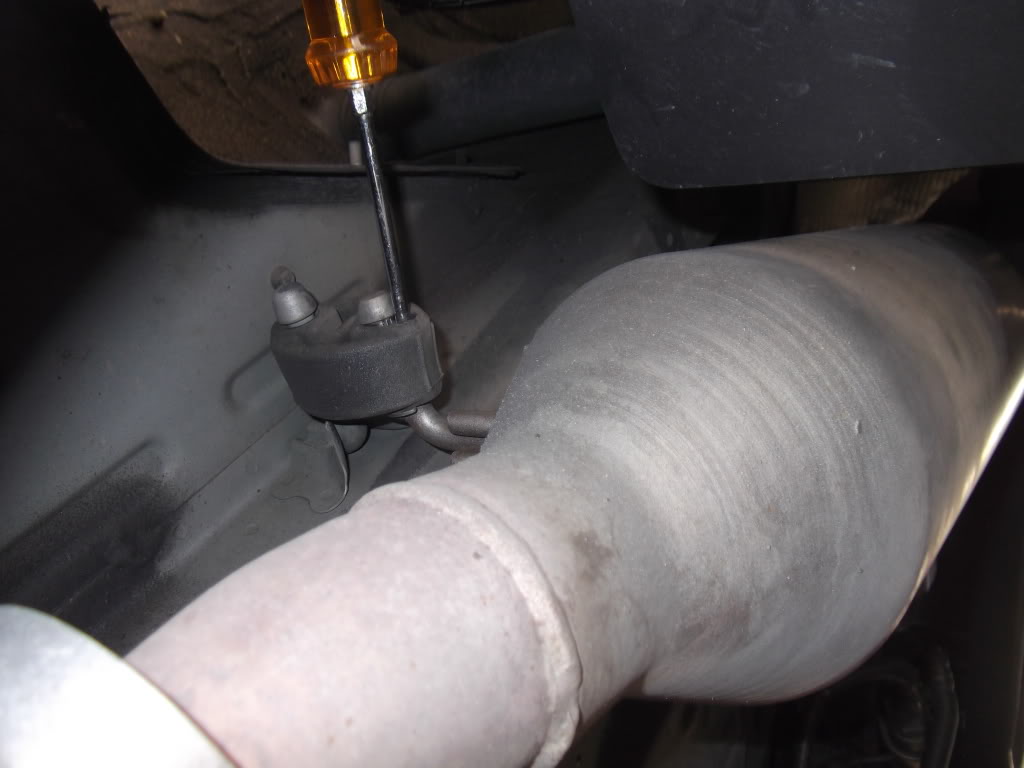
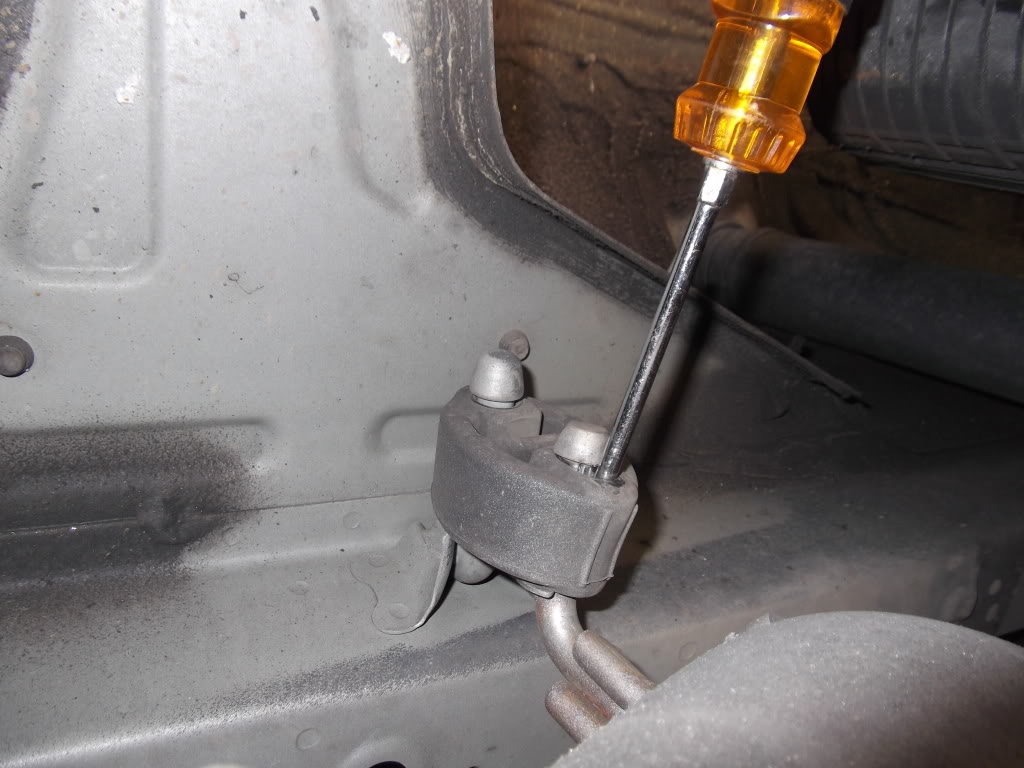
pressing on the rubber hanger at the same time use the screwdriver to pop it over the lip of the metal post once u get it over the lip just pull the two in opposite directions and it will come free. slide the exhaust over the axle and its out
here is the comparison of the stock vs the GReddy
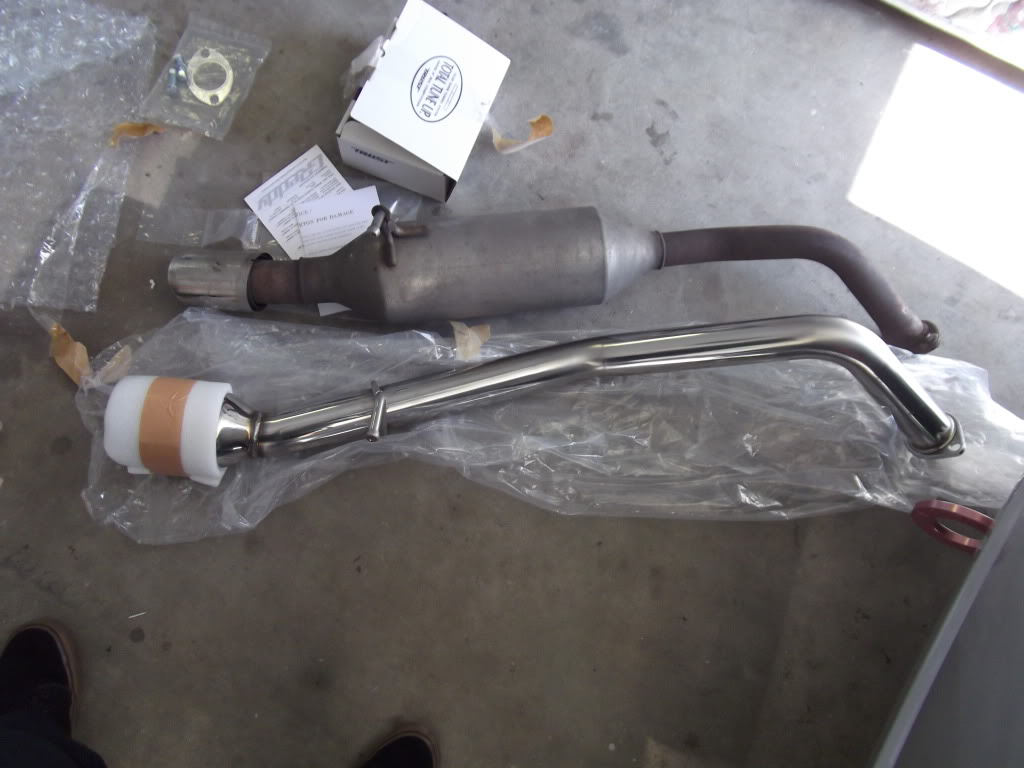
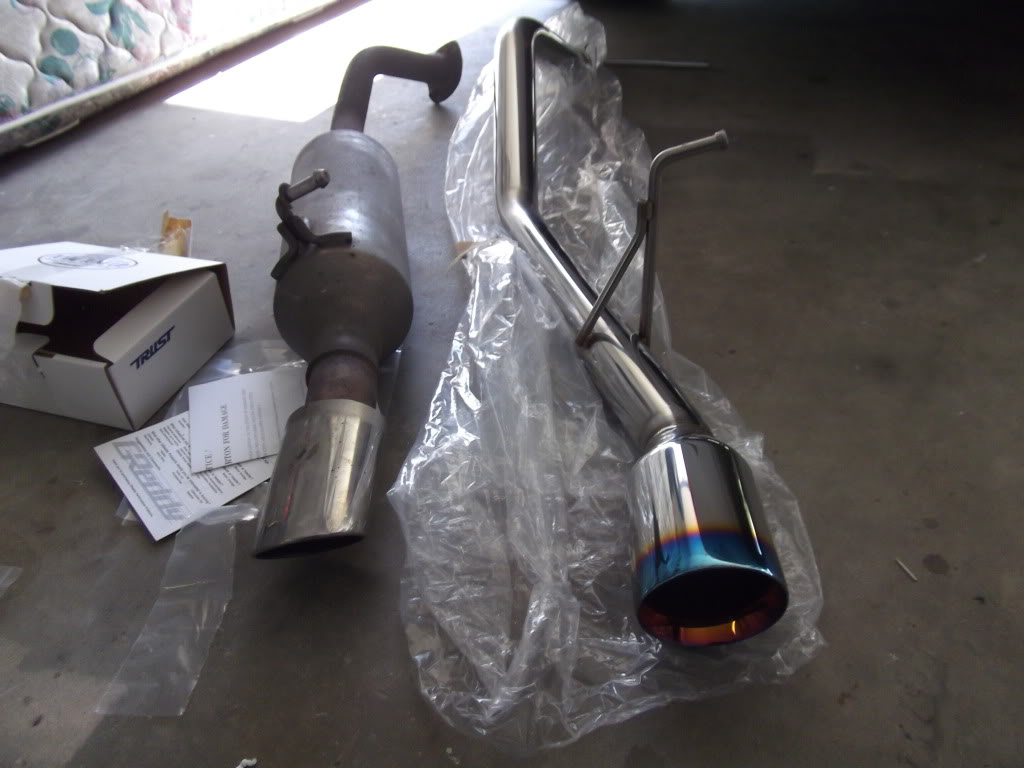
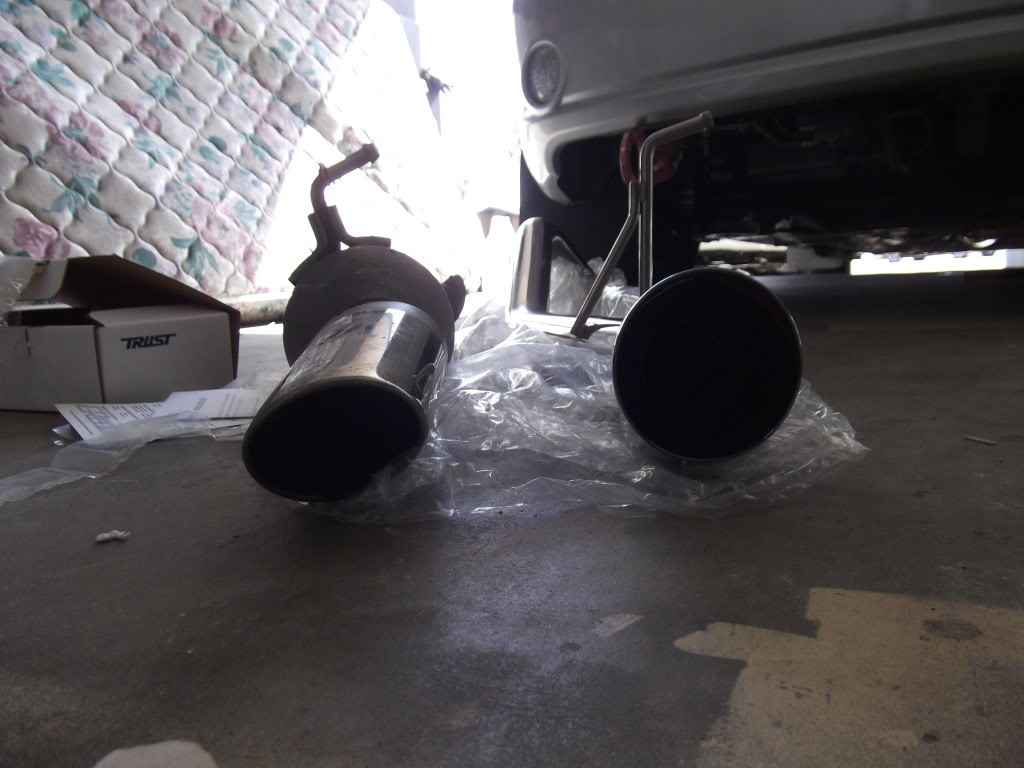
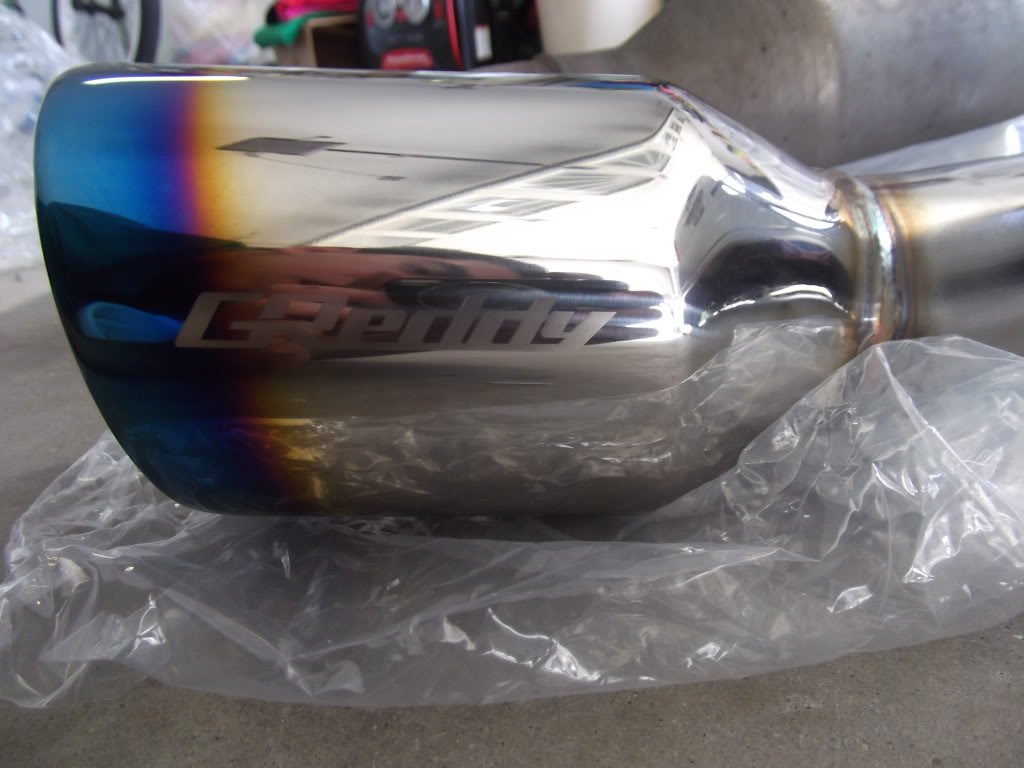
ok so the now the install of the new one. here a lil trick i learned from doing all my other exhaust systems. place the plastic the piping comes in back over it like so; i also left the tip wrapping on to protect it from damage
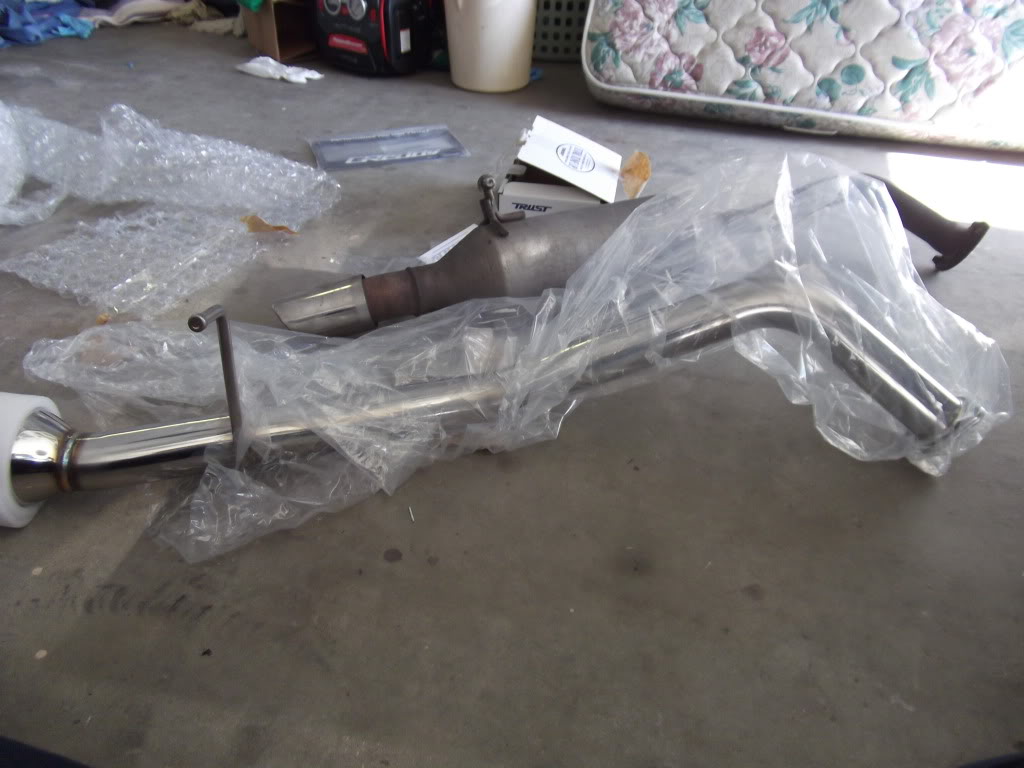
now slide the piping back over the axle and install the hanger post first should just slide right in no tools needed.
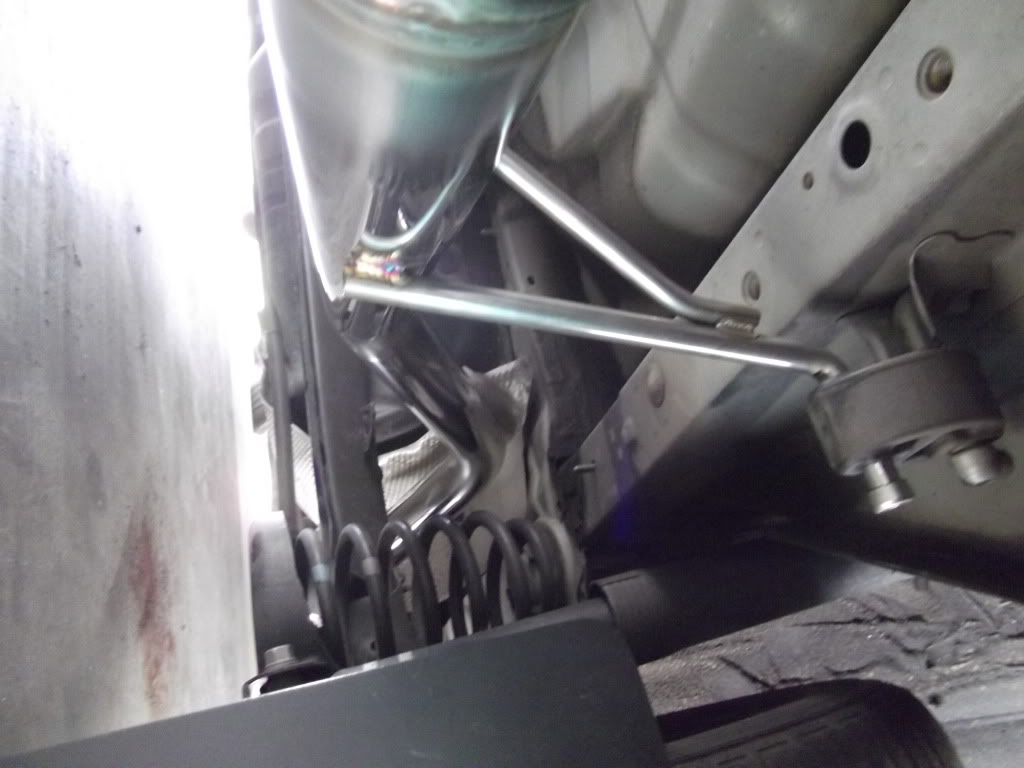
before bolting it together remove the stock gasket. if u do not remove the stock gasket u WILL break the new one and it will cause a exhaust leak. if ur flange looks like mine go over the mid-pipe flange with a wire brush and clean it up. heres the stock gasket vs one supplied
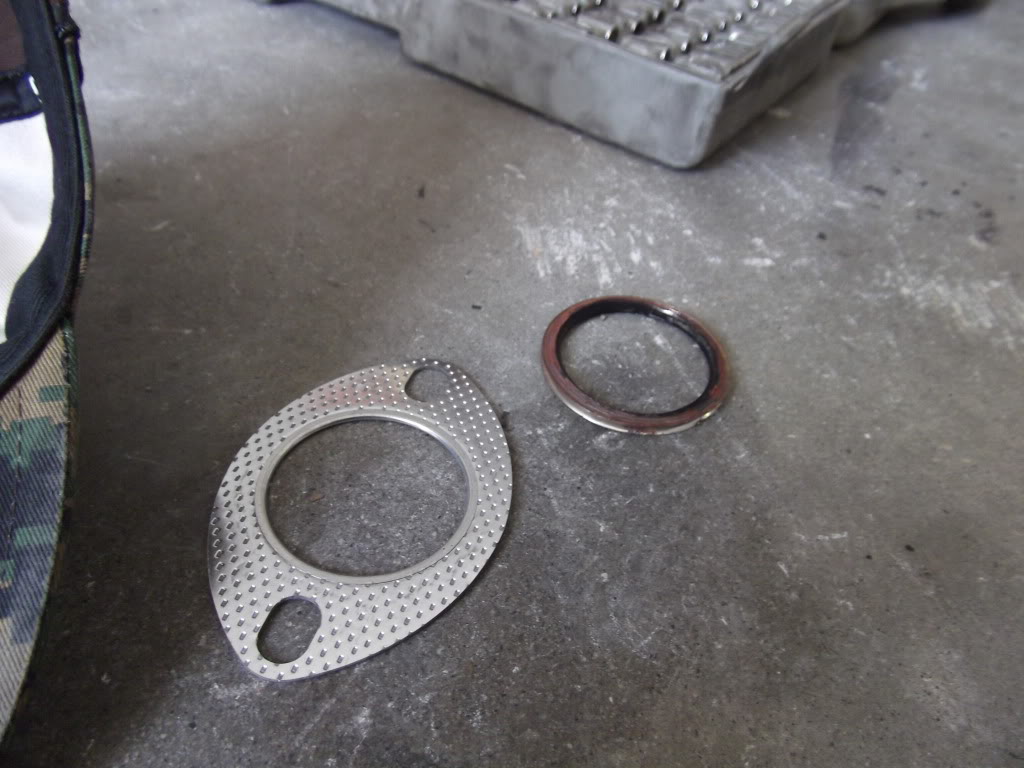
youll notice on muti-layer gaskets like the one supplied one side is perfectly flat and the other side will have a beveled edge. this my be just personal preference but since im bolting a new flange to a oe /unlevel flange i tend to place the beveled side towards the unlevel side tends to seal better
place the supplied gasket between the two flanges and bolt together using the supplied hardware, passing the bolt from the mid-pipe side through then place the lock washer and finally the nut. hand tighten then line everything together and tighten down. if u feel like the bolts might jiggle free for some reason place a lil loctite on the threads before placing them in. after tightening everything down and checking twice u have a finished product like so...
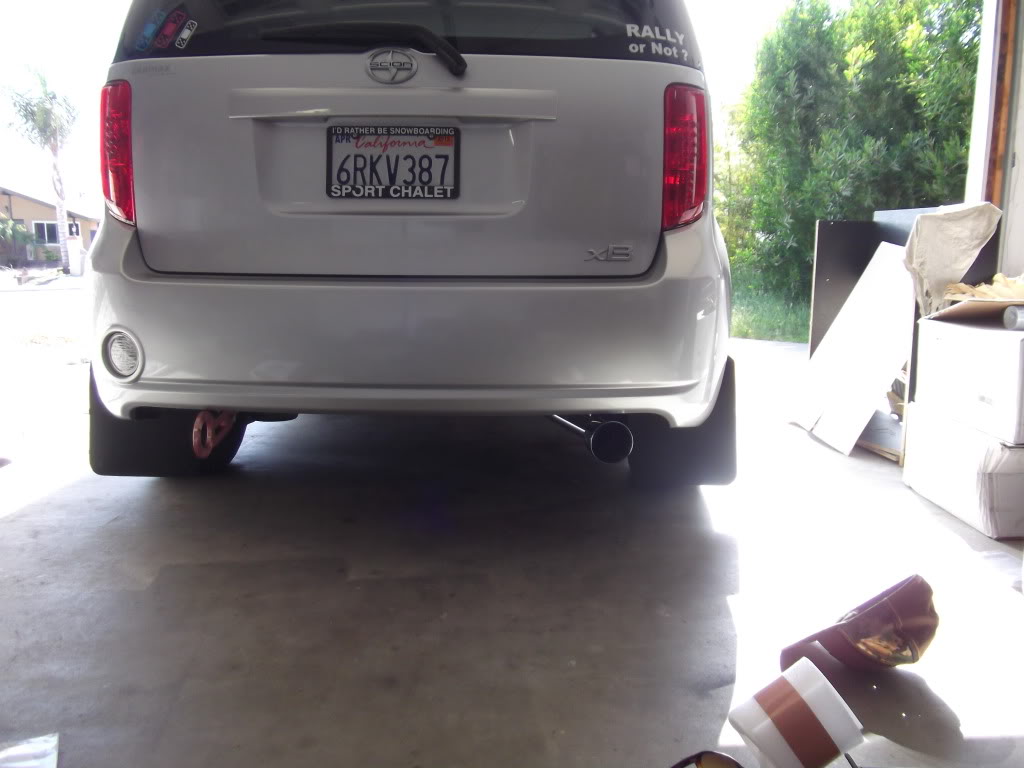
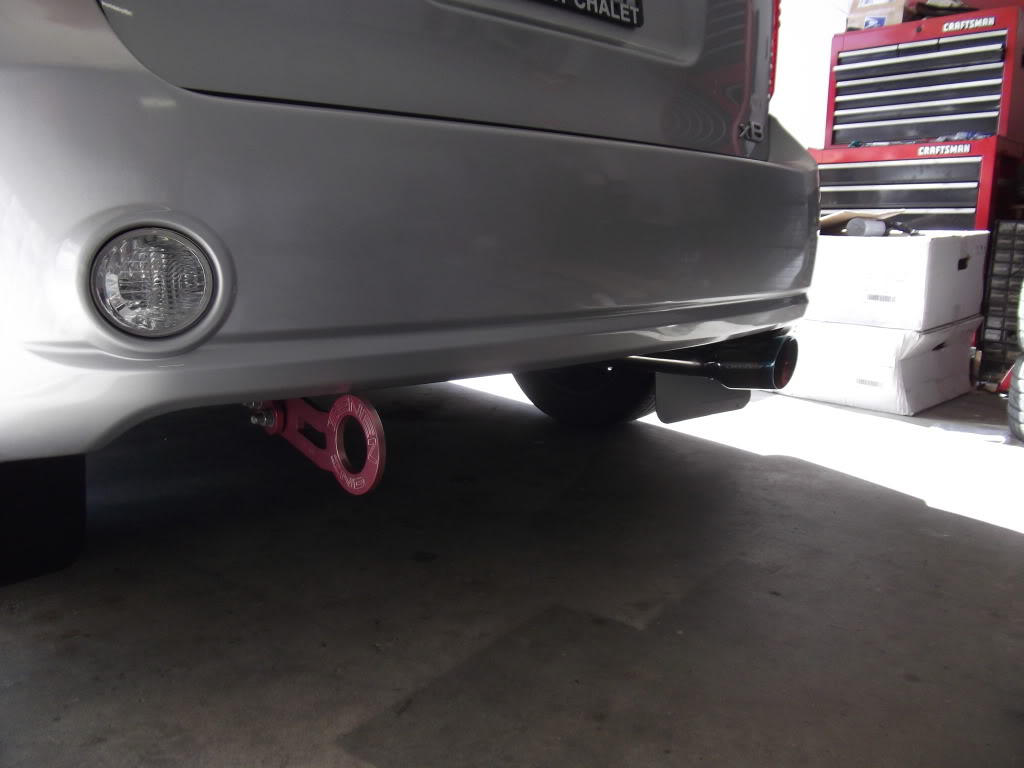
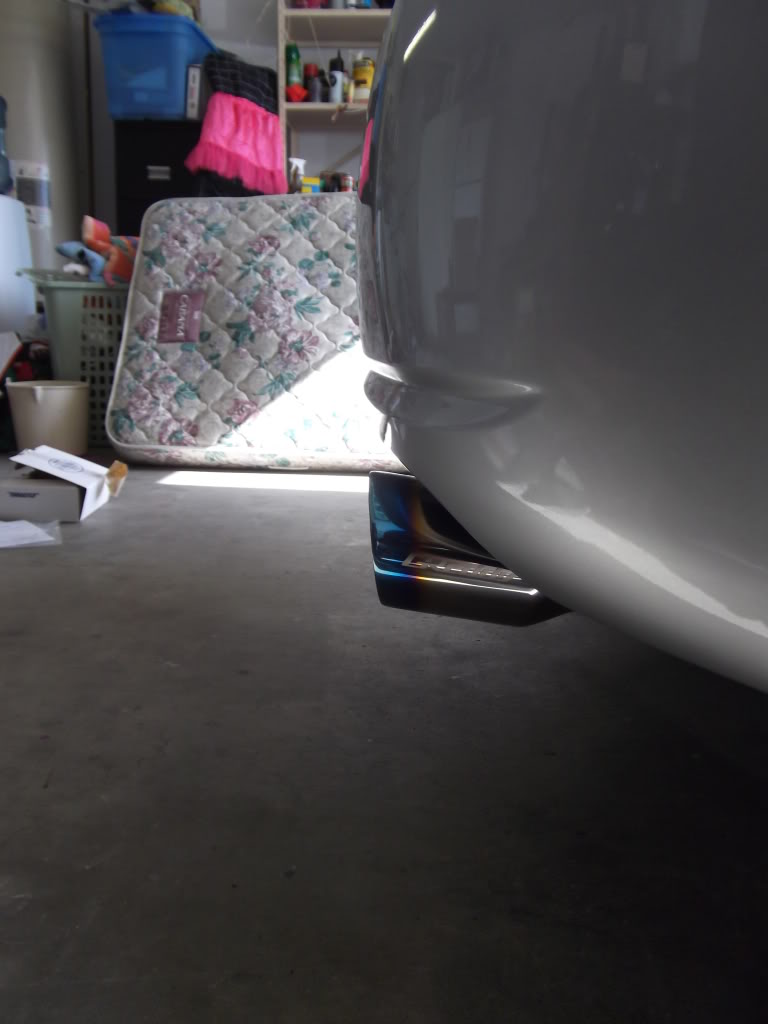
here is a video of it just after install ok sound on the video but i will redo it so u ca really hear what it sounds like...
http://youtu.be/FFWqvQKIrQw
this is a install and pics write up. so after looking around and doing some research i found out the GReddy has discontinued this product (pn.10117954) but managed to get my hands on one through a ebay dealer located about a hour from me in LA.
ok so here it is i received the exhaust monday

heres what comes in the box (axle back, hardware, gasket, license plate frame, warranty card, and a sticker)

ok the tools youll need are a 14mm wrench, 14mm socket, 4" extension at least "to clear the bar for the gas tank that runs across the car", a flathead screwdriver, and depending where u live or where the car is from some PB blaster or whatever bolt loosener u prefer. mine was pretty bad
so first remove the two 14mm bolts holding the axle back section to the mid-pipe
youll notice the two nuts r welded to the axle back flange. i sprayed mine with the pb blaster and let them sit for about 5 min before even trying.

after removing the bolts ^ disconnect the flange and then remove from the hanger take the screwdriver and wiggle it between the rubber hanger and metal hanger post


pressing on the rubber hanger at the same time use the screwdriver to pop it over the lip of the metal post once u get it over the lip just pull the two in opposite directions and it will come free. slide the exhaust over the axle and its out
here is the comparison of the stock vs the GReddy


ok so the now the install of the new one. here a lil trick i learned from doing all my other exhaust systems. place the plastic the piping comes in back over it like so; i also left the tip wrapping on to protect it from damage

now slide the piping back over the axle and install the hanger post first should just slide right in no tools needed.

before bolting it together remove the stock gasket. if u do not remove the stock gasket u WILL break the new one and it will cause a exhaust leak. if ur flange looks like mine go over the mid-pipe flange with a wire brush and clean it up. heres the stock gasket vs one supplied

youll notice on muti-layer gaskets like the one supplied one side is perfectly flat and the other side will have a beveled edge. this my be just personal preference but since im bolting a new flange to a oe /unlevel flange i tend to place the beveled side towards the unlevel side tends to seal better
place the supplied gasket between the two flanges and bolt together using the supplied hardware, passing the bolt from the mid-pipe side through then place the lock washer and finally the nut. hand tighten then line everything together and tighten down. if u feel like the bolts might jiggle free for some reason place a lil loctite on the threads before placing them in. after tightening everything down and checking twice u have a finished product like so...


here is a video of it just after install ok sound on the video but i will redo it so u ca really hear what it sounds like...
http://youtu.be/FFWqvQKIrQw
#5
#6
as for price its a little on the high end i think for just a axleback i payed $337 shipped through a ebay dealer i know but every where else i have looked they start around $350-^ before tax and shipping
and thanks im looking to have a CAI in within the month or so ill post another video for sure
#8
Yes, it does sound good. Maybe a little more aggressive than the supposedly 2" (51mm) dia. Borla, which is ~$240 shipped.
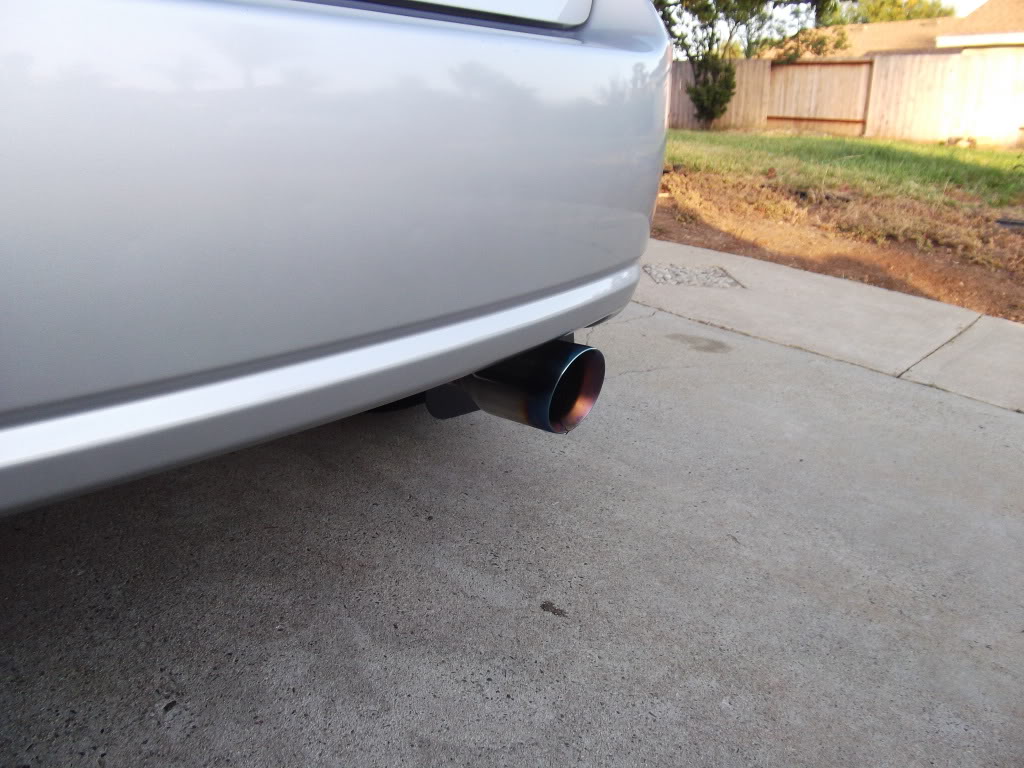
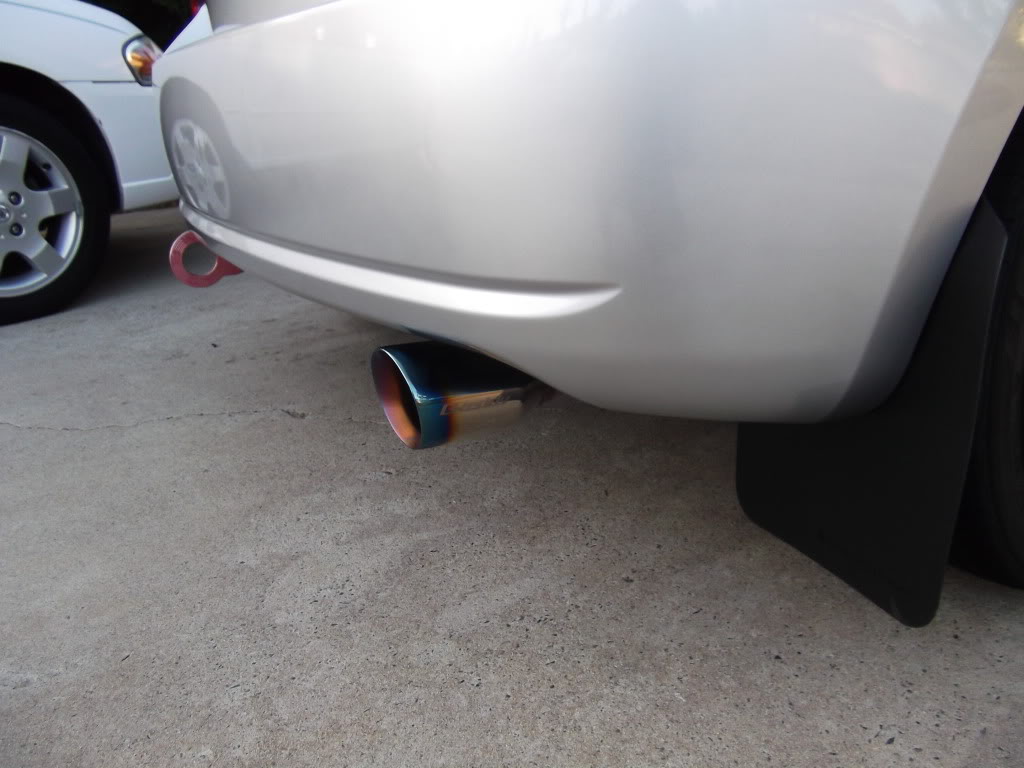
Can we please get an updated pic of the exhaust tip; wondering if that cool and distinct coloration lasts?
Can we please get an updated pic of the exhaust tip; wondering if that cool and distinct coloration lasts?
#9
From previous experience with Greddy's burnt tips they do brown but never lose the burnt tip. All you need to polish the tip up and it will look as good as new. That sounds dirty.
#11
#13
ok been a while since ive done the install now that everything has settled it sounds better been noticing that the longer its on the car the tone just keeps getting better gonna do a cold start vid and let u guys see what u think
yea im gonna do a update on the 13 new pics and a vid
yea im gonna do a update on the 13 new pics and a vid
#15
ok so here are a couple new pics and the new video will be added as soon as its done uploading. pics look a lil weird but it was like 6 but in person no fading or discoloration what so ever
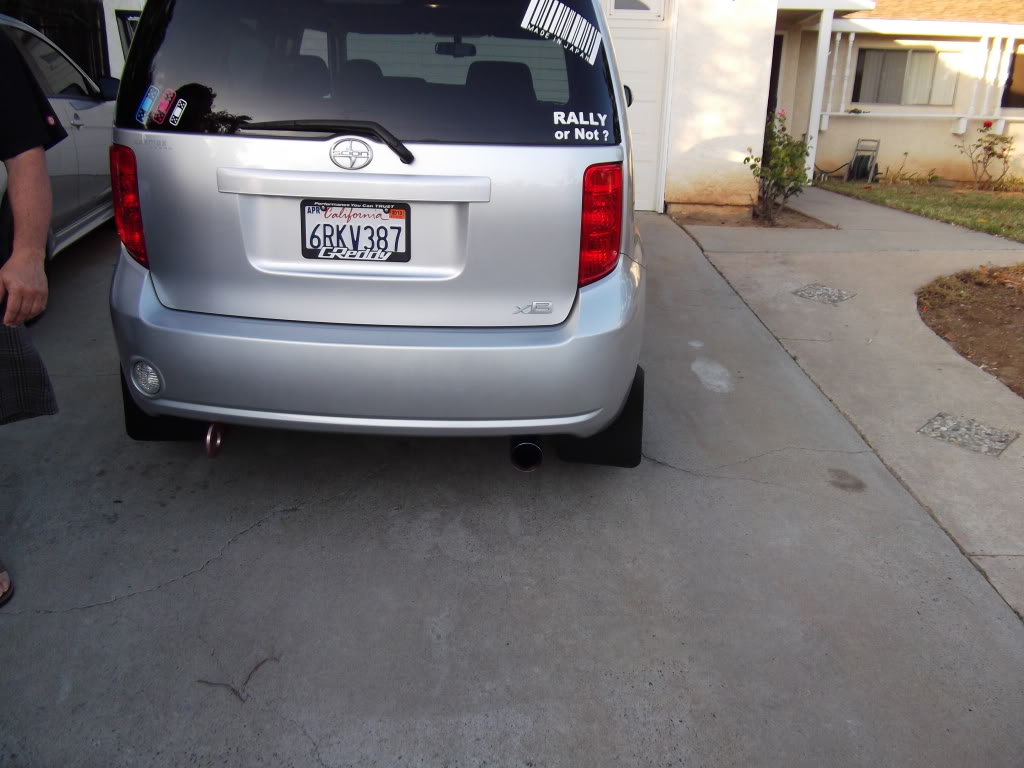


Last edited by dirtyvkush; 06-18-2012 at 09:17 PM.
#16
#19
yes it is a lil quiet but it give the perfect tone and doesn't attract attention from the cops which sucks out here in cali cuz i get harassed anytime i take out either one of my nissans


