Limited Edition 1 of 1 '08 "ARS" xB
#41
Thread Starter
Joined: May 2008
Posts: 1,602
From: Medford, Oregon
2 more mods down..
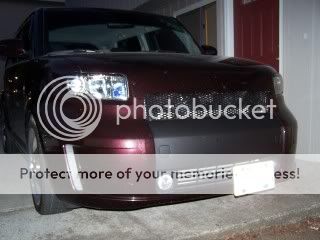
front bumper overlay
done by Logan Design http://www.oregonsigns.com/ in Grants Pass, Oregon

And-- window vent visors
from e-bay
BEFORE:

AFTER:


front bumper overlay
done by Logan Design http://www.oregonsigns.com/ in Grants Pass, Oregon


And-- window vent visors
from e-bay
BEFORE:

AFTER:


#43
Thread Starter
Joined: May 2008
Posts: 1,602
From: Medford, Oregon
new interior and license plate lights.
from Garage 1212
https://www.scionlife.com/forums/sho...d.php?t=160546


from Garage 1212
https://www.scionlife.com/forums/sho...d.php?t=160546


#44
Thread Starter
Joined: May 2008
Posts: 1,602
From: Medford, Oregon
here's the gauge shots....


*NOTE: on the dash cluster I used both the stock gauge face and the aftermarket one with the stock face behind the aftermarket . I used both because the idiot lights did not have any little pictures of what they were so all I had were a bunch of little light squares... using both solved this problem, jsut make sure to line the #s up...


*NOTE: on the dash cluster I used both the stock gauge face and the aftermarket one with the stock face behind the aftermarket . I used both because the idiot lights did not have any little pictures of what they were so all I had were a bunch of little light squares... using both solved this problem, jsut make sure to line the #s up...
#45
Thread Starter
Joined: May 2008
Posts: 1,602
From: Medford, Oregon
a few lighting mods...
HIGH BEAM HIDs. 6000K *low beams 5000k going in on Saturday*

and RED LEDs behind lower grill. parking lights are on. *red LEDs begind upper grill going in as soon as they arrive*

RED LEDs in the 4 dash vents... I will get some after pics up soon.

HIGH BEAM HIDs. 6000K *low beams 5000k going in on Saturday*

and RED LEDs behind lower grill. parking lights are on. *red LEDs begind upper grill going in as soon as they arrive*

RED LEDs in the 4 dash vents... I will get some after pics up soon.

#46
Thread Starter
Joined: May 2008
Posts: 1,602
From: Medford, Oregon
NEXT....... LOW BEAMS. 5000K

both:

also installed another red LED strip in the engine bay. no pic of that yet. Also, installed the power switch for the engine lighting and a new red light up switch inside for the interior lighting.

both:

also installed another red LED strip in the engine bay. no pic of that yet. Also, installed the power switch for the engine lighting and a new red light up switch inside for the interior lighting.
#47
Are you running "BOTH" high & low beams together? How do you do that one?
Were did you get the LED's for the A/C vents and how did you hook them up? I really like that one.
Last one.... What kind of paint did you use for the valve cover?
Were did you get the LED's for the A/C vents and how did you hook them up? I really like that one.
Last one.... What kind of paint did you use for the valve cover?
#48
Thread Starter
Joined: May 2008
Posts: 1,602
From: Medford, Oregon
well, when your high beams are on so are your low beams.
the LEDs in the dash vents are strip style.. found them on ebay. I cut some of the "honeycomb" out so I could wrap the LEDs as far back as possible, then I ran the wires under the dash to a switch.
the pain for the valve cover was just high temp engine paint from Schucks/O'Rileys
here's a link to ebay for the LEDS..http://cgi.ebay.com/ws/eBayISAPI.dll...=STRK:MEWAX:IT
and the ones behind the lower grill 3 of them. getting 4 for the upper grill
http://cgi.ebay.com/ws/eBayISAPI.dll...m=330357418915
#49
^^Too funny. I just noticed this morning that both High & Low beams are on at the same time, but you beat me to it. None of my other vehicles do that.
Those LED's are cheap compaired to what else I have seen. I guess they work ok or you wouldn't keep buying them.
Those LED's are cheap compaired to what else I have seen. I guess they work ok or you wouldn't keep buying them.
#52
Thread Starter
Joined: May 2008
Posts: 1,602
From: Medford, Oregon
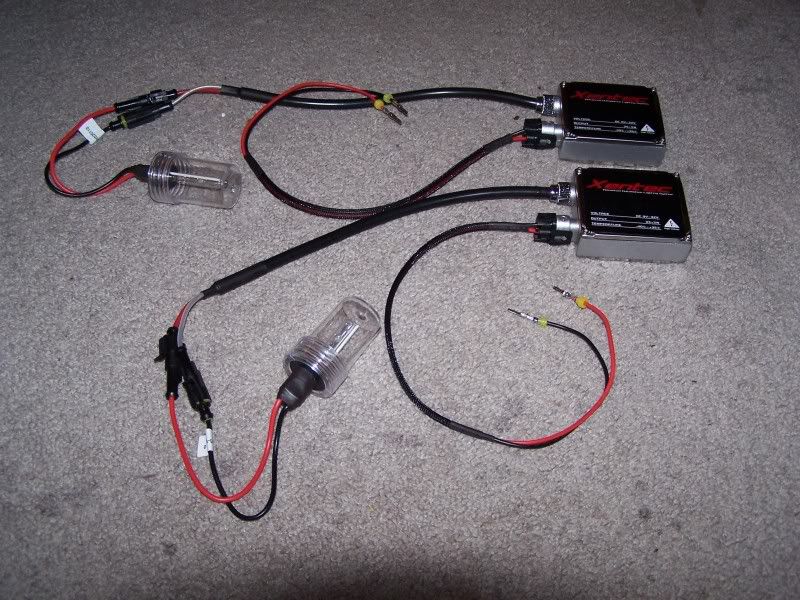
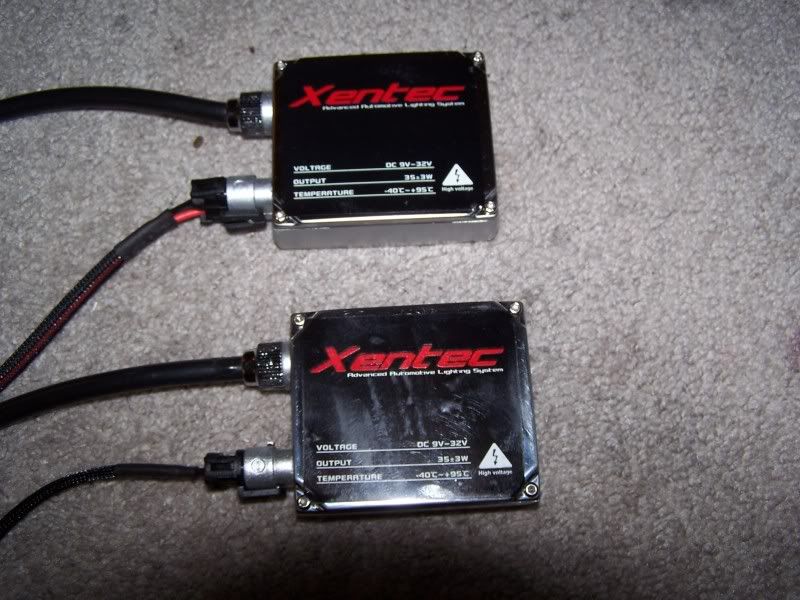
here's some more pics of the HIDs
 Click this bar to view the full image.
 Click this bar to view the full image.
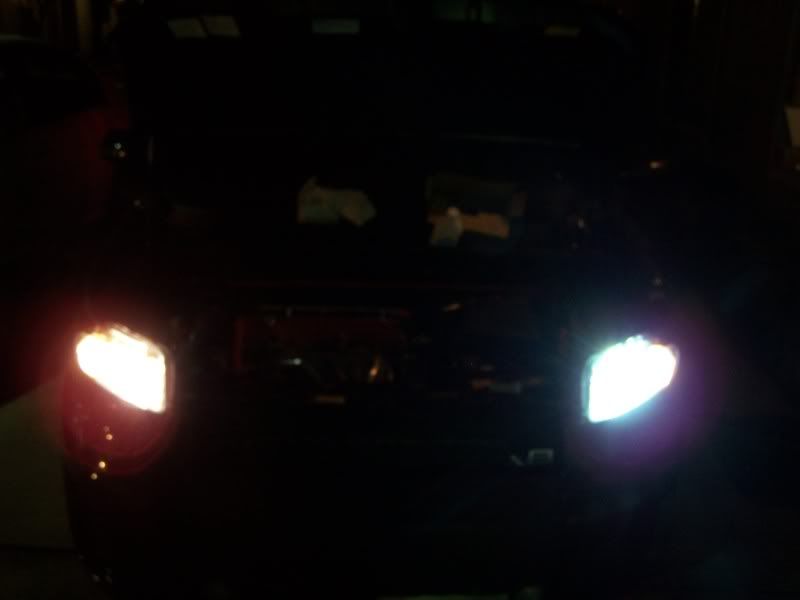
High beams. Passenger side HALOGEN. DRIVER side, HID
 Click this bar to view the full image.
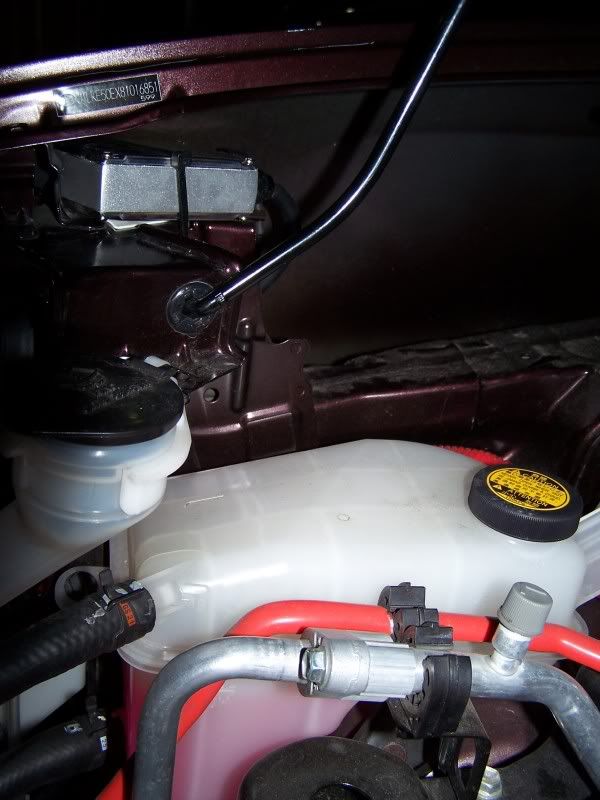
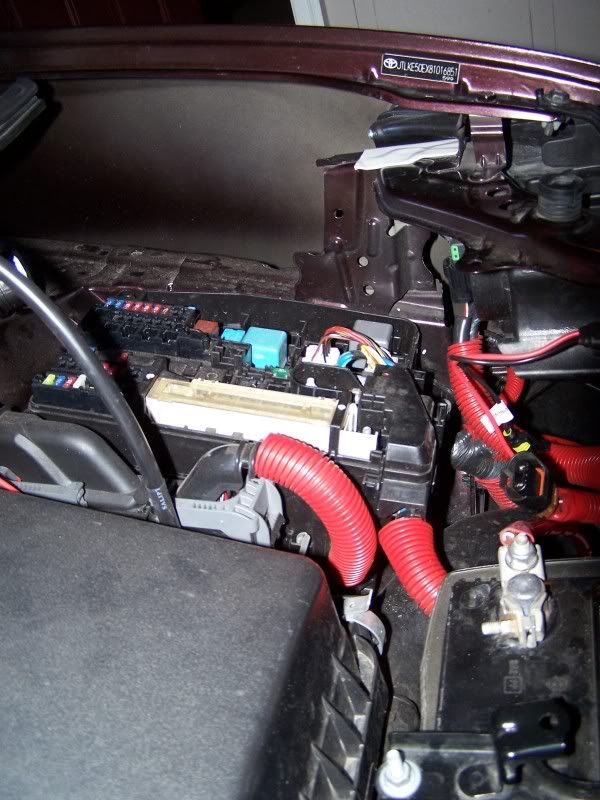
location of control box, passenger side
 Click this bar to view the full image.
 Click this bar to view the full image.
DRIVER Side: before install. double sided tape THEN zip ties
 Click this bar to view the full image.
 Click this bar to view the full image.


High beams. Passenger side HALOGEN. DRIVER side, HID

location of control box, passenger side


DRIVER Side: before install. double sided tape THEN zip ties


#53
Thread Starter
Joined: May 2008
Posts: 1,602
From: Medford, Oregon
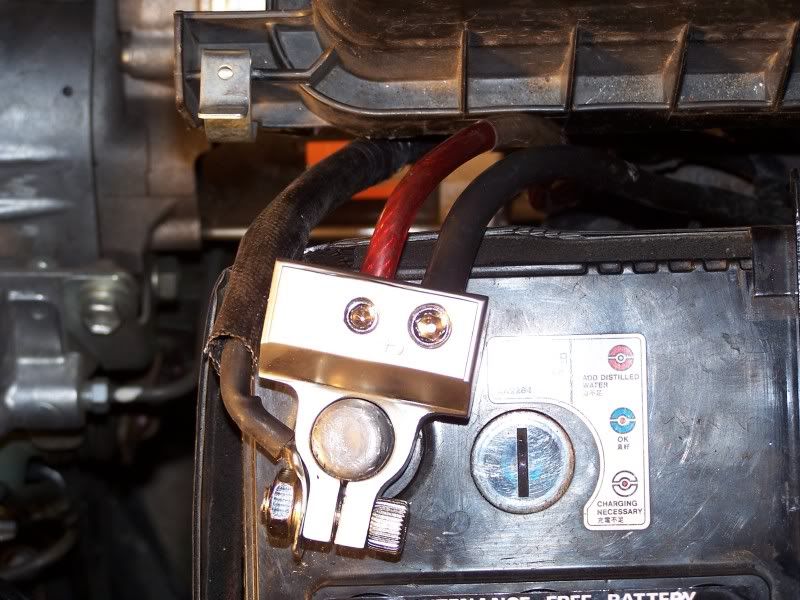
Upgraded battery wiring.
POS terminal
the black wire you see is the STOCK POS wire for the car.


NEG terminal

here is a comparison of the stock ground and the 4GA I used to replace it. Quite a difference. and yes, I knwo it's NOT BLACK. it don't matter the color just as long as you don't try and think it's the POS cable.


here's a shot of where the NEG cable connects to the body/frame.. if you do this upgrade MAKE SURE TO GRIND AWAY THE PAINT AROUND THE HOLE.. makes for a much better connection. if you 're not sure where this is, it's the same location as the stock cable.

POS terminal
the black wire you see is the STOCK POS wire for the car.


NEG terminal

here is a comparison of the stock ground and the 4GA I used to replace it. Quite a difference. and yes, I knwo it's NOT BLACK.


here's a shot of where the NEG cable connects to the body/frame.. if you do this upgrade MAKE SURE TO GRIND AWAY THE PAINT AROUND THE HOLE.. makes for a much better connection. if you 're not sure where this is, it's the same location as the stock cable.

Last edited by A-snell; 03-08-2010 at 09:27 AM.
#54
Hey there Snell.... new mods are lookin' good.
I have often thought about doing that front overlay on my tC...but just worried how it would hold up from road debris.
Did they give you any guesstimate on how it would hold up? I really like the look.
I have often thought about doing that front overlay on my tC...but just worried how it would hold up from road debris.
Did they give you any guesstimate on how it would hold up? I really like the look.
#57
Thread Starter
Joined: May 2008
Posts: 1,602
From: Medford, Oregon
#58
Thread Starter
Joined: May 2008
Posts: 1,602
From: Medford, Oregon
New grills on today.. from www.customxB.com


and the link for the DIY:
https://www.scionlife.com/forums/sho...31#post3497231


and the link for the DIY:
https://www.scionlife.com/forums/sho...31#post3497231
#59
on your steering wheel, painting the piece where the volume and track rockers are....how did you remove those? i have that piece off the steering wheel, but just can't figure out how to get those 2 black rockers off.
#60
Thread Starter
Joined: May 2008
Posts: 1,602
From: Medford, Oregon
the steering wheel radion buttons were scary to take apart.. I used a micro screwdriver to pull them out.the plastic is so thin I was afraid that it would break. take your time and be careful. all my trim pieces are getting redone by a professional, so as soon as I get them back I will take some close ups for you on how to do this part.. 


