
2nd Gen Rotor Install DIY
 02-04-2009, 02:23 PM
#1
Former Sponsor
Team No Limitz
AlphaSquad
SL Member
Thread Starter

Join Date: Jul 2005
Location: AlphaSquad - AZ
Posts: 2,622
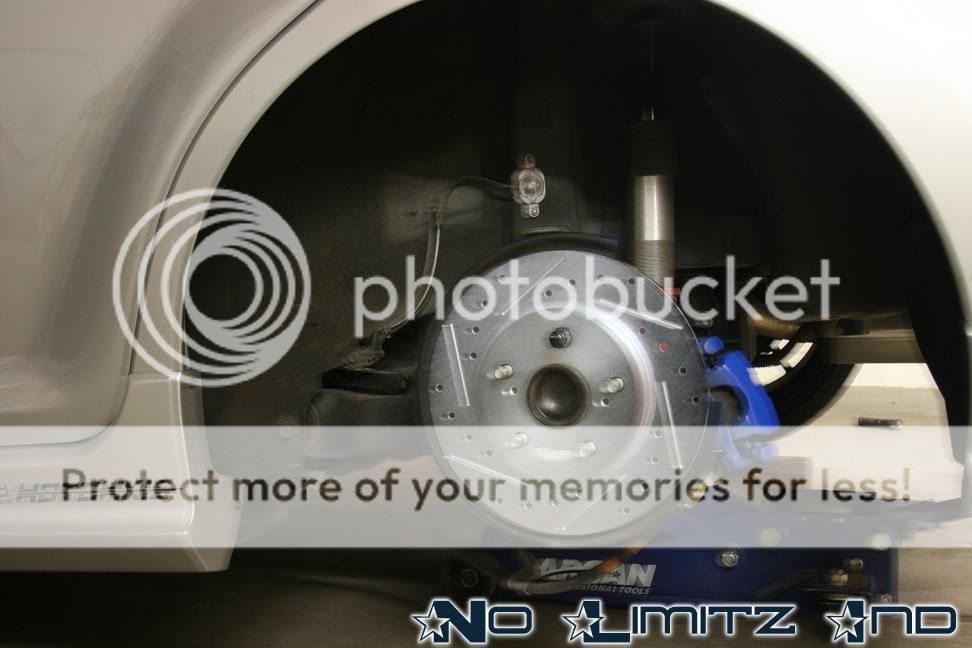
Here is a quick run down on a install of front and rear rotors on the 2nd gen xB. I am not going to cover the pads sense someone else has already done that. Sorry some of the pics suck. I was trying to hod the camera at first and then went to the tripod. Even then it didnt like it all the time.
Now safety first guys. Make sure you have jack stands and all that too.
Break the lugs loose while it is on the ground as it makes it alot easier. Jack up the front and put it on stands.
 Make sure the xB is secure. Pull the wheels off. I did one side at a time. Easier to control parts that way. Set the wheel aside. Make sure it is leaned against something. You dont want it to fall on its face and scratch it.
I pulled the wheel off and then put two lugs back on the rotor. Just finger tight. It just holds the rotor there.
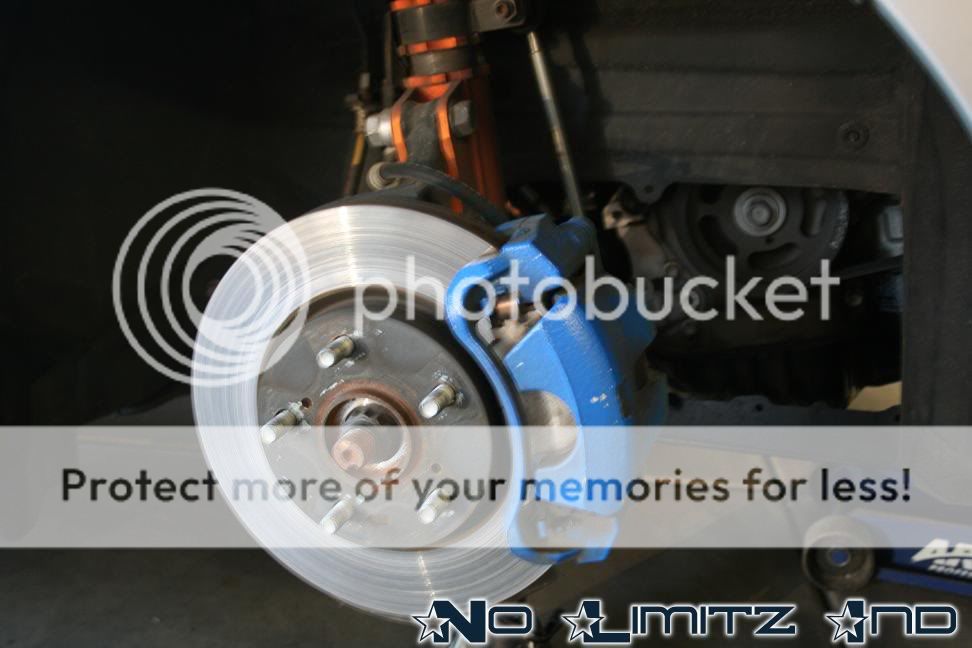
There is two 17mm bolts on the back side of the caliper. Take those off. You can swing the caliper out of the way. I set it on the roll around seat that fit in there.
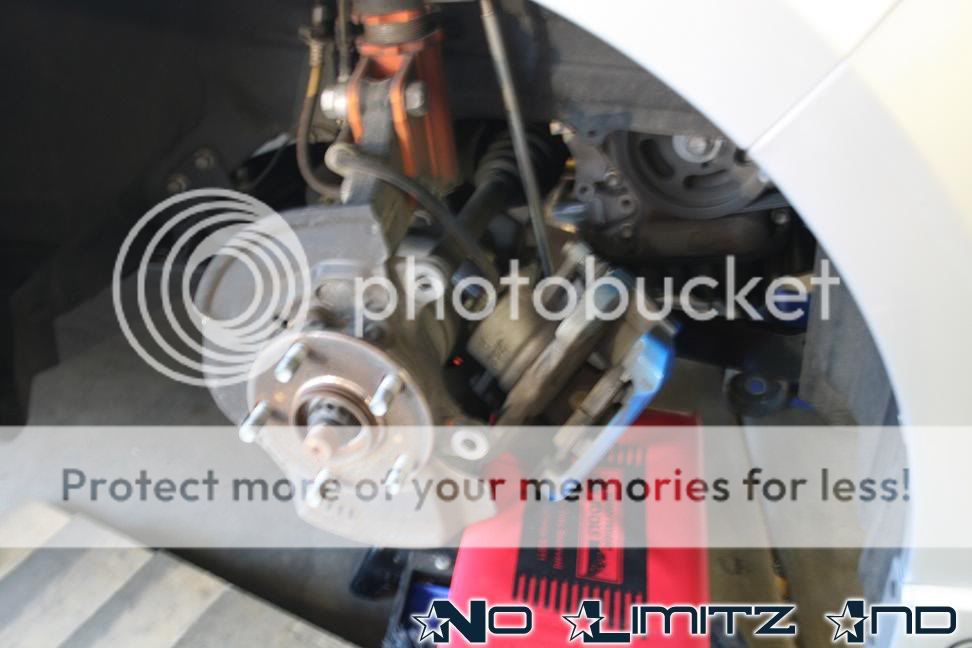
Then you take lugs off and the rotor will slide right off. Slide the new rotor on. Make sure you have it going the right direction. Put the lugs back on it to hold it there. Makes getting the calipers alot easier to get back on there.

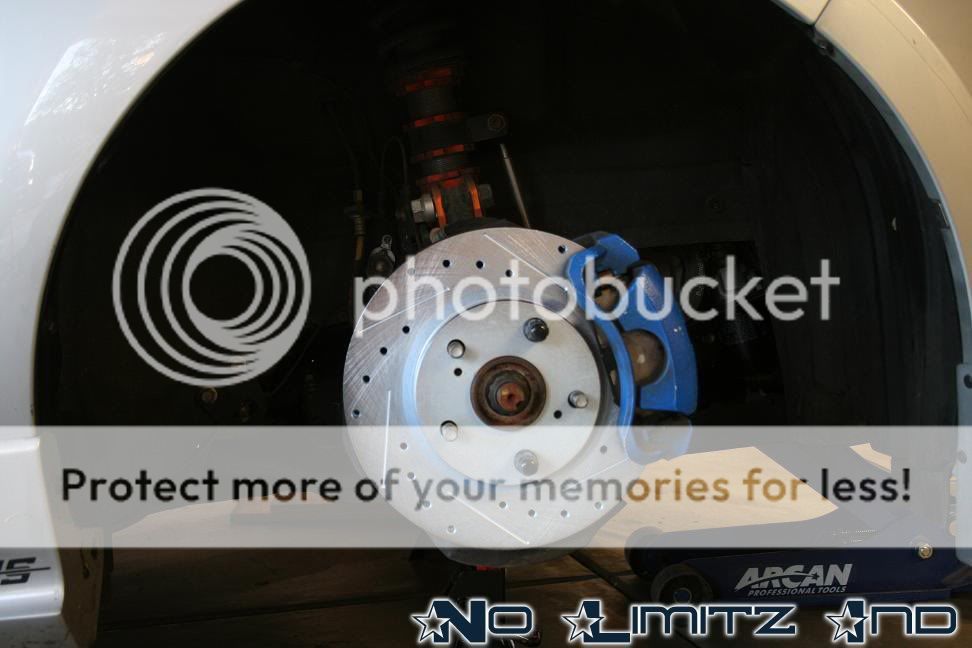
Then put the two 17mm bolts back in it. Make sure they are torqued down correctly. Clean the rotors if need be. I use new rubber gloves when I put the new ones on so I didnt get the calipers dirty at all. Pull the lugs off now and that one is done. Clean the back of the wheel. (Just my picky side coming out) and put the wheel back on and tighten it up and head over to the other side. Once done on the otherside and on the ground retorque the wheels and you are set.
Now on to the back. Do the same thing as the front with the jack and stands. On the rear there is a couple things different. There is 2 14mm bolts on the caliper and then one 10mm bolt on the axle/trailing arm. That 10mm holds the ebrake cable in place. Place lug nuts on there again just to hold the rotor there. Take the 10mm bolt out and the 2 14mm bolts and the caliper will slide off. Not as easy as the front but it does. Slide the rotor off and slide the new one on. Replace the lugs again. Put the Caliper back on making sure to put the 10mm bolt back on that holds the cable there. Tighten all the bolts back to spec. There is 3 per side in the rear.
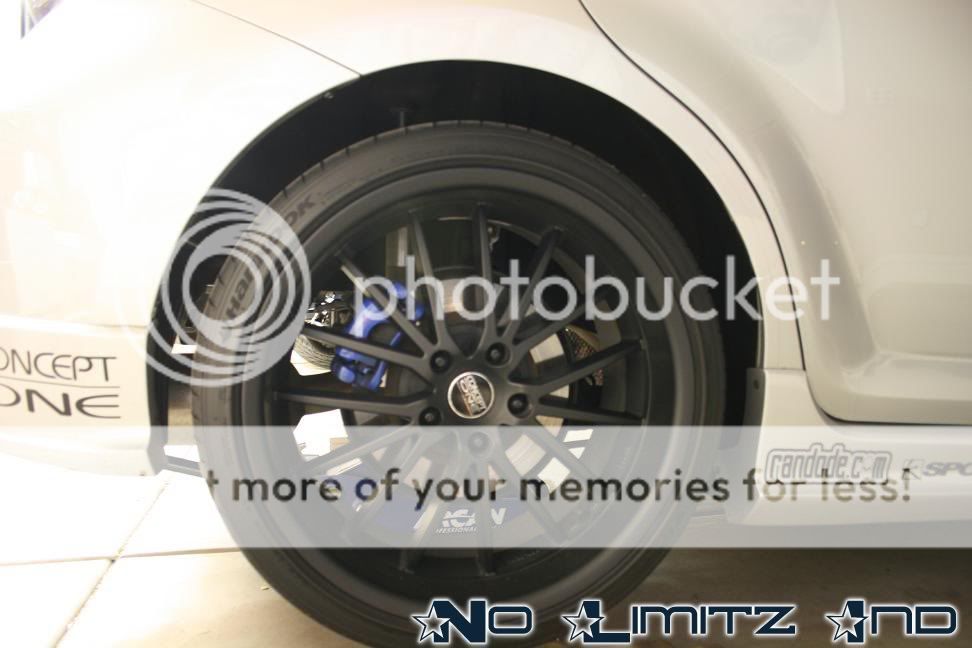
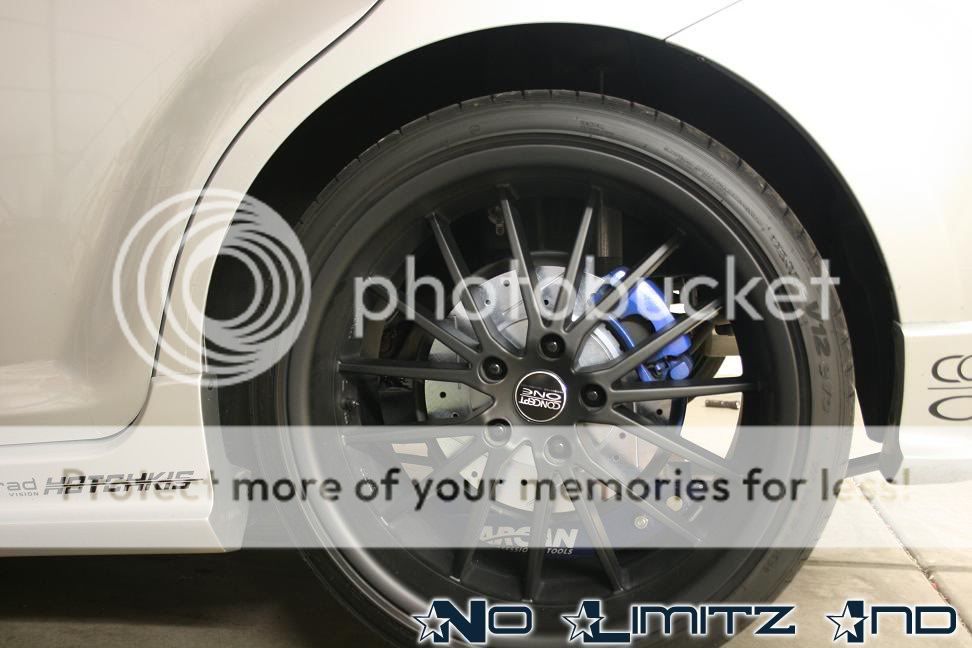
Finish by cleaning the inside of the wheels and put it all back on and set the back down. Retorque all the wheels and take it for a drive. Drive it for about a day and then go back and retorque all the wheels again. Safety again remember.
Hope this helps.
Now safety first guys. Make sure you have jack stands and all that too.
Break the lugs loose while it is on the ground as it makes it alot easier. Jack up the front and put it on stands.
Make sure the xB is secure. Pull the wheels off. I did one side at a time. Easier to control parts that way. Set the wheel aside. Make sure it is leaned against something. You dont want it to fall on its face and scratch it. I pulled the wheel off and then put two lugs back on the rotor. Just finger tight. It just holds the rotor there.
There is two 17mm bolts on the back side of the caliper. Take those off. You can swing the caliper out of the way. I set it on the roll around seat that fit in there.
Then you take lugs off and the rotor will slide right off. Slide the new rotor on. Make sure you have it going the right direction. Put the lugs back on it to hold it there. Makes getting the calipers alot easier to get back on there.
Then put the two 17mm bolts back in it. Make sure they are torqued down correctly. Clean the rotors if need be. I use new rubber gloves when I put the new ones on so I didnt get the calipers dirty at all. Pull the lugs off now and that one is done. Clean the back of the wheel. (Just my picky side coming out) and put the wheel back on and tighten it up and head over to the other side. Once done on the otherside and on the ground retorque the wheels and you are set.
Now on to the back. Do the same thing as the front with the jack and stands. On the rear there is a couple things different. There is 2 14mm bolts on the caliper and then one 10mm bolt on the axle/trailing arm. That 10mm holds the ebrake cable in place. Place lug nuts on there again just to hold the rotor there. Take the 10mm bolt out and the 2 14mm bolts and the caliper will slide off. Not as easy as the front but it does. Slide the rotor off and slide the new one on. Replace the lugs again. Put the Caliper back on making sure to put the 10mm bolt back on that holds the cable there. Tighten all the bolts back to spec. There is 3 per side in the rear.
Finish by cleaning the inside of the wheels and put it all back on and set the back down. Retorque all the wheels and take it for a drive. Drive it for about a day and then go back and retorque all the wheels again. Safety again remember.
Hope this helps.

 02-05-2009, 01:48 AM
#3
Former Sponsor
Team No Limitz
AlphaSquad
SL Member
Thread Starter
Join Date: Jul 2005
Location: AlphaSquad - AZ
Posts: 2,622
It is chipping from taking the wheels on and off. I have knicked them a couple times. Plus I have shaved the rear calipers down 3mm to get the rear wheels to fit on there right. So yes and no. lol
02-05-2009, 03:23 AM
#4
Senior Member
SL Member

Join Date: May 2008
Location: East Coast
Posts: 193
Wow great job NoLimitz...you make it seem easy so maybe now I can go and do that. The drilled and slotted are much sexier as well. The whip is looking super dopeeee. Where did you get your rotors? Did you notice much difference in braking?
02-05-2009, 03:16 PM
#5
Former Sponsor
Team No Limitz
AlphaSquad
SL Member
Thread Starter
Join Date: Jul 2005
Location: AlphaSquad - AZ
Posts: 2,622
Thank you on the comments. That is what I was hoping for. People to feel better about doing them theirselfs.
You can get them here.
http://www.nolimitzind.com/rotorxb08.html
You can get them here.
http://www.nolimitzind.com/rotorxb08.html

Thread
Thread Starter
Forum
Replies
Last Post
jchuma
PPC: Engine / Drivetrain
0
02-11-2015 12:55 AM
TheRedBox
Scion xA/xB 1st-Gen Drivetrain & Power
31
12-02-2003 04:53 PM