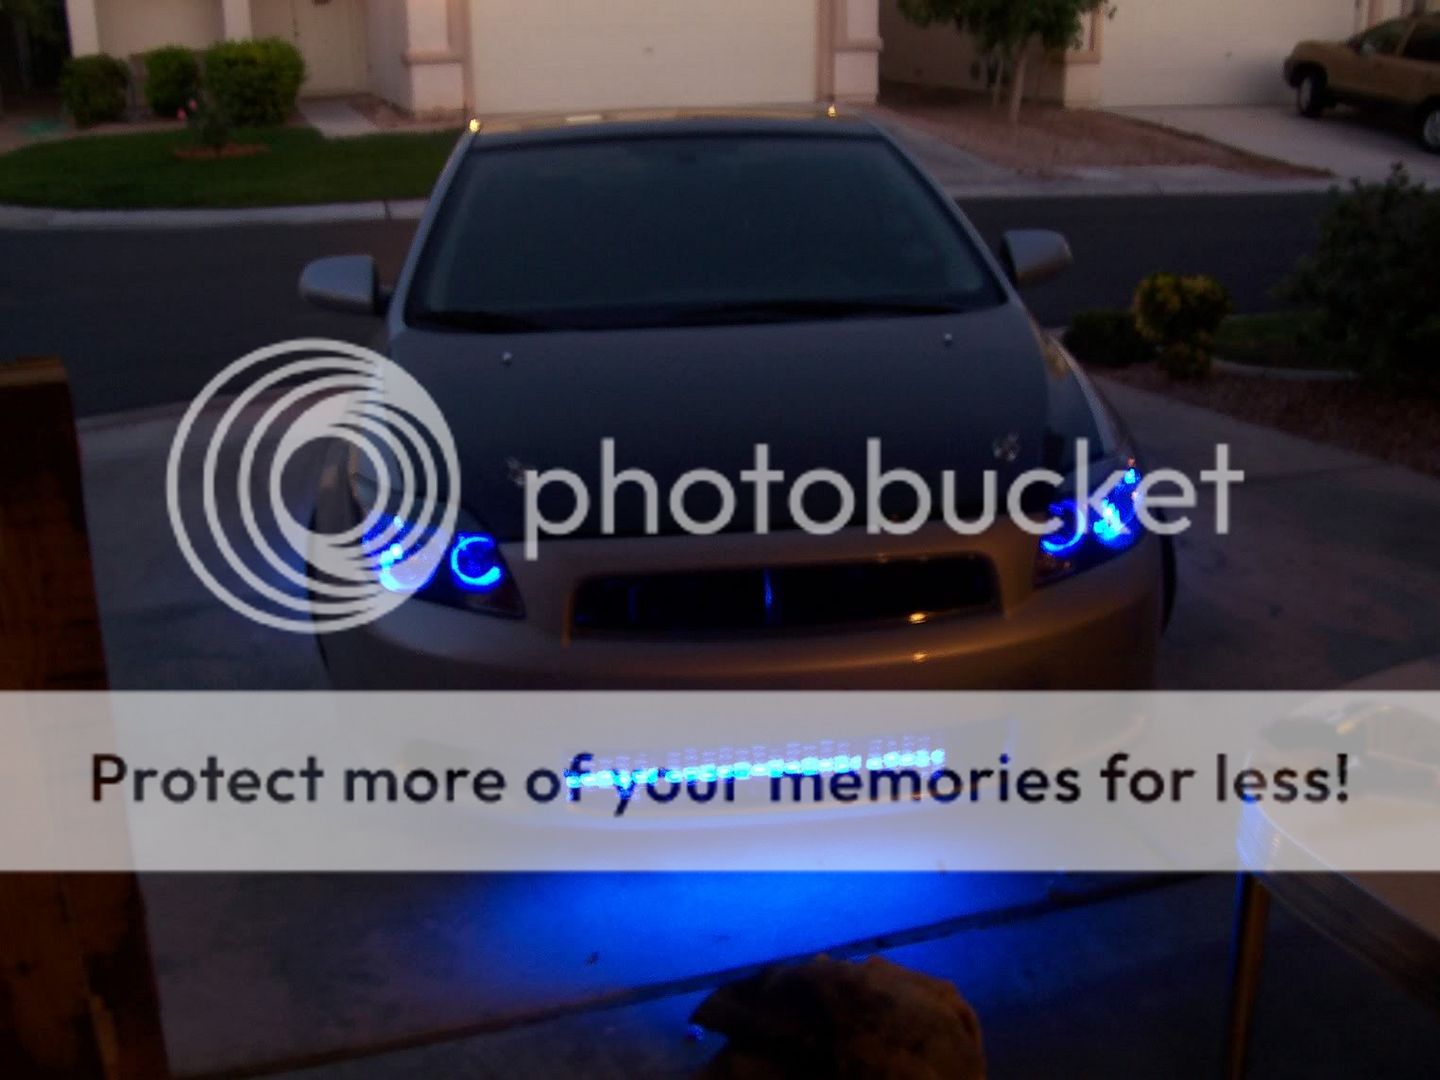
Mirror Turn Signal Change
#42
Originally Posted by Kaeon
Originally Posted by toastbox
FYI....as good as that looks, it's also illegal. Side markers are *required* to be amber/orange. Some states might fail your safety inspection, so be cautious.
It does look sweet though! Great job guys!
It does look sweet though! Great job guys!
#43
I just got done with the mod not too bad with the excellent directions. One question though i was told by two people that i didn't need to sand if i used resin core solder. i used the resin core solder but i had already sanded so i am not sure if it made a diff or not anyone know?
#44
That may be true for bare metal, but the metal in the mirrors is plated and no solder will stick to it. If it isnt sanded and you manage to get it to stick, it will all fall off the first time you close your door or go over aq big bump
#46
Senior Member

Seven City Scions
Strictly Scionized
Scion Noics
Scikotics
SL Member

Team ScioNRG
Scion Evolution
Joined: Aug 2005
Posts: 107
From: Strictly Scionized C.C.
so the install was done for the passenger side, would the same apply for the driver side meaning same way to install just in the other direction or ?
#47
It will be the same. If you get it together and one or all of them dont light up, you would just have to remove and resolder the LEDs in reverse polarity. Hooking up LEDs in reverse wont hurt them or your cars electronics. Check it before you seal everything back together.
#48
Hey guys...Same thing happened to me. Any suggestions? It worked before, but after a while, the lights stopped working for me. I took everything apart, check the solder, still stuck onto the Sanded metal plate. So I resoldered it again just incase, adding mre, plugged it in and its still not working. What did u guys do? DId u guys change the LED's? or what did u guys do? So confused right now...
#49
Youll need to replace the LEDs that are dead. It seems that they cant handle the impact of the door closing a lot and are breaking. After soldering the new LEDs on, squeeze some silicone under the LEDs and it help to keep them from having the problems. It just helps to hold them in place and resist the impacts. I havent had any die for about 4 months after doing the silicone trick.
#52
Originally Posted by The_Instigator
Its already been answered. The casing isnt glued together with the same kind of silicone. They are bonded by a very hard contact cement or even melted together to form a solid unit.
#54
Right now I have mine set up with 3 LEDs per side, but it doesnt really make a difference. The bridge is there to run the LEDs in parallel to make them brighter. They come wired in series form the factory which lowers the overall voltage of the circuit.
#56
Originally Posted by CatalepsicFox
hey i was wondering is it safe to paint those metal peices inside the turn signal. I want to paint it the whole interior black so it will seem darker than it really is.
I wouldnt do that then all you would see is two led's light up, That mirror finish is there for a reason
Just a little update as well, I come out of chillies last night and unlock my car my driver side mirror is hella blinking it almost looks like a strobe light! I think I need to re solder and add some more silicone to the back for a better connection.
#57
The reason I ask this is because I want to steal this idea from them
http://clearcorners.com/products/scion/tc1/F_ssig/
The signal the converted looks reallly nice but I was wonder on the spec for this project. I really want to do this but the only problem is I dont know where we can get array LEDs like that.
http://clearcorners.com/products/scion/tc1/F_ssig/
The signal the converted looks reallly nice but I was wonder on the spec for this project. I really want to do this but the only problem is I dont know where we can get array LEDs like that.
#58
Originally Posted by CatalepsicFox
The reason I ask this is because I want to steal this idea from them
http://clearcorners.com/products/scion/tc1/F_ssig/
The signal the converted looks reallly nice but I was wonder on the spec for this project. I really want to do this but the only problem is I dont know where we can get array LEDs like that.
http://clearcorners.com/products/scion/tc1/F_ssig/
The signal the converted looks reallly nice but I was wonder on the spec for this project. I really want to do this but the only problem is I dont know where we can get array LEDs like that.
#59
good job kaeon!! great write up.
the only problem ive had here, as im sure ever one else has had that has done this, is that after a while the led legs break, and they stop working so you have to re do it alllll over again. after my 3rd time of fixing it, i came up with a better option. here we go......
the first thing you must do, is follow kaeons steps to take apart your mirror, unscrew the light housing, and then you must dremel apart the housing, seperating the gray back, to the clear front. you can see his diy for that here: https://www.scionlife.com/forums/vie...r=asc&&start=0
then...hit up your local auto parts store and pick up a set of these or something like it.
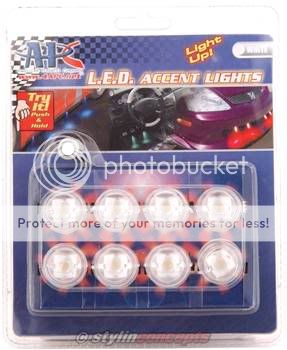
dont be arlarmed, i know its apc, but it was the only thing i can find lol.
these are leds in a little protective case, connected together by wire. they are made to go under body or what ever else, so they are strong and wont break
there are 4 wired together. the wire goes in to the led, then out to the next, the last led has no wire coming out of it.
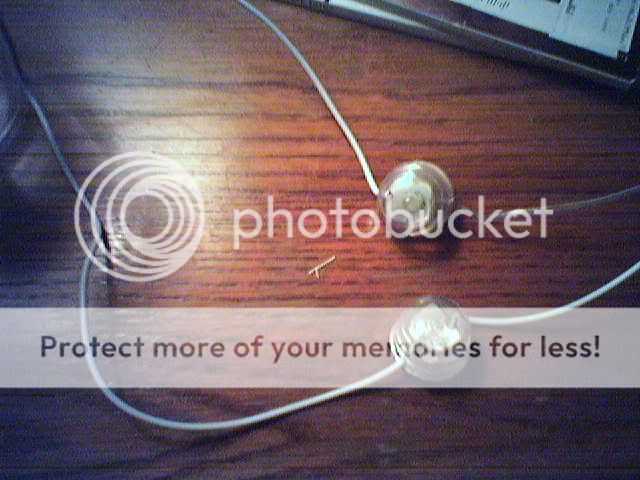
you are going to use both end leds from each strand, and then then another one. your going to have to strip back the white insulation to reviel the black(negative) and white(positive) wires inside of it. then wire them up just like this:
(rember use solder and then wrap your connections in electrical tape!!!)
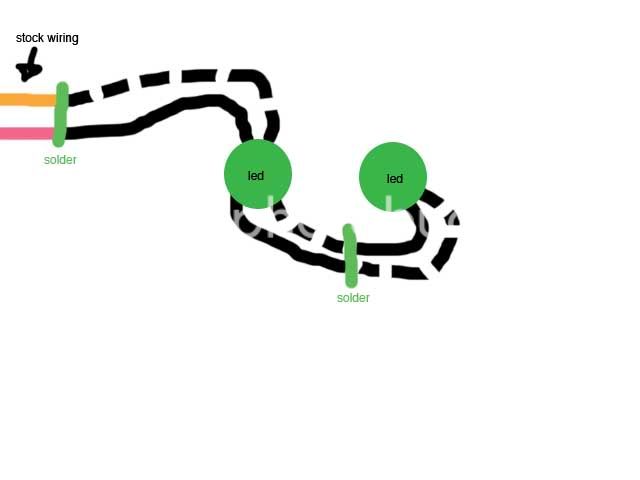
(black is positive, black with white lines is negative)
your going to then wire the led up to the stock wires, i just cut off the stock clip, since you are not going to use it any more.
the leds have double sided tape on them, but i used glue as well to secure them to the mirror, like this:


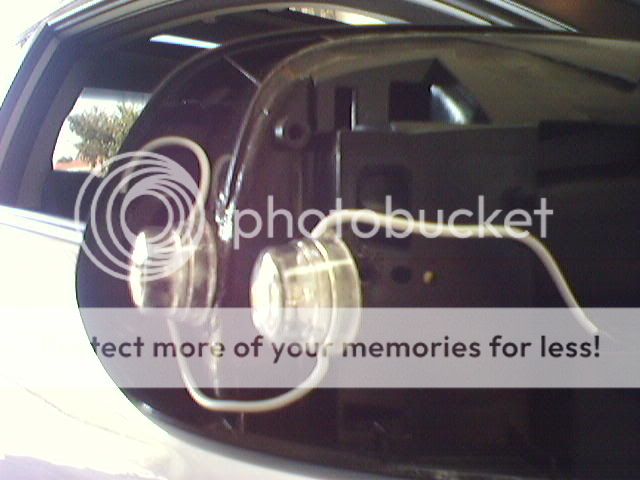

after that take the clear plastic part of the light housing and glue it to the stock mirror cover, like this:

and this:

then after that dries, pop it back onto your mirror, and enjoy!!!!
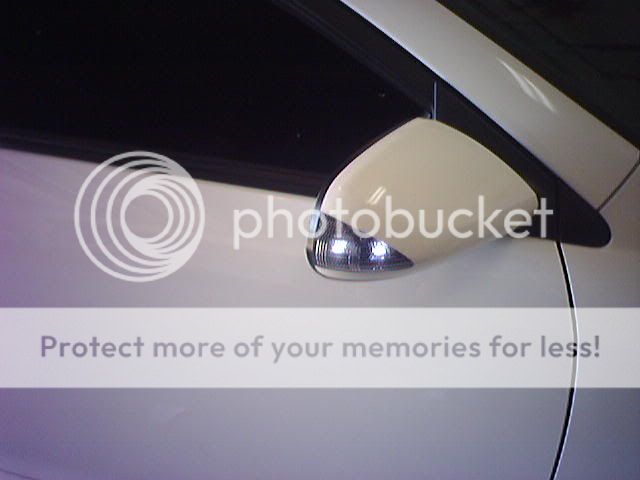
here are pics of the finished product:


the only problem ive had here, as im sure ever one else has had that has done this, is that after a while the led legs break, and they stop working so you have to re do it alllll over again. after my 3rd time of fixing it, i came up with a better option. here we go......
the first thing you must do, is follow kaeons steps to take apart your mirror, unscrew the light housing, and then you must dremel apart the housing, seperating the gray back, to the clear front. you can see his diy for that here: https://www.scionlife.com/forums/vie...r=asc&&start=0
then...hit up your local auto parts store and pick up a set of these or something like it.

dont be arlarmed, i know its apc, but it was the only thing i can find lol.
these are leds in a little protective case, connected together by wire. they are made to go under body or what ever else, so they are strong and wont break
there are 4 wired together. the wire goes in to the led, then out to the next, the last led has no wire coming out of it.

you are going to use both end leds from each strand, and then then another one. your going to have to strip back the white insulation to reviel the black(negative) and white(positive) wires inside of it. then wire them up just like this:
(rember use solder and then wrap your connections in electrical tape!!!)

(black is positive, black with white lines is negative)
your going to then wire the led up to the stock wires, i just cut off the stock clip, since you are not going to use it any more.
the leds have double sided tape on them, but i used glue as well to secure them to the mirror, like this:


after that take the clear plastic part of the light housing and glue it to the stock mirror cover, like this:

and this:

then after that dries, pop it back onto your mirror, and enjoy!!!!
here are pics of the finished product:


