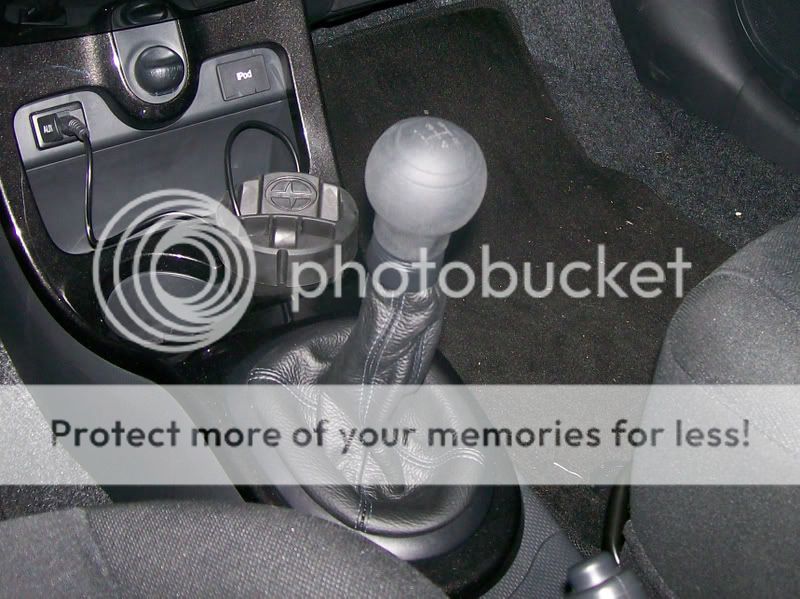
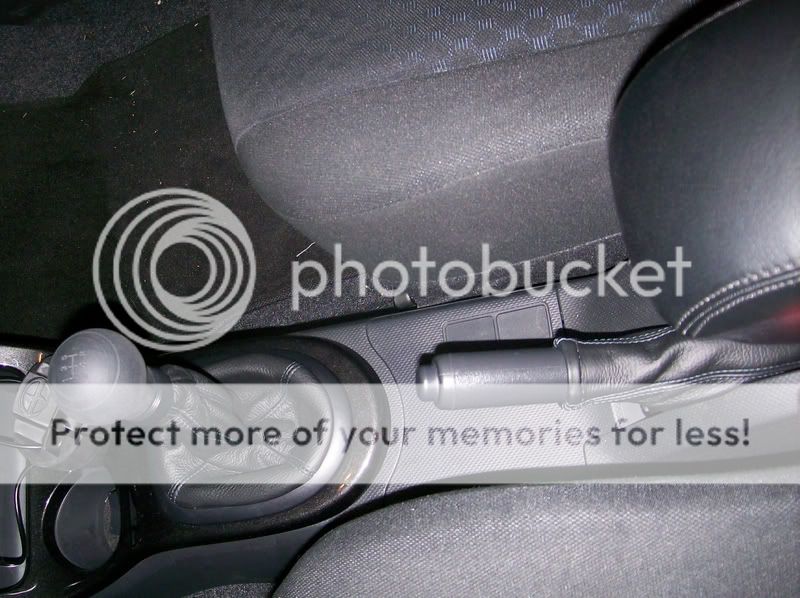
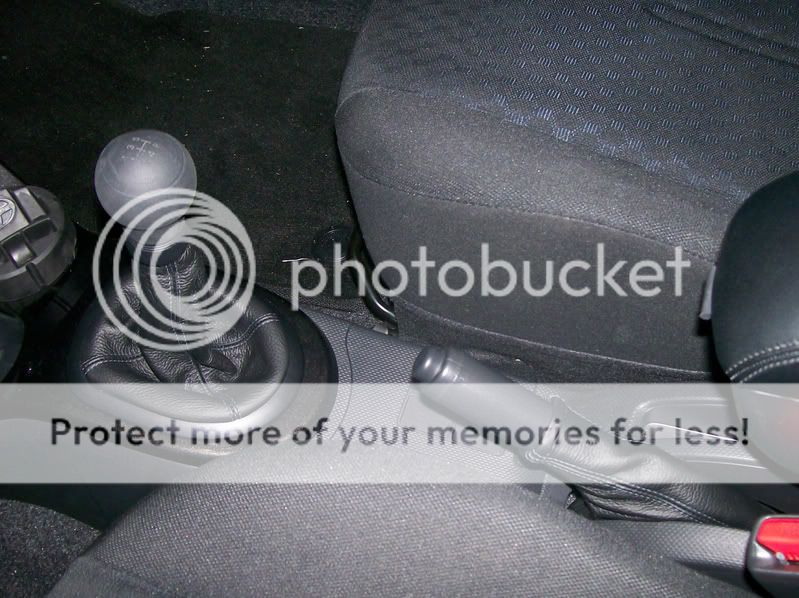
Shift Boot Install (RedlineGoods)
#1
Here is a guide to installing aftermarket boots from www.redlinegoods.com they should be adding a product listing for the XD in the near future. I am not employed by redlinegoods.com nor am I selling these boots. If you have questions about their service or ordering I can definately tell you about my experience with them.
Fig - 1- Begin by emptying your cupholders in front of the shift boot and gathering the tools needed for installation, a ratchet with a 10mm socket and extension, and a zip tie.

Fig - 2- Next remove the shift ****, grab the edge of the painted trim around the shift boot and lift up, Don't worry you won't break it. Now grab the area above the cup holders and pull out. the painted trim should now be separated from the rest of the console

Fig - 3- Now separate the shift boot trim ring from the painted trim by gently pinching the clips around the underside edge. After that's separated separate the old boot from the trim.

Fig - 4- Grab your ratched with a 10mm socket and extention and remove the bolts circled in red. You can also remove the plastic ring around the shift lever. Then remove the switch panel that's in front of the e-brake handle.

Fig - 5- Lift up on the console and remove it. Take the e-brake boot and slip it over the handle and factory rubber boot. Now you can put the console back in place, bolt it back down, and replace the switch plate you removed in step 4
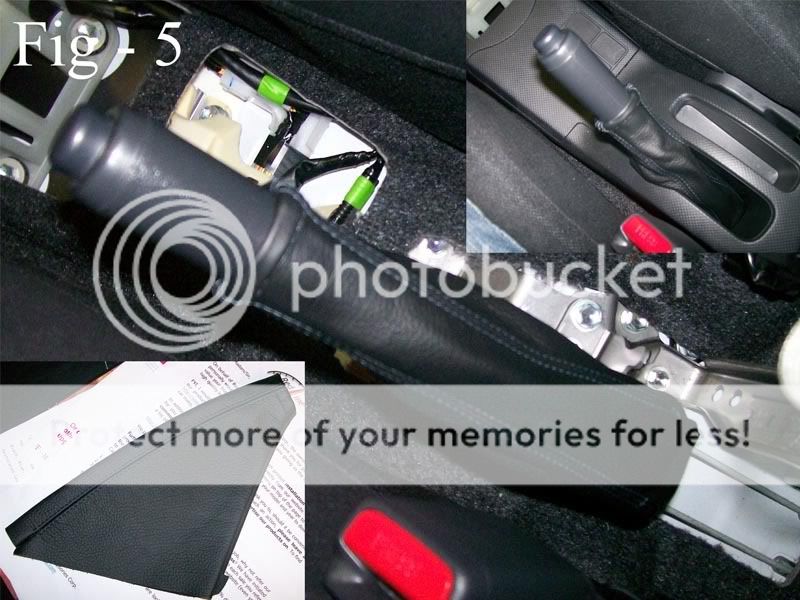
Fig - 6- Turn the new shifter boot inside out. Attatch the new shifter boot to the trim ring you removed the rubber boot from, and snap the assembley into the painted trim panel. It takes a little work but it will snap back in, make sure there is no visible bits of the boot sticking out from underneath the trim ring. This could cause problems snapping it back in. Now place a zip tie loosly around the top end of the boot

Fig - 7- Slip the end of the boot with the zip tie over the shift lever and tighten and trim the tie. Place your hand inside the boot and grab the threads of the shift lever to protect the leather from scarring. With your other hand pull the trim assembley with the boot down turning the boot right side out.
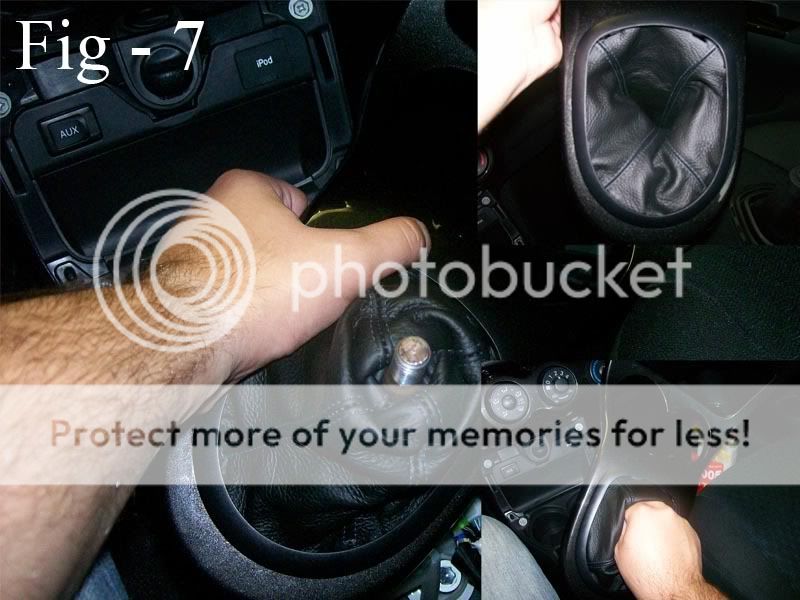
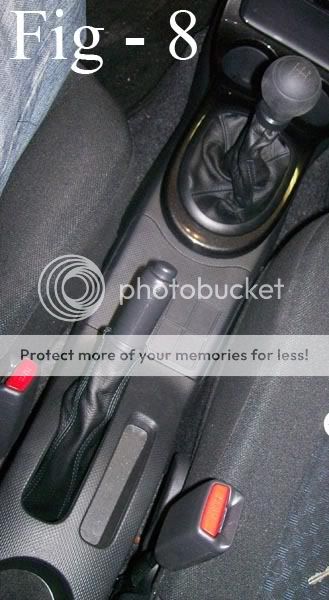
Fig - 8- once you have the boot right side out again you are ready to snap the trim back into place and put the shift **** back on. Enjoy!
This is my first DIY so hopefully it all makes sense. I'm going to take some better pictures of them after installation tonight.
Fig - 1- Begin by emptying your cupholders in front of the shift boot and gathering the tools needed for installation, a ratchet with a 10mm socket and extension, and a zip tie.

Fig - 2- Next remove the shift ****, grab the edge of the painted trim around the shift boot and lift up, Don't worry you won't break it. Now grab the area above the cup holders and pull out. the painted trim should now be separated from the rest of the console

Fig - 3- Now separate the shift boot trim ring from the painted trim by gently pinching the clips around the underside edge. After that's separated separate the old boot from the trim.

Fig - 4- Grab your ratched with a 10mm socket and extention and remove the bolts circled in red. You can also remove the plastic ring around the shift lever. Then remove the switch panel that's in front of the e-brake handle.

Fig - 5- Lift up on the console and remove it. Take the e-brake boot and slip it over the handle and factory rubber boot. Now you can put the console back in place, bolt it back down, and replace the switch plate you removed in step 4

Fig - 6- Turn the new shifter boot inside out. Attatch the new shifter boot to the trim ring you removed the rubber boot from, and snap the assembley into the painted trim panel. It takes a little work but it will snap back in, make sure there is no visible bits of the boot sticking out from underneath the trim ring. This could cause problems snapping it back in. Now place a zip tie loosly around the top end of the boot

Fig - 7- Slip the end of the boot with the zip tie over the shift lever and tighten and trim the tie. Place your hand inside the boot and grab the threads of the shift lever to protect the leather from scarring. With your other hand pull the trim assembley with the boot down turning the boot right side out.

Fig - 8- once you have the boot right side out again you are ready to snap the trim back into place and put the shift **** back on. Enjoy!

This is my first DIY so hopefully it all makes sense. I'm going to take some better pictures of them after installation tonight.
#6
Are you pleased with the overall product? Do you know if they will take up some of the slack in the leather if asked? It looks like there is a bit more leather than I would like - especially since I have a short shift kit.
Also - how closely does the blue match the seat blue?
Looks good!
Also - how closely does the blue match the seat blue?
Looks good!
Originally Posted by A1binoA11igat0r
Thanks, they are really soft leather. the stitching is dark blue. in regular lighting it looks almost black. the flash makes it look lighter. I wanted a really subtle detail.
#7
Overall the boots are great! only took about an hour or so to install and that's only because I had to figure everything outand take pics. It should only take about 15-20min. The Leather is super soft, not overly heavy, and they look great!
I ordered the shift boot one inch longer than they would normally make it. There is a section on their order form to add or subtract length from the standard boots. they also have a bunch of available stitch colors and options to customize the boots. Also if you use a Zip Tie like I did it's really easy to adjust the length of the shift boot. Just fold a little more under at the top and you can make it fit however you like.
The blue stitching I ordered is considerably darker than the seat blue. but the Medium blue stitching should match it pretty well.
#10
I had same question so emailed Redline:
"Hello!
The xD boot is the same as the Yaris 99-08. That boot is a Yaris shift boot and as you can see it fits perfectly. Please order that one if you'd like to get the new shift boot for your xD as early as possible.
Thank you and have a great day,
Maciek
RedlineGoods.com"
"Hello!
The xD boot is the same as the Yaris 99-08. That boot is a Yaris shift boot and as you can see it fits perfectly. Please order that one if you'd like to get the new shift boot for your xD as early as possible.
Thank you and have a great day,
Maciek
RedlineGoods.com"
#11
I received the same reply. That's fine, but they really should spend the :05 minutes to add the xD to their web menu - don't you think?
Originally Posted by SeattleGuy
I had same question so emailed Redline:
"Hello!
The xD boot is the same as the Yaris 99-08. That boot is a Yaris shift boot and as you can see it fits perfectly. Please order that one if you'd like to get the new shift boot for your xD as early as possible.
Thank you and have a great day,
Maciek
RedlineGoods.com"
"Hello!
The xD boot is the same as the Yaris 99-08. That boot is a Yaris shift boot and as you can see it fits perfectly. Please order that one if you'd like to get the new shift boot for your xD as early as possible.
Thank you and have a great day,
Maciek
RedlineGoods.com"
#13
the boots I ordered were the Yaris ones
they fit perfectly. they used my car as a test to make sure they fit right. I provided them with the installation instructions that I posted in this thread so they could add the XD to their lineup. I guess they just haven't gotten around to it yet.
sorry for the confusion
they fit perfectly. they used my car as a test to make sure they fit right. I provided them with the installation instructions that I posted in this thread so they could add the XD to their lineup. I guess they just haven't gotten around to it yet.
sorry for the confusion
Thread
Thread Starter
Forum
Replies
Last Post
TheRedBox
Scion xA/xB 1st-Gen Drivetrain & Power
31
12-02-2003 05:53 PM


